
The fastest way to make “science” feel like play at my kitchen table is to let it make noise. Not the accidental clatter kind. The on purpose kind. A water glass xylophone is one of those rare activities that works for mixed ages, uses what you already own, and quietly sneaks in a real lesson about pitch and vibrations.
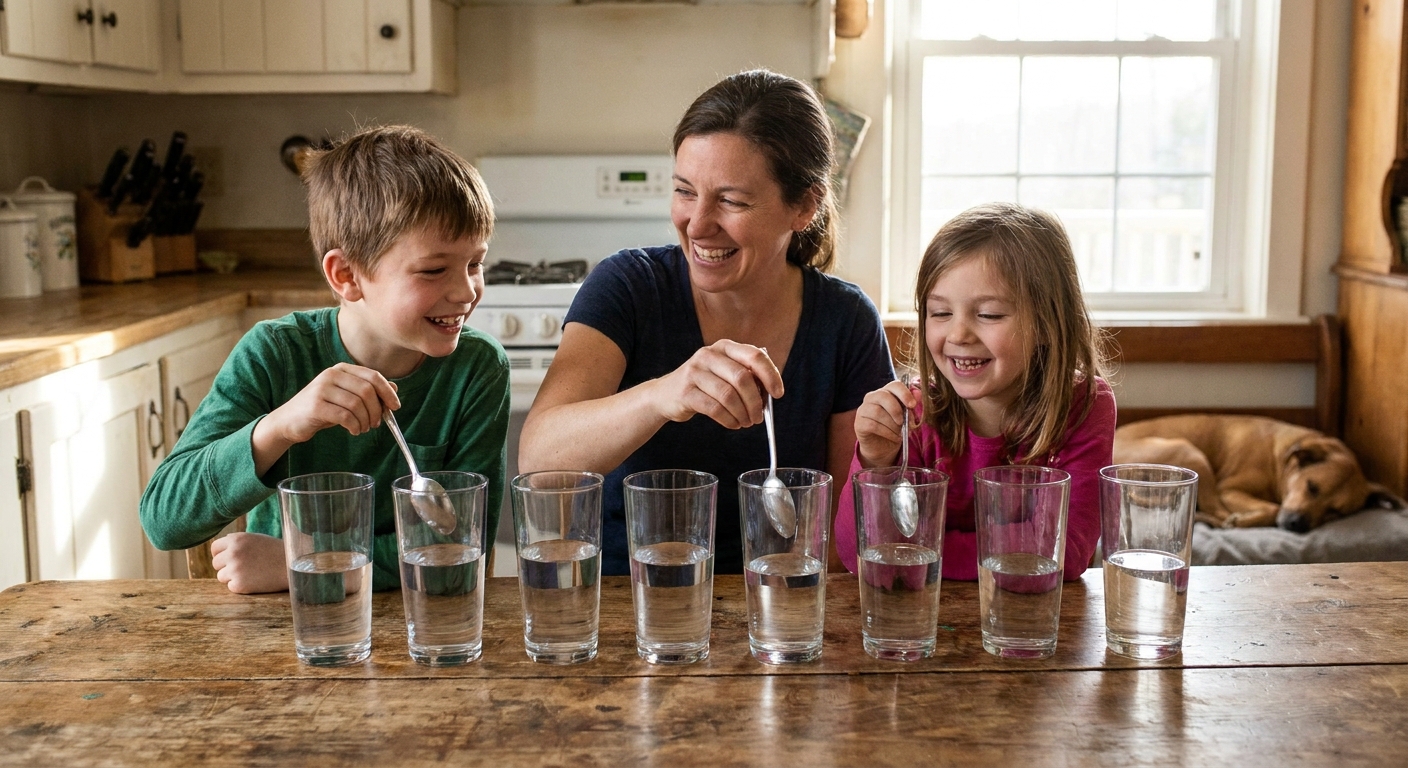
You will line up a few drinking glasses, add different amounts of water, and tap to hear how the notes change. Then comes the best part: kids realize they can tune the glasses like a real instrument. Suddenly you have a tiny home orchestra and a mini sound lab in one.
What kids are learning
Here is the simple idea you can repeat while you play:
- Sound is vibration. When you tap the glass, it vibrates. That vibration moves through the air as sound waves.
- Pitch is how high or low a sound feels. Faster vibrations sound higher. Slower vibrations sound lower.
- Water changes the vibration. Adding water changes how the glass vibrates. The extra mass and the way the water “loads” the glass usually lowers the pitch in most drinking glasses.
If your child asks for the grown-up explanation: when you tap the side of a glass, the glass itself is the main vibrating object. More water usually leads to a lower pitch because it changes the glass’s vibration and resonance. This is different from blowing across the top of a bottle, where the pitch is mostly controlled by the air column.
What you need
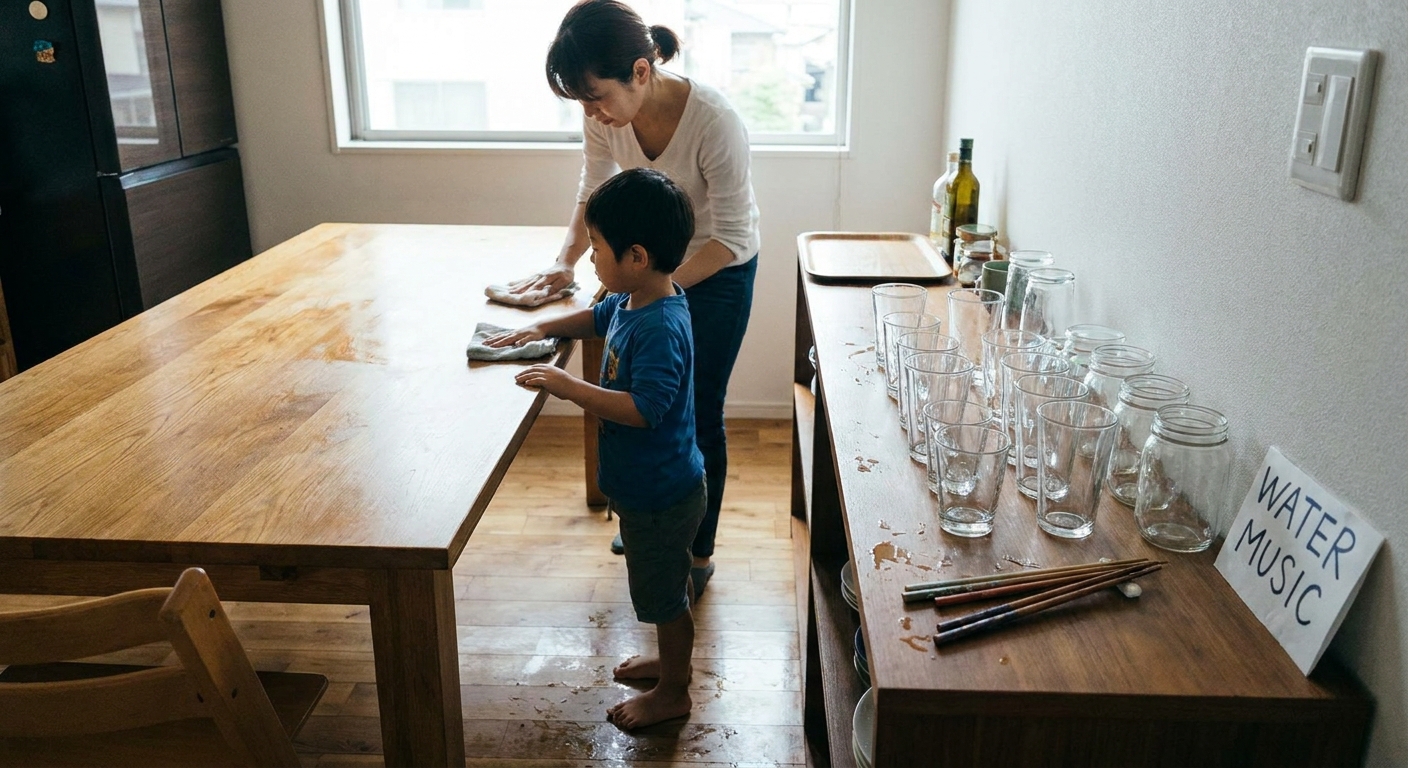
- 5 to 8 matching glasses (same shape is easiest for tuning)
- Water
- A measuring cup or small pitcher
- 1 to 2 tappers: a metal spoon, wooden spoon, chopstick, or a craft stick
- Optional: food coloring for extra visual fun
- Optional: a tray or towel underneath to catch splashes
Safety note: Use sturdy, non-chipped glasses, and stop if any glass gets a chip or crack. Keep taps gentle (it is safer and much less “CLINK”), set the glasses back from the table edge, and supervise closely. If you have very young toddlers, consider thick tumblers and wooden tappers.
Set up your xylophone
1) Line up the glasses
Put the glasses in a row on a towel or a rimmed tray. The towel helps keep them from sliding and softens the sound a bit.
2) Add water in different amounts
Start with one glass empty, then add increasing amounts of water to each glass. If you have 6 glasses, an easy pattern is:
- Glass 1: empty
- Glass 2: 1/4 cup
- Glass 3: 1/2 cup
- Glass 4: 3/4 cup
- Glass 5: 1 cup
- Glass 6: 1 1/4 cups
Exact amounts do not matter. What matters is that each glass is clearly different.
One quick expectation helper: more water usually makes a lower note, so the fullest glass will typically sound the lowest and the emptiest will sound the highest.
3) Tap and listen
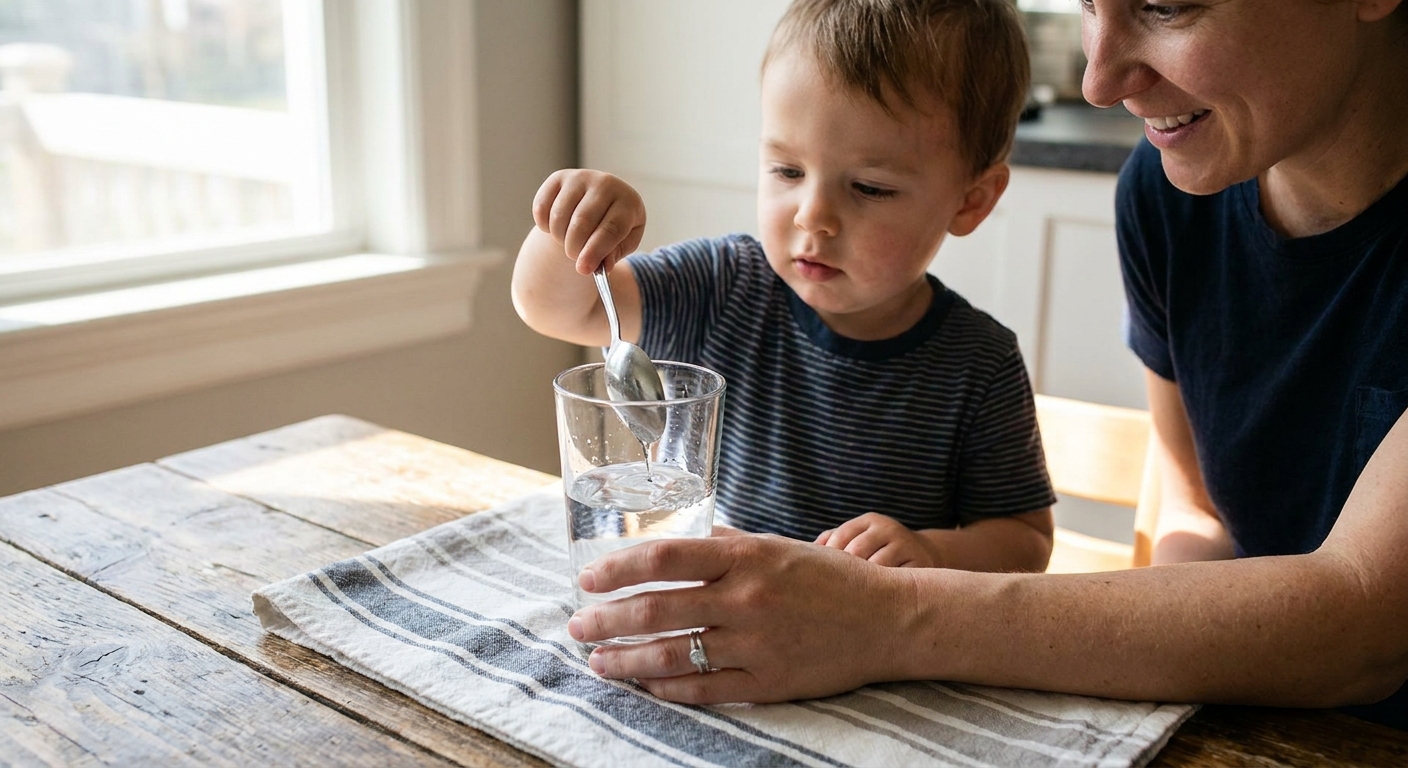
Tap the side of each glass gently with a spoon or chopstick. Go left to right and notice how the pitch changes.
4) Tune it like a real instrument
This is the part kids love because it feels like “I discovered something.” If two glasses sound too close together, change one by a small amount:
- To make a note lower: add a little water.
- To make a note higher: pour a little water out.
Small adjustments make a big difference. I usually change by a tablespoon or two at a time.
Make it musical
Play “question and answer”
You tap a simple pattern, your child copies. Start with two notes, then build up.
Assign numbers to glasses
Instead of trying to hit exact do re mi notes, label them out loud as “1, 2, 3, 4…” and play number songs:
- “1 1 2 1 3”
- “4 3 2 1”
This pairs nicely with the counting fun in Counting and Alphabet Songs Beyond the ABCs.
Use a familiar tune as a challenge
Try a tiny chunk of a song your kids already know, like the first line of “Twinkle, Twinkle” or “Mary Had a Little Lamb.” Do not worry about perfection. The goal is careful listening and experimenting.
Add movement for wiggle kids
Have kids take turns being the “conductor.” The conductor points to which glass to tap and how many times. If you need a high energy reset, browse High-Energy Nursery Rhymes for Gross Motor Skills and come back to your glass band after everyone has shaken out the jitters.
Mini experiments
Experiment 1: Does glass size matter?
Try two different shaped glasses with the same water amount. Ask: Which one sounds higher? Which one rings longer?
Experiment 2: Tap gently vs. tap firmly
Ask your child what changes. (They will usually notice volume changes a lot, while pitch mostly stays the same.) This is a great moment to separate “loud” from “high.”
Experiment 3: What happens if we move the glasses?
Place the glasses on a soft towel, then on a hard counter (with supervision). Listen for how the sound changes. You are exploring how surfaces affect resonance and how long a note rings.
Experiment 4: Color code your notes
Add one drop of food coloring to each glass. Now kids can “read” the instrument by color. It is not necessary for the science, but it can help younger kids track which glass is which.
Troubleshooting
“All my glasses sound the same.”
- Use matching glasses if you can.
- Make the water levels more extreme. Try one nearly full, one nearly empty.
- Try tapping the side of the glass (it often gives a clearer difference in pitch).
- Switch tappers. A metal spoon often brings out a clearer ring than a soft utensil.
“It is too loud.”
- Use a wooden spoon handle or a chopstick instead of metal.
- Set glasses on a folded towel to soften the sound.
- Play “quiet concert” where everyone taps like a mouse.
“My kid wants to dump all the water.”
Honestly, fair. Give them a job: keep a small “tuning cup” nearby and let them pour just a little at a time. If you have a toddler who is deep in a pouring phase, do a two-glass version first, then build up.
Make a whole kitchen band
If your family enjoys this kind of sound play, you can build out a full recycled orchestra. Our DIY Shakers and Rhythm Sticks for Family Sing-Alongs is a fun next step, and Coffee Can Hand Drums Kids Can Really Play is perfect for kids who want the “big beat” role.
For quieter days, I also love making sound that is more “rainy afternoon” than “parade.” The Calming Sensory Rainstick from a Paper Towel Tube is a sweet companion activity.
FAQ
What age is a water glass xylophone good for?
Preschoolers can explore tapping and comparing sounds with close supervision. Early elementary kids can tune more carefully and try simple songs. Older kids can turn it into a real investigation by measuring water amounts and recording results.
Do I need to tune it to real notes?
No. If you want to, you can use a piano app or digital tuner just for fun, but the learning happens even with “close enough” pitches.
Is tapping the glass safe?
It can be, as long as you use sturdy glasses, tap gently, and supervise. If you are worried about breakage, try thick tumblers and wooden tappers, and keep the activity on a towel. If a glass chips or cracks, stop and swap it out.
Why does adding water lower the pitch when tapping?
When you tap the side, the glass is what vibrates to make the sound. Adding water changes how the glass vibrates by adding mass and “loading” the glass, which usually lowers the pitch in most everyday drinking glasses.
My favorite ending
When the concert is over, we do one last science moment: everyone puts a fingertip lightly on the side of a glass right after it is tapped. You can feel the tiny vibration that made the sound. It is like catching a sound wave with your hand.
Then we pour the water into plants, wipe the table, and declare the kitchen officially open for the next performance.