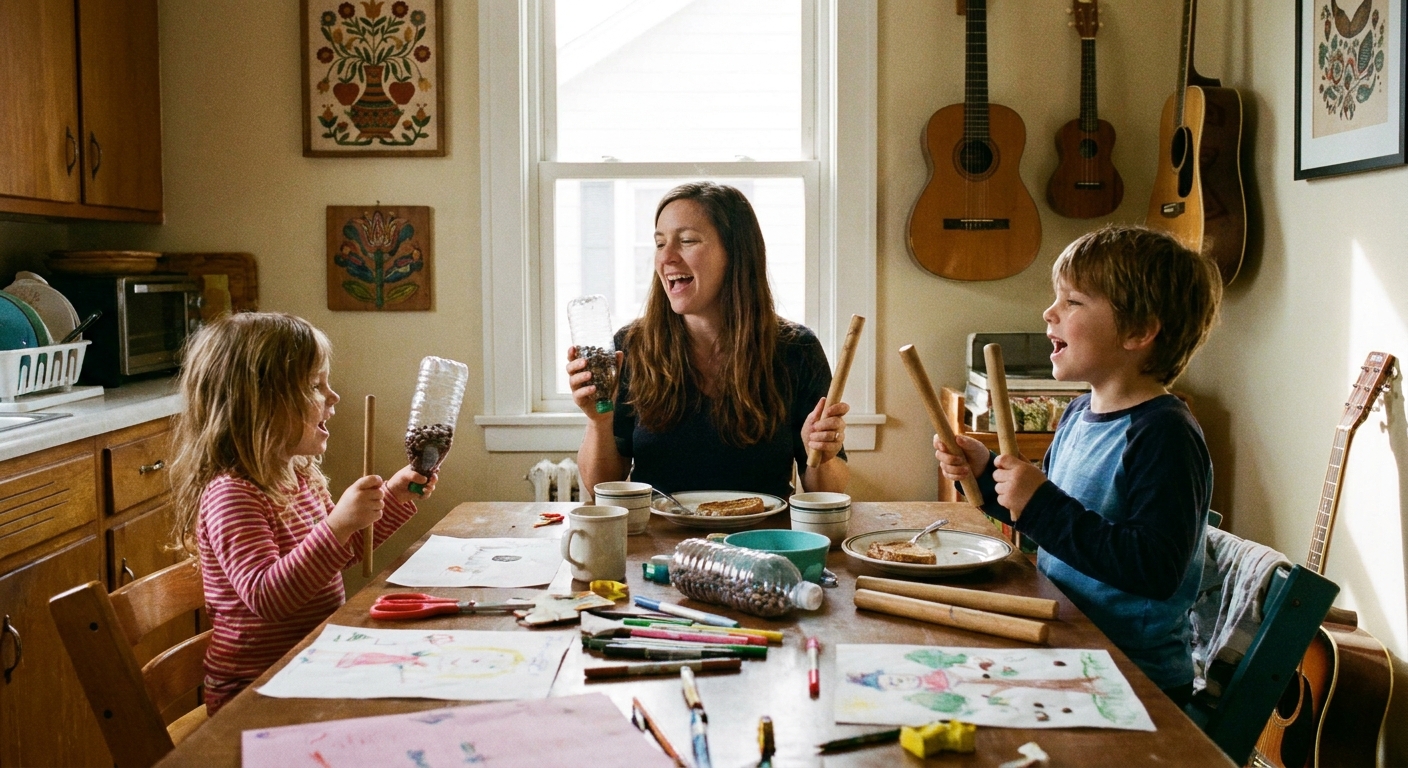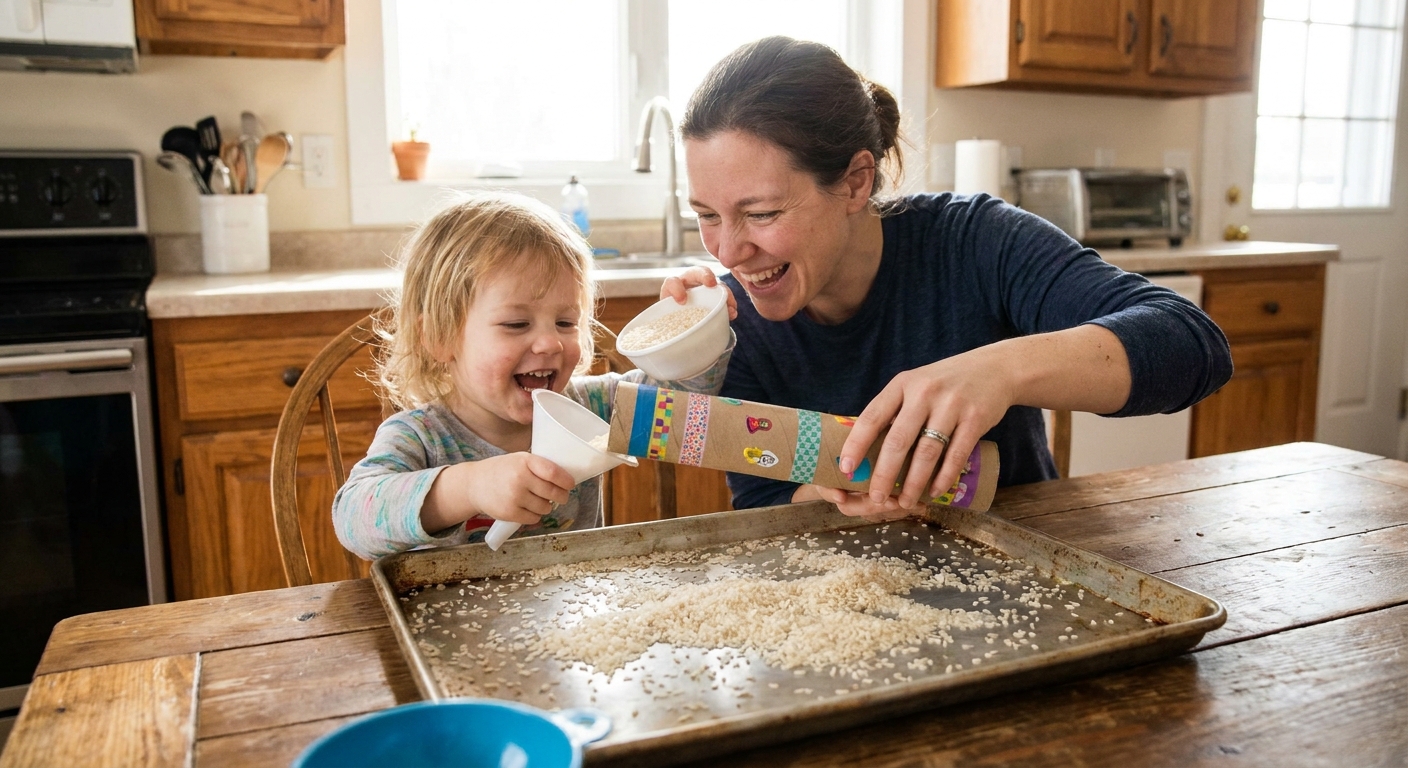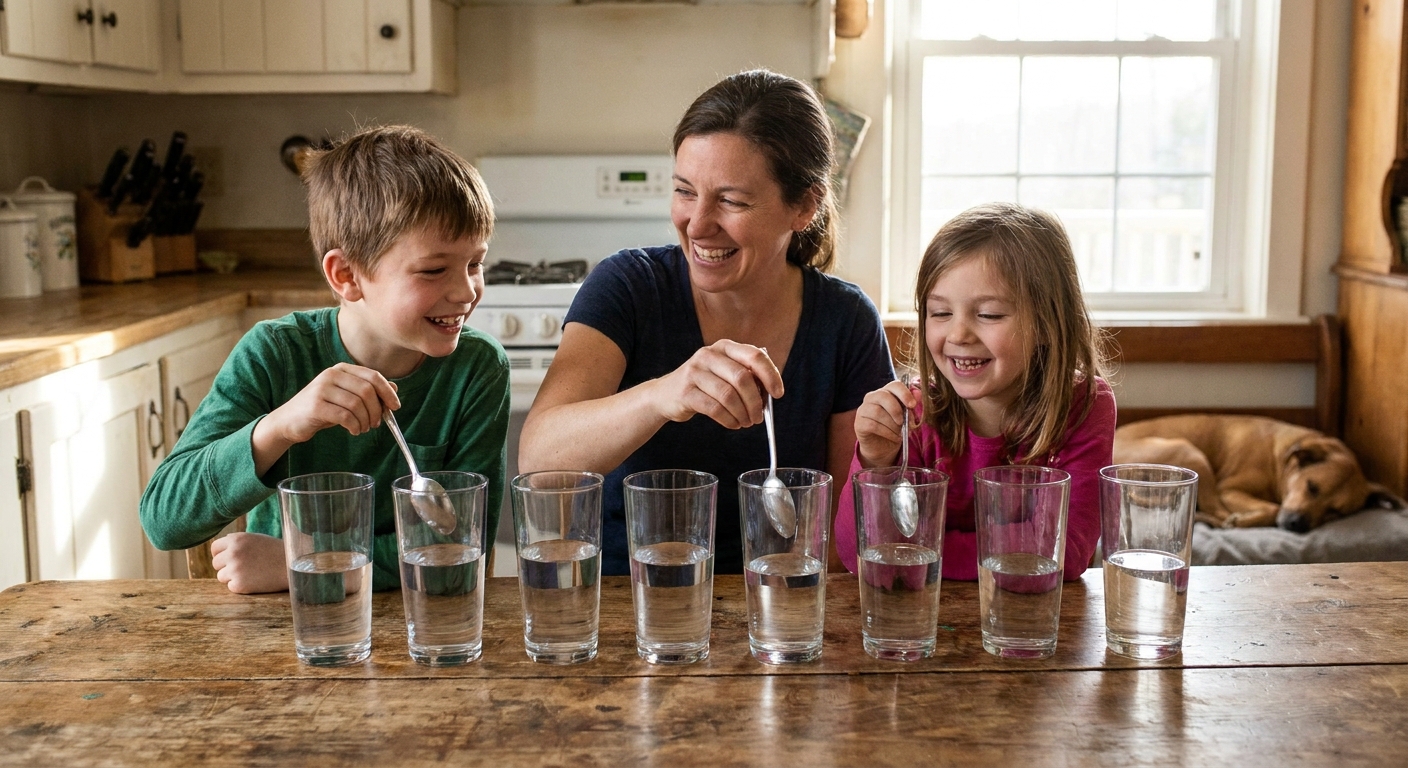

The fastest way to get kids listening deeply outside is to give the breeze a job.
I learned this the hard way when my three were little and our “nature walk” kept turning into a sprint to the nearest puddle. One day we came home with pockets full of treasures, tied them to a stick, and hung the whole thing from the porch. Suddenly, the wind was making music and everyone wanted to experiment. Quietly. On purpose. It felt like a tiny miracle.
What kids learn
This craft is sweet and simple, but it is also a hands-on science and music lesson that does not feel like one.
- Sound and vibration: When a shell taps a stick, kids can feel the tiny wiggle that becomes sound.
- High and low sounds: Different materials and sizes can sound brighter (higher) or duller (lower). A big shell often makes a deeper “clunk” than a tiny seed pod’s “tick.”
- Volume: Heavier objects and harder materials often sound louder than soft, spongy ones, especially when the wind is strong.
- Rhythm: Gusts create patterns, pauses, and surprise “beats.”
- Design thinking: Kids test, adjust, and improve, which is real problem solving.
If your family loves adding music to making, you might also enjoy our homemade instrument ideas in DIY shakers and rhythm sticks for family sing-alongs or the twirly movement fun in DIY sensory ribbon wands.
Gathering materials
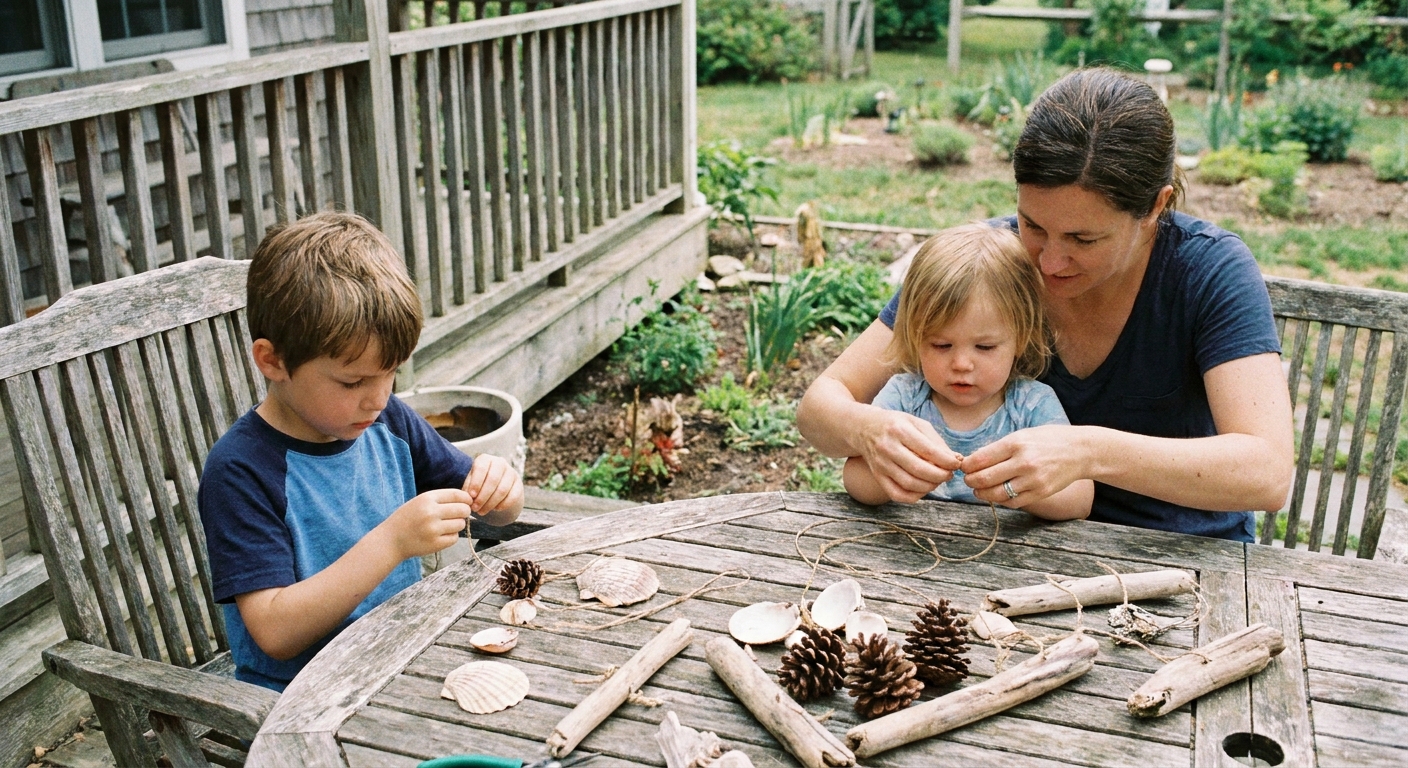
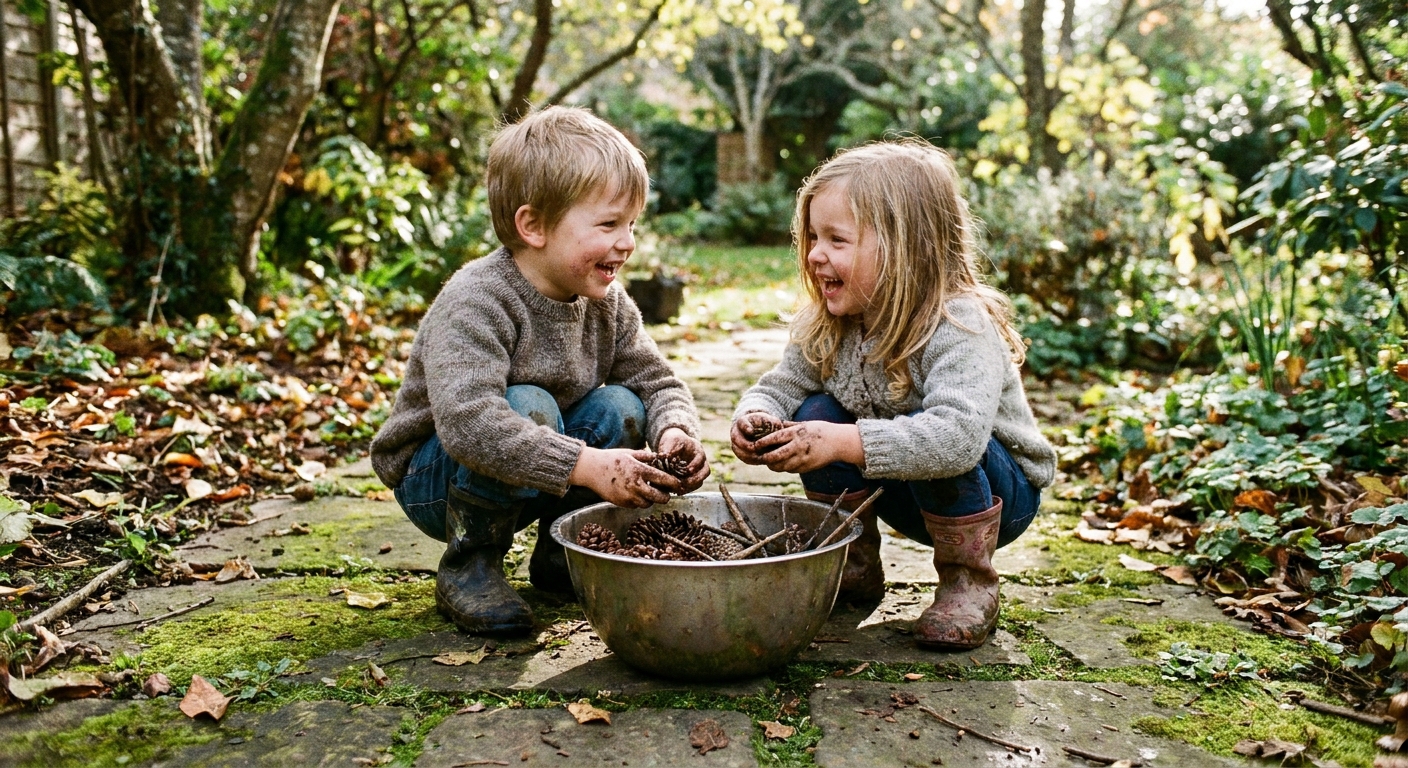
You can make a beautiful wind chime with almost anything that can hang and bump into something else. I like to set a simple rule before we collect: pick up what the ground has already offered. No pulling shells from living animals, no breaking branches off trees.
One more quick note: some parks and beaches do not allow collecting natural items. If you are not sure, do a quick check of local rules and stick to your own yard or sidewalk finds.
Great nature finds
- Sticks (one sturdy stick for the top, plus smaller twigs if you want extra clackers)
- Pinecones (small ones work best)
- Shells (already empty and rinsed)
- Seed pods, acorns, or gumnuts
- Interesting pebbles with natural holes, if you find them
- Feathers (pretty, but keep them as decoration, not the main sound-maker)
Helpful from-home supplies
- String, twine, or yarn (twine is best outdoors)
- Scissors
- A bead or two (optional spacers)
- Tape (for wrapping string ends while threading)
- A small hand drill, craft awl, or sturdy nail (adult-only)
- Optional: clear outdoor sealer for the top stick
Safety note: If your chime is for toddlers or will hang where very little ones can reach it, skip small beads and tiny pieces. For the youngest kids, make a “look and listen” chime that hangs up high, out of grab range.
Build your wind chime
This is my favorite version because kids can do most of it, and it actually sounds like something you want to keep.
1) Prep the top stick
Choose a stick about the length of your child’s forearm. Brush off dirt and let it dry if it is damp.
- Make a hanging loop: Cut a long piece of twine. Tie one end around the stick near the left side, then tie the other end around the stick near the right side. When you lift the twine, it should form a loop centered above the stick.
- If it tips to one side, slide the knots a little until the stick hangs level.
- If the stick is slippery, wrap the twine around a few extra times before knotting.
2) Choose 5 to 9 strands
More strands make a fuller sound, but they tangle more easily. For first-timers, I like five strands.
Cut each strand a different length so everything does not bump in the same spot. A simple set to start with is about 8 inches, 12 inches, and 16 inches (then repeat). You can go shorter or longer depending on where you plan to hang it.
3) Attach your nature pieces
If your pieces have natural holes (some shells and seed pods do), you can thread directly. If not, use one of these methods:
- Adult-made hole: Carefully drill or poke a hole near the top of a tough seed pod or shell. Some items crack or split, and that is normal. If it breaks, you just found “science,” and you can choose a sturdier piece.
- Wrap method: For pinecones, wrap twine around the base tightly, then knot and add a dab of glue if needed. Pinecones can crumble if you try to drill them, so wrapping is often the easiest win.
- Small net: Tie a tiny “basket” with twine to cradle a pebble or special find.
Knot each item in place. If kids are still learning knots, use a simple double knot, then add a small extra tie below it as a stopper.
4) Tie strands to the top stick
Space them across the stick. The goal is gentle bumping, not constant clacking. If the strands are too crowded, they will tangle and sound like a frantic keychain.
5) Add a center “striker” (optional)
For a clearer chime sound, hang one slightly heavier piece in the center so the wind swings it into the others. A larger shell or a pinecone works well.
6) Test, listen, tweak
Before you hang it up, hold the loop and gently blow on it, or walk it around like a tiny parade float.
- No sound? Move pieces closer together or add one heavier item.
- Too loud? Swap in lighter finds or space strands farther apart.
- Tangles? Shorten the longest strands and reduce the total number.

Where to hang it
Wind chimes need moving air, but not a wind tunnel.
- Best spots: A porch corner, a low tree branch, a pergola beam, or a fence hook where breezes pass through.
- Avoid: Directly next to a wall, or where it will scrape siding and paint.
- Anti-tangle trick: Keep the longest strands no lower than your child’s elbow length. Very long strings love to braid themselves.
If you want it to last, use twine or nylon cord and consider brushing the top stick with a thin coat of outdoor sealer. Let it dry fully before hanging.
Also, give it a quick check now and then. Outdoor string can stretch, knots can loosen, and natural pieces can soften after rainy weather.
Outdoor sound lab
Once your chime is up, the real magic begins. Here are my favorite “kitchen table” prompts that work just as well outside.
Listen like a scientist
- Stand close, then take five giant steps back. How does the sound change?
- Close your eyes and point to where you think the wind is coming from.
- Can you hear one piece that sounds different from the others?
Try simple experiments
- Soft vs loud: Swap one pinecone for a shell and compare how strong the “tap” sounds.
- Higher vs lower: Try two similar items in different sizes, like a small shell and a larger shell, or a tiny pebble and a bigger pebble in a twine net. Which one sounds brighter? Which one sounds deeper?
- Plays more often: Put shorter strands on one side and longer strands on the other. In many breezes, the shorter side wiggles more, but this is a try-it-and-see experiment. Move it to a new spot and compare.
Add rhythm
Stand near the chime and clap a pattern that matches what you hear. If you want a little structured movement to go with it, pick an action song from classic action songs for preschool fine motor skills and do it in “whisper mode” so the chime stays the star.
Variations by age
For toddlers (with close supervision)
- Use thick ribbon or chunky twine.
- Choose larger items only, like big pinecones and large shells.
- Hang it high and treat it as a listening activity, not a toy to handle.
For preschoolers
- Let them choose a “sound theme”: mostly shells, mostly pods, mostly pinecones.
- Teach one knot: wrap, cross, pull, tighten. That is enough.
- Invite them to name their chime like it is a band.
For big kids
- Challenge them to sort materials from brightest click to deepest thud, then build a chime that moves from “high” to “low.”
- Try adding a second top stick for a two-level chime.
- Experiment with spacing: cluster some strands, spread others, then compare.
Troubleshooting
“It barely makes any sound.”
- Move it to a spot with more breeze.
- Add one heavier center piece to act as a striker.
- Bring hanging pieces slightly closer together.
“It is too loud for our space.”
- Use lighter pieces like small seed pods instead of shells.
- Space strands farther apart so they strike less often.
- Hang it where it gets gentle air, not strong gusts.
“Everything keeps tangling.”
- Reduce the number of strands.
- Trim the longest strands.
- Make sure knots are tight so pieces do not slide down and bunch up.
“The twine gets gross outdoors.”
- Switch to a weather-resistant cord.
- Bring the chime in during long rainy stretches, then rehang when dry.
- Replace any string that looks fuzzy, moldy, or weak. It is normal wear and tear.
The breeze song
After we hang a new chime, we always do one little ritual. We put a hand on our heart, listen for the first sound, and then we whisper a “breeze song” line by line:
Hello, wind, so light, so free,
Play your tiny song for me.
Tap the shells and shake the pine,
Make a little music line.
You can make up your own, too. The point is not perfect rhyming. It is teaching kids to pause long enough to notice the world answering back.
If you want more easy make-and-play ideas, wander through our Kids Crafts guide for projects that pair naturally with singing, listening, and storytelling.