
The first time I made a coffee can drum, it was because my kids were tapping on everything that was not a drum. Table. Chair. The dog bowl. I grabbed an empty can from the recycling, and in about ten minutes we had something they could bang on that was actually made for it. The best part is these little drums can be surprisingly sturdy if you choose the right drumhead and use a few simple tricks to keep everything tight.
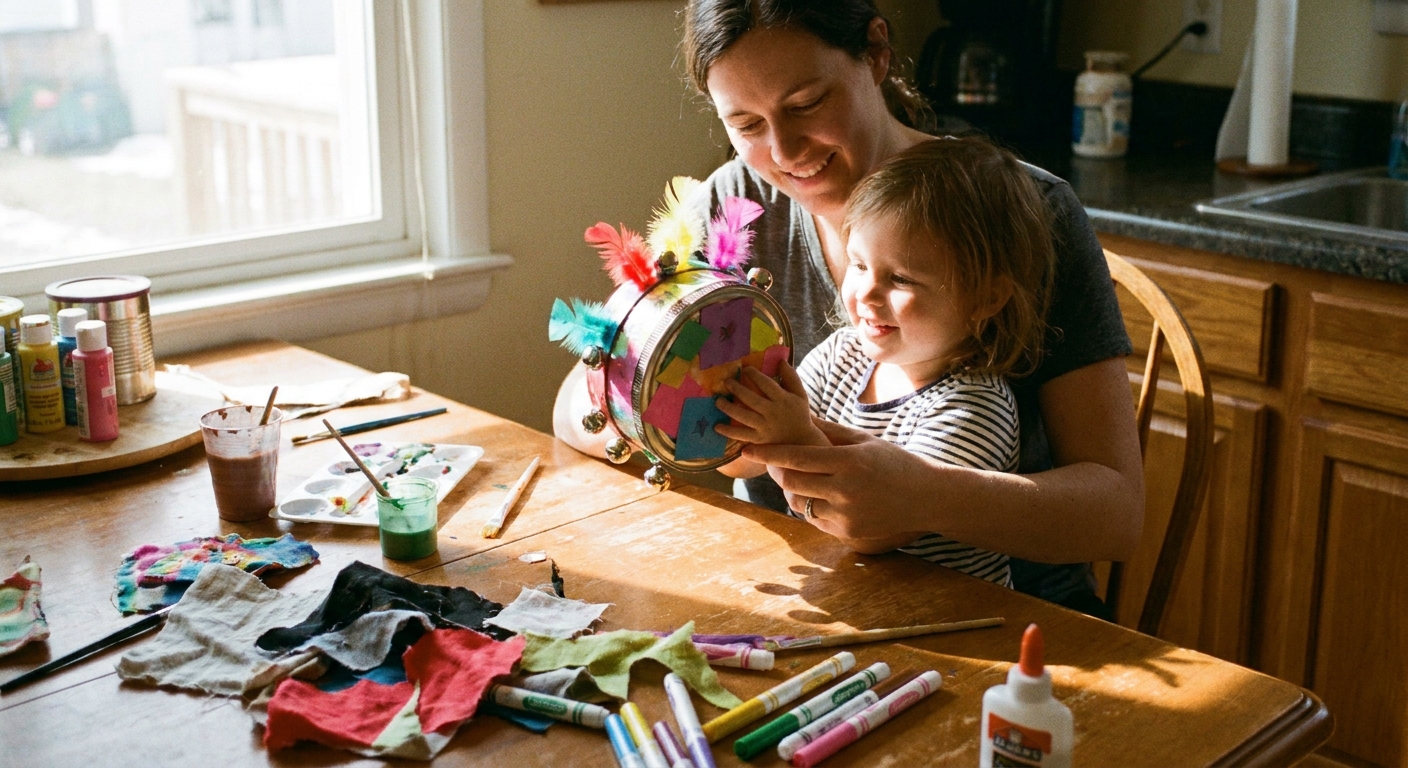
Before you start
- Adult-only prep for metal: If you are using a metal tin, an adult should handle edge padding and any cutting.
- Scissors and tape: Even with plastic and cardboard, little hands need supervision around scissors and long strips of tape.
- Under 3: Skip small decorations (pom poms, tiny foam bits) and anything that could peel off and become a mouth-sized surprise.
Choose the right can
Not all coffee cans are equally kid-friendly. Before we talk drumheads, start with a can that will feel comfortable in little hands and will not fight you during assembly.
- Plastic coffee canister: Light, no sharp edges, easiest for younger kids. Sound is a bit softer, but still very satisfying.
- Cardboard coffee can (with plastic lid): Also light and easy, but it dents faster and can get fuzzy if it gets wet.
- Metal coffee tin: Loudest and most drum-like, but only use it if you are confident you can make the rim safe (more on that below).
My quick rule: toddlers do best with plastic or cardboard. Preschoolers and up can handle a metal tin if an adult preps the edges carefully.
Safety check: make the rim safe
This is the part that makes the whole project feel durable instead of “made from recycling.”
- Wash and dry the can completely, especially if it held coffee or powdered creamer that clings in corners.
- Inspect the rim with your fingertips. If you feel anything sharp, fix it before decorating.
- For metal tins: cover the rim with a thick band of duct tape or gaffer’s tape (if you have it), folding it over the edge so no metal is exposed.
- For cardboard: reinforce the top edge with a wrap of packing tape or duct tape so it does not crush when kids drum hard.
If the can has any jagged spots that cannot be covered smoothly, choose a different can. There are always more cans.
Drumhead materials
The “drumhead” is just your stretched top surface. What you pick changes the sound, the bounce, and how long the drum survives a week of enthusiastic living room concerts. Results can vary a lot based on can size, tape brand, and how tightly you apply everything, so treat this as a practical starting point.
| Drumhead material | Sound | Durability | Best for | Notes |
|---|---|---|---|---|
| Heavy packing tape (tape drumhead) | Snappy, bright | Very high | All ages | Fast, mess-free, great when you need a drum today. |
| Tyvek mailing envelope | Crisp, drum-like | High | Preschool and up | Strong and slightly textured. You still need tape or a ring to secure it. |
| Balloon latex (cut and stretched) | Bouncy, deeper “thump” | Medium | Older kids with supervision | Can tear if overstretched. Latex allergy risk, and popped pieces are a choking hazard. |
| Faux leather or vinyl (thin) | Warm, mellow | High | Big kids, family drum circle | Needs strong tape and a tight wrap. Great for a “special” drum. |
| Fabric (canvas or denim) | Soft, quiet | Medium | Apartment-friendly drumming | Hard to get very tight without a ring. Lovely for gentler play. |
| Paper (construction or kraft) | Flat, papery | Low | Short-term craft time | Works in a pinch but rips quickly with real drumming. |
If you want the toughest option: use a tape drumhead. If you want the most “real drum” feel with household materials, try Tyvek or vinyl, and focus on getting it tight.
Method 1: Tape drumhead
This is my favorite for playgroups because it holds up, it is quick, and there is no waiting for glue to dry.
What you need
- Empty coffee can (plastic, cardboard, or metal)
- Wide packing tape or duct tape
- Scissors
- Optional: extra tape for rim padding
Steps
- Pad the rim if needed (especially metal).
- Create a crisscross base: lay strips of tape across the opening from edge to edge. Add enough strips to cover the opening with slight overlap, pressing firmly as you go.
- Rotate and repeat: add another layer of strips going the other direction, making a woven look.
- Seal the edge: wrap one long strip around the rim so it catches the tape ends and locks everything down.
- Test the sound: tap with fingertips. If it feels loose, add one more layer across the top.
Little trick: the tighter your tape is pressed along the rim, the better the “pop.” I use the back of a spoon to burnish it down, especially on cardboard.
Method 2: Tyvek or fabric
If you want a drumhead that looks more like a traditional drum, this method is worth the extra couple minutes. The idea is simple: you stretch a material over the opening and clamp it down with a sturdy ring of tape.
What you need
- Tyvek envelope, thin vinyl, denim, or canvas
- Scissors
- Packing tape or duct tape
- Optional: a rubber band or large hair elastic (temporary helper)
Steps
- Cut a circle: cut a circle with at least 2 inches of extra material beyond the rim on all sides (about 4 inches larger than the opening’s diameter).
- Center it over the top and pull it taut. If you have a big rubber band, slip it over the material to hold the tension while you tape.
- Tape opposite sides first: tape at “north,” then “south,” then “east,” then “west,” pulling gently each time.
- Work around the rim with shorter pieces of tape, smoothing wrinkles as you go.
- Add a tension ring: wrap one continuous band of tape around the rim to reinforce and protect the edge.
Sound tip: Tyvek usually gives a crisp tap that is great for rhythm games. Denim and canvas are quieter but still satisfying for steady beats.
Method 3: Balloon drumhead
This version is delightfully bouncy, which kids love. It is also the most likely to tear if pulled too hard, so I keep it for older siblings or supervised craft time.
What you need
- One large balloon (the bigger the better)
- Scissors
- Strong tape
Steps
- Cut the balloon: snip off the neck and use the wider body section.
- Stretch over the opening like a tight cap.
- Tape the edge down all the way around, then add a second wrap of tape as a reinforcement band.
Balloon safety note: latex can trigger allergies, and popped balloon pieces are a choking hazard. I skip this method entirely for toddlers and any kids who mouth materials.
If the balloon keeps slipping, switch to the tape drumhead method. Some balloons are just too thin for heroic drumming.
Decorate without dulling
Kids usually want to decorate first. I get it. But if paint drips onto your drumhead, the sound changes and sometimes the head loosens. So I like to decorate the sides and bottom, then do the drumhead last.
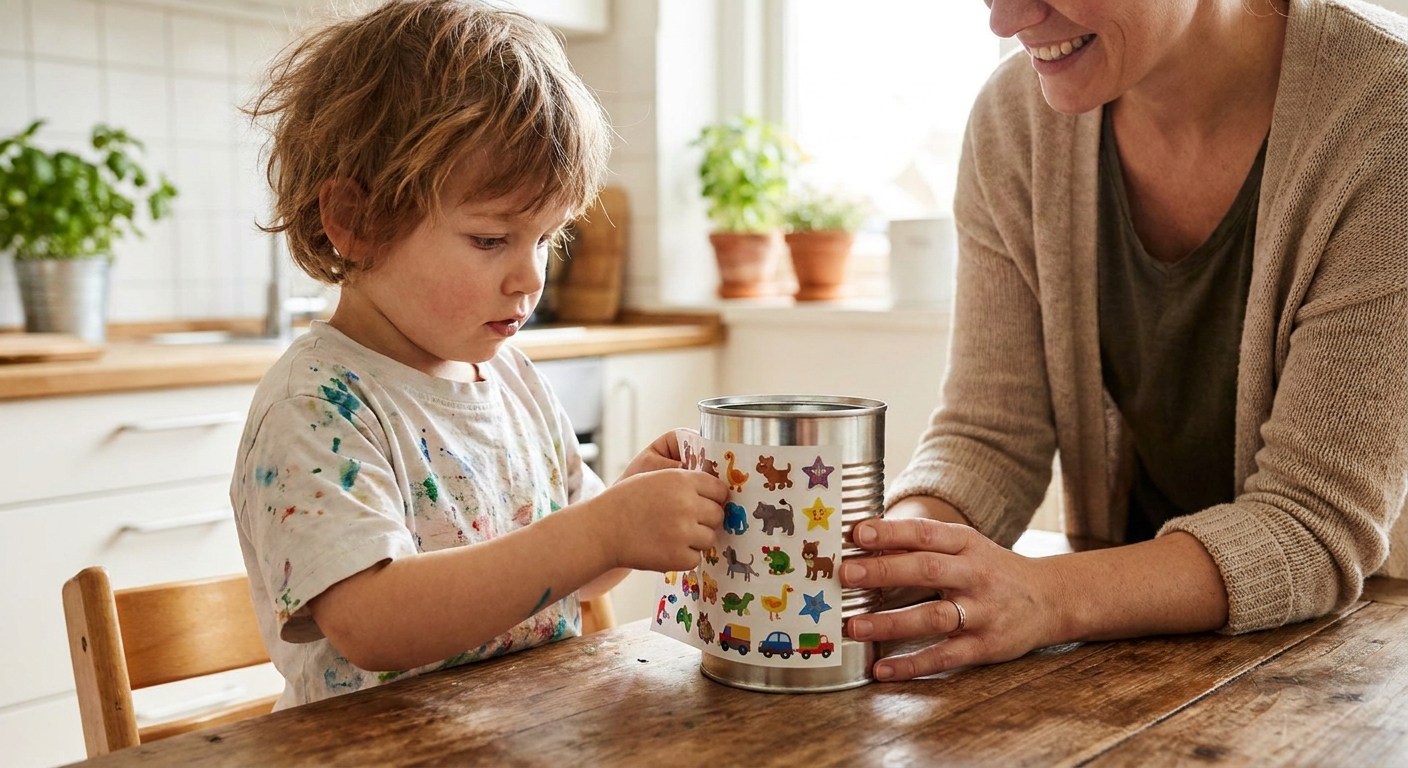
- Washi tape stripes: fast, colorful, and removable.
- Acrylic paint on plastic or metal: use thin coats and let dry fully before adding the drumhead.
- Paper wrap: wrap the can with colored paper, then seal it with clear packing tape for durability.
- Texture fun: glue on pom poms or foam shapes on the sides only, not the rim where hands will grip. For under-3, skip these small add-ons.
Make it last
- Double wrap the rim: one band of tape to cover edges, a second band to lock the drumhead down.
- Cover cardboard: if your can is cardboard, wrap the body in clear packing tape after decorating. It becomes wipe-clean and less likely to dent.
- Add a grippy band: ribbon can slide around on smooth cans, so I like a strip of athletic tape, self-adhesive wrap, or even a layer of masking tape under painter’s tape to make a more secure grip.
- Store it dry: fabric and cardboard hate bath time. These are living room drums, not tub drums.
How to play
Whenever we introduce a new percussion instrument at my house, we also introduce two little rhythm games. It keeps the drumming musical, and it helps kids practice listening, not just booming.
Two easy games
- Copycat beats: you tap a pattern (tap tap pause tap), they echo it back.
- Loud and soft conductor: you raise your hands for louder, lower them for quieter. Kids love being the conductor next.
If your crew is in a musical mood, pair your new drums with homemade shakers and rhythm sticks from our craft table over at DIY Shakers and Rhythm Sticks for Family Sing-Alongs.
Troubleshooting
My drumhead sounds floppy
Add another layer across the top (for tape heads) or pull the material tighter and retape (for Tyvek or fabric). Most floppy drums just need more tension and a tighter seal at the rim.
The tape will not stick
Make sure the rim is clean and fully dry. On some plastics, packing tape can lift. Duct tape often grips better. Press it down firmly and wrap the rim in one continuous band to lock it in place.
The drum is too loud
Switch to a fabric drumhead, or place a soft cloth inside the can to dampen the sound. You still get rhythm, just with fewer “stadium concert” vibes.
Wrinkles keep forming
Tape opposite sides first (north, south, east, west), then fill in between. Small pieces of tape are easier to smooth than one long struggling strip.
Tape edges are peeling
Trim any loose flap, wipe the area clean and dry, then seal it with a fresh wrap of tape around the rim or body. On cardboard, pressing tape down with a spoon (burnishing) helps it stay put.
If you do not have coffee cans
If you do not have coffee cans in your recycling bin, this same idea works with:
- Oatmeal canisters
- Large plastic food tubs
- Clean formula containers
And if your kids want to keep building instruments after the drum, our shoebox rubber band guitar is a wonderful next step because it adds pitch to your kitchen table band.
Quick supply list
- Packing tape and duct tape
- Scissors
- Stickers or washi tape
- One Tyvek envelope (the kind that survives anything)
- A couple of big balloons (optional, for older kids)
That is it. A little stash like this turns a rainy afternoon into a drum-making session, which is much more fun than hearing tiny fingers tap on your windows for the next hour.