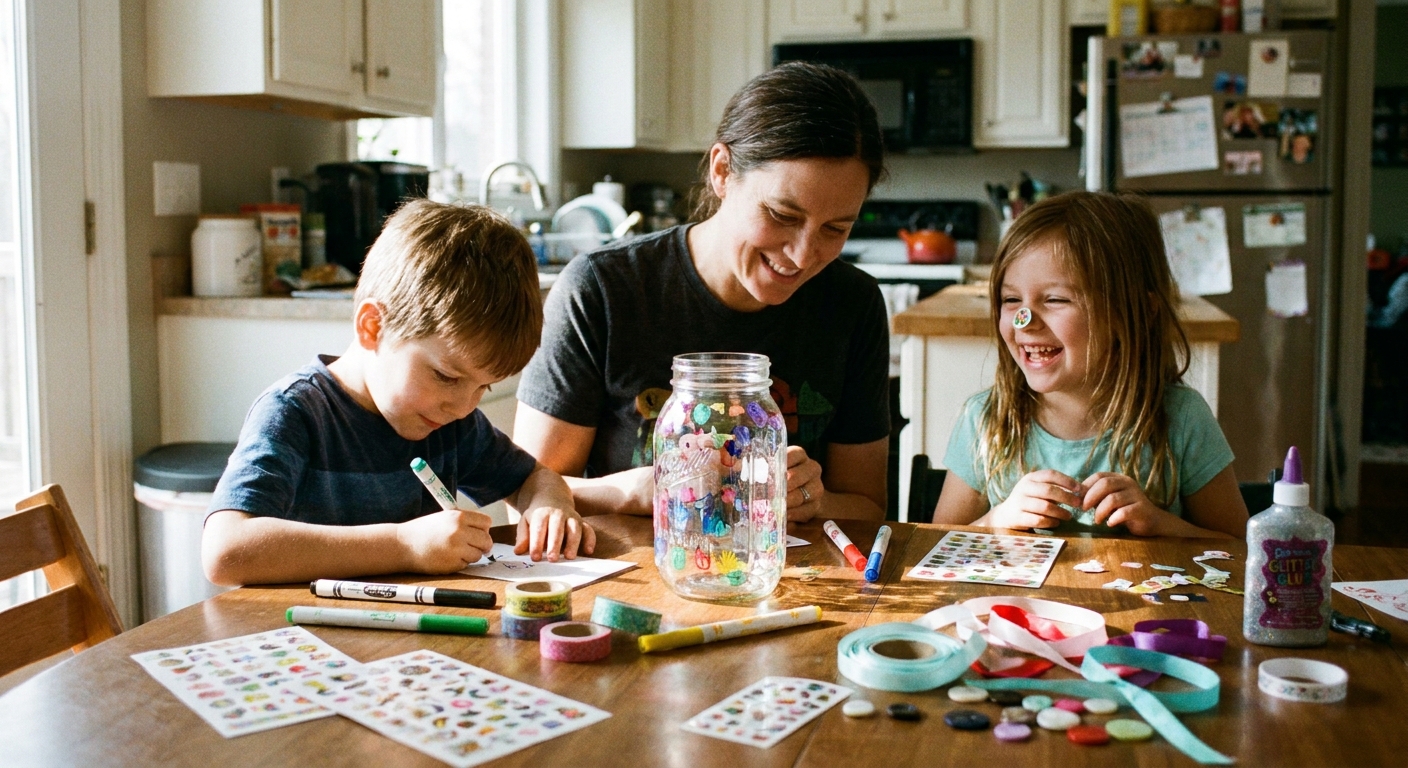

Every February, I tell myself I will keep Valentine’s Day simple. And every February, I find myself at the kitchen table with a child who has Very Big Feelings about hearts, glitter, and who gets what card. So we lean into what kids do best. We make something a little messy, a little dramatic, and completely ours.
These are my favorite story-cards: multi-panel valentines that unfold like tiny picture books. Each one has a beginning, middle, and end, plus a little spot for your child to add a drawing or a “sound effect” word. You can make one special card for a grandparent, or a stack of simpler versions for classmates.
What makes a story-card work
A good story-card is short enough to read in one breath, but interactive enough that your child feels like the author.
- 3 to 5 panels often works well for little hands.
- Repeat one phrase across panels (kids love a predictable line).
- End with a “you” (the reader becomes part of the story).
- Leave space for art. The drawing is half the storytelling.
Supplies (use what you have)
- Construction paper or cardstock (one sheet makes one card)
- Markers or crayons
- Glue stick
- Scissors (adult help for preschoolers)
- Optional: stickers, tissue paper, yarn, washi tape, recycled magazine scraps
My biggest sanity-saver: put just a few supplies in a tray or shoebox lid. When everything is out, everything gets used.
Easy folds and add-ins
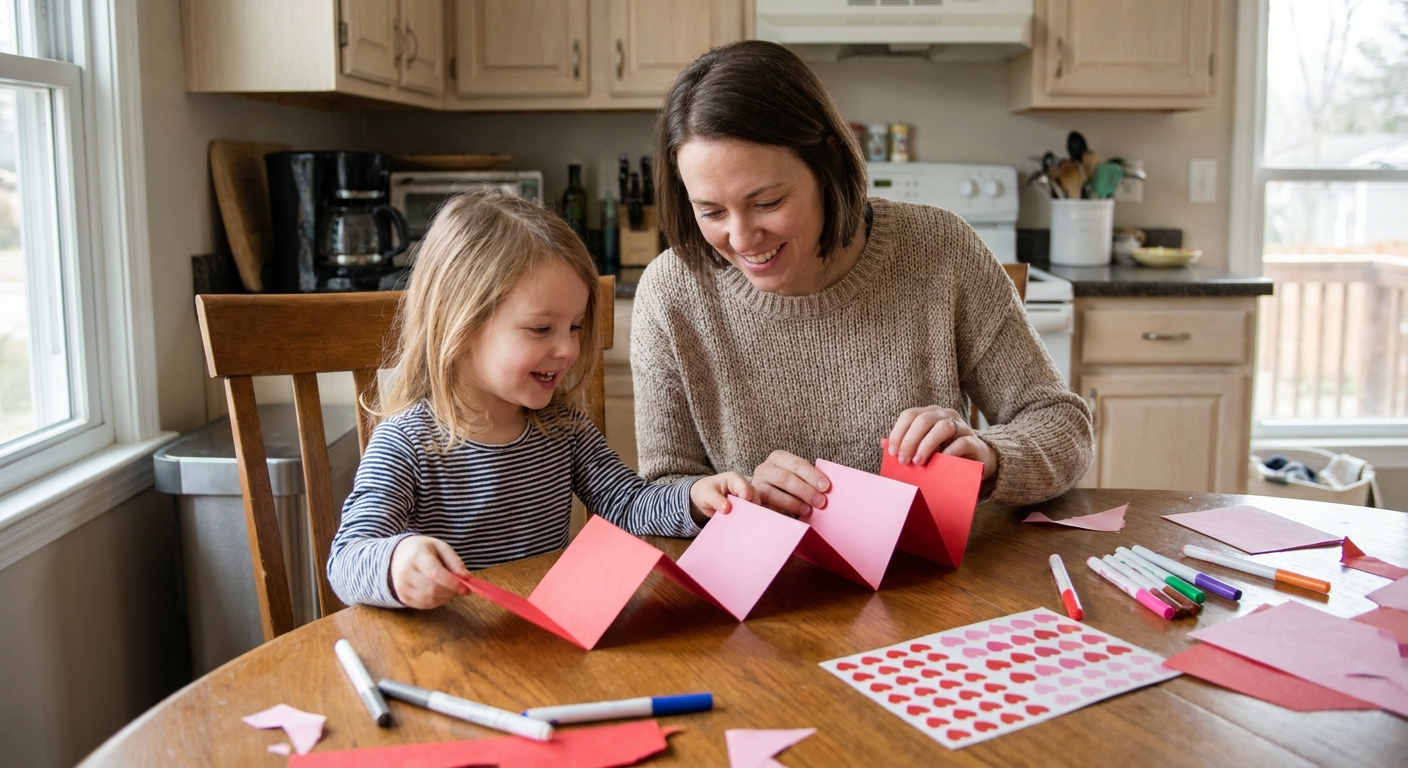
1) Accordion fold (best for 4 to 6 panels)
Cut a strip of paper, then fold it back and forth like a fan until you have 4 to 6 sections. The first section is the cover. Each fold becomes the next “page.”
2) Gate fold (best for a surprise ending)
Fold both sides of a sheet inward so they meet in the middle like doors. Open the “gates” to reveal the big final picture inside.
3) Tri-fold (quick and classic)
Fold a sheet into thirds to make three panels. It is like a brochure, but cuter.
If your child is very young, do the folding yourself and let them do the decorating. That still counts. It counts a lot.
7 Valentine story-cards
Each idea below includes: a quick build, a mini story script you can copy, and a prompt for your child to personalize it.
1) The Lost Heart (accordion)
Make it: Accordion fold into 4 sections. Add a heart on each page (draw it in a new hiding spot each time, or glue a new little paper heart on each section).
Story text:
Panel 1: “Uh-oh. My heart rolled away!”
Panel 2: “It bounced past giggles and shiny shoes.”
Panel 3: “It squeezed through a hug and a happy hello.”
Panel 4: “It found the safest place. With you.”
Kid prompt: “Where does the heart hide on each page?” (Under a chair, behind a pet, inside a flower, in a pocket.)
2) The Hug Coupon That Came Alive (gate fold)
Make it: Gate fold. On the two doors, draw hands reaching in. Inside, draw the biggest hug shape you can.
Story text:
Front left door: “This hug is waking up…”
Front right door: “…it heard your name!”
Inside: “Open for one giant, squishy, hold-you-close hug. Love you!”
Kid prompt: Add a “hug sound effect” inside (SQUEEZE, WHOOSH, MMMMM).
3) The Brave Little Compliment (accordion)
Make it: Accordion fold into 5 sections. Draw a tiny speech bubble character that grows bigger each panel.
Story text:
Panel 1: “A small compliment wanted to say hello.”
Panel 2: “It felt shy… but it tiptoed closer.”
Panel 3: “It practiced: ‘You are…’”
Panel 4: “It took a breath: ‘You are awesome!’”
Panel 5: “And your smile made it feel brave, too.”
Kid prompt: Let your child choose the compliment: kind, funny, helpful, brave, a good friend.
4) The Cookie That Wanted to Share (tri-fold)
Make it: Fold into thirds. Cut a circle “cookie” from brown paper and glue on paper “chips” (or draw them).
Story text:
Panel 1: “A warm cookie said, ‘I’m too good to keep to myself.’”
Panel 2: “It broke into pieces… one, two, three.”
Panel 3: “It whispered, ‘Sharing is love. Especially with you.’”
Kid prompt: Draw what kind of cookie it is and who gets each piece.
5) The Pocket of Tiny Thank-Yous (pocket insert)
Make it: Create a simple pocket by gluing three sides of a small rectangle to the inside of the card. Slide in 3 to 5 tiny paper hearts.
Story text:
Cover: “A pocket full of love…”
Inside: “Each heart is a thank-you.”
Hearts: “Thank you for…” (one idea per heart)
Kid prompt: For young kids, you write the words while they dictate. For older kids, they can write one word on each heart: “laughs,” “help,” “stories,” “snacks,” “playing.”
6) The Balloon That Carried a Wish (accordion)
Make it: Accordion fold into 4 sections. Draw a balloon string that continues across panels. Add a heart balloon on each page floating higher.
Story text:
Panel 1: “A heart balloon floated up with a wish.”
Panel 2: “It passed the rooftops: ‘I hope you feel loved.’”
Panel 3: “It passed the clouds: ‘I hope you feel brave.’”
Panel 4: “It landed gently: ‘I hope you feel happy today. Love, me.’”
Kid prompt: Choose the wishes together. Keep them simple and true.
7) The Two Friends and the One Big Problem (tear-and-repair card)
Make it: Cut a heart from the front of the card, then tear it in half (yes, really). On the inside, tape the heart back together with pretty tape or paper strips like “bandages.”
Story text:
Front: “Sometimes hearts get bumped.”
Inside left: “Two friends said, ‘Oops.’”
Inside right: “They listened, forgave, and fixed it together.”
Bottom: “I’m glad you are my Valentine.”
Kid prompt: Talk through real-life repair phrases: “I’m sorry,” “Are you okay?” “Can we try again?”
Make it a read-together moment
Once the glue sticks are out and everyone’s fingers are suspiciously shiny, do a little “premiere.”
- Have your child sit in the storyteller seat (a chair, a pillow, a laundry basket throne, all acceptable).
- You be the audience and react big. Gasp when the heart rolls away. Cheer when it comes back.
- Read it again, but let your child fill in one repeated line.
If you want to add a musical touch, you can borrow the cozy rhythm of nursery rhyme storytelling and sing one repeated phrase on the same tune each time. That kind of repetition can be especially helpful for early readers.
For more family storytelling play, I love pairing valentines with The Round Robin Story Game or winding down afterward in a blanket fort like this cozy DIY reading fort.
Age tweaks that keep this fun
Toddlers (1 to 3)
- Do the folding yourself.
- Use chunky crayons and big sticker shapes.
- Skip loose mini hearts and tiny “chips” that could end up in mouths.
- Tell the story out loud while they scribble. You write one simple line after.
Preschoolers (3 to 5)
- Let them choose the character (heart, puppy, cookie, star).
- Use 3 panels and one repeated phrase.
- Offer two options instead of open-ended questions: “Should the heart hide under the table or in the shoe?”
Early elementary (6 to 8)
- Invite speech bubbles and a twist ending.
- Challenge: “Use the word ‘because’ once.” It deepens the story instantly.
- Let them create a matching “author photo” by drawing themselves on the back.
Quick troubleshooting
“My kid hates writing.”
Great. They can draw the whole story and you add one caption per panel. Or try a stamp-style approach: one repeating line like “Love, love, love!” on every page.
“We have to make 20 of these.”
Keep the structure the same and change one element. For example, make 20 Lost Heart cards with the same four lines, and let your child draw a different hiding place on each one. Assembly-line crafting can still feel personal.
“Glitter is a no in my house.”
I hear you. Try tissue paper squares, paper confetti from a hole punch, or torn magazine hearts. Same sparkle, less mystery cleanup.
“How long does one take?”
Once the folding is done, most of these take about 5 to 10 minutes to decorate and caption. The pocket one can take a little longer if you are making lots of tiny hearts.
A sweet way to deliver them
If your child is giving these to classmates, tuck the story-card into a plain envelope and let the outside be simple: “To: ____ From: ____.” The surprise is in the unfolding.
If the card is for long-distance family, take a quick photo of your child holding the finished card before you mail it. Kids love seeing the moment captured, and grandparents love seeing the maker behind the story.
Quick safety note if you are crafting with little ones: keep tape cutters, scissors, and tiny pieces in the grown-up zone, and choose bigger shapes when you can.
And if your crew is in a sing-along mood while crafting, you can always keep a few gentle tunes going in the background. I keep a little rotation of indoor favorites handy, especially in winter: joyful winter songs to sing indoors.