
In my house, the quickest way to turn a plain afternoon into a full-on parade is to hand a kid something that makes a funny noise. Pots become drums, paper towel tubes become trumpets, and someone always insists the cat is the “audience.”
Today’s craft is one of my favorite kitchen-table science tricks: a homemade kazoo made from cardboard and wax paper. It really works, it is made from everyday odds and ends, and it teaches the most important sound lesson kids can actually feel: sound is vibration.
Best for: ages 3 and up with grown-up help (especially for the scissors and hole poking). Older kids can do most of it solo.
What kids learn
A kazoo does not work like a flute (where an air jet across an edge helps the air column vibrate). A kazoo works more like a tiny drumhead that your voice makes vibrate. When you hum, your vocal cords vibrate. Those vibrations create little pressure changes in the tube that make the wax paper membrane buzz. That buzzing is what you hear as the kazoo sound.
If your child puts a fingertip lightly on the wax paper while humming, they can feel the science happening in real time.
Materials
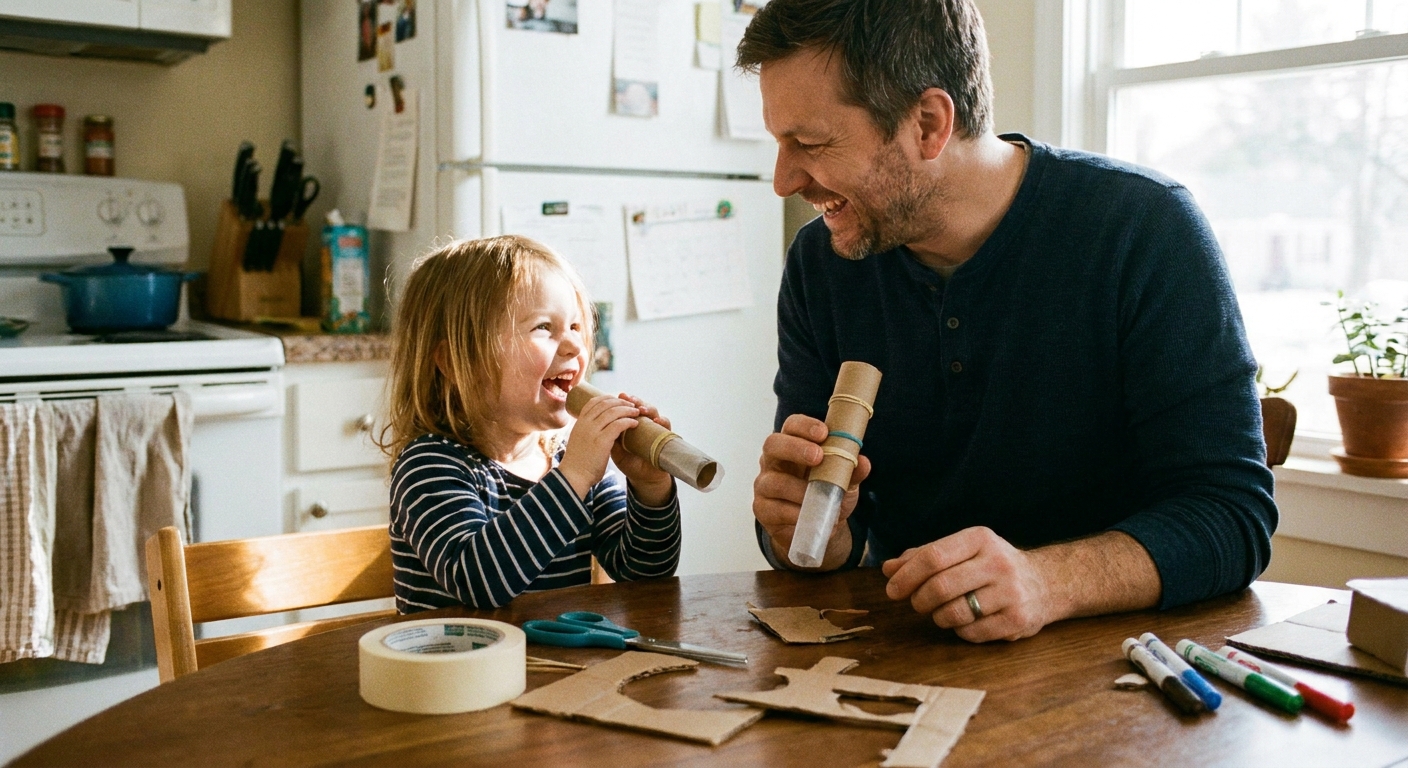
- Cardboard tube (paper towel tube works great, toilet paper tube works too)
- Wax paper (a piece large enough to cover one end with extra to wrap around)
- Rubber band (wide is easiest) or tape
- Pencil (for a small hole)
- Scissors
- Optional: markers, stickers, washi tape, paint, construction paper for decorating
Grown-up note: If you have very young kids, you handle the scissors and pencil poking. The decorating and humming part is more than enough fun.
Make the kazoo
1) Prep the tube
Make sure your cardboard tube is not squished. If it is, gently reshape it with your hands.
2) Cover one end with wax paper
Cut a square of wax paper that is a little larger than the tube opening.
- Place the wax paper over one end of the tube.
- Pull it fairly snug like a tiny drumhead. Not so tight it tears, just smooth and taut.
- Hold the wax paper in place while you wrap the rubber band around the tube end (this is where it likes to slip and wrinkle).
- If you do not have a rubber band, use tape all the way around the edge to seal it.
Tip from my trial and error pile: The smoother the wax paper is, the better the buzz. Wrinkles can still work, but they can muffle the vibration.
3) Add a buzz hole (optional, but helpful)
Many simple wax-paper kazoos will buzz even without a side hole, but I have found a small one often helps the membrane respond more easily.
Use a pencil to poke a hole in the side of the tube, about 1 inch down from the wax-paper-covered end. Start small, about the width of a pencil tip (roughly 1/4 inch). If you need more buzz, you can widen it little by little up to about pea-sized.
4) Decorate (keep the wax paper clear)
Let kids decorate the tube like a party horn, a bee, a rocket, anything. Just remind them: no tape or stickers on the wax paper end. That membrane needs to move freely.

How to play it
The biggest secret of the homemade kazoo is this: do not blow like it is a trumpet. Use your voice.
- Put your mouth on the open end of the tube (not the wax paper end).
- Hum like you are making a bumblebee sound: “mmmmmm.”
- Try “zzzz,” “vvv,” or “laaaa” too (anything voiced works great).
- Change your pitch high and low while you hum.
If your kid blows hard like it is a horn, it will mostly sound like air. A voiced hum is what makes the membrane buzz.
Vibration experiments
Once your kazoo is buzzing, you have a whole mini science lab in your hands. Here are a few quick experiments I love because they feel like play, but they build real understanding.
Experiment 1: Finger feel test
- Hum into the kazoo.
- Lightly touch the wax paper with one fingertip (do not press hard).
- Ask: “What do you feel?”
That tickly feeling is the membrane vibrating.
Experiment 2: Tight vs. loose membrane
- Make one kazoo with wax paper pulled tight.
- Make another with wax paper a little looser (still secured).
- Compare the sound.
Kids often notice the tight one sounds brighter and the loose one can sound floppier or quieter. This is a simple way to introduce that materials and tension affect vibration.
Experiment 3: Hole size challenge
- Try a small hole first.
- Carefully widen it a tiny bit (grown-up job) and test again.
You are exploring how small changes can affect how easily the membrane starts buzzing.
Experiment 4: Loud hum vs. gentle hum
Have your child hum softly, then a little louder. Ask them which makes bigger vibrations. You can even place a small scrap of tissue near the wax paper and see if it wiggles when you hum loud.
If it doesn’t buzz
Problem: “It just sounds like air.”
- Fix: Remind them to hum, not blow. Try “mmm,” “zzzz,” or “laaaa.” Many kids get it faster if you say, “Use your singing voice with your lips closed.”
Problem: “No sound at all.”
- Fix: Check that wax paper is snug and sealed around the tube. Big air leaks can steal the vibration.
- Fix: Make sure the wax paper is only secured at the edge. The middle needs to move freely.
Problem: “It buzzes once, then stops.”
- Fix: Wax paper may have gotten damp. Replace it. Moisture from breath can soften it, especially during enthusiastic concert season.
Problem: “It buzzes but sounds weak.”
- Fix: Smooth wrinkles in the wax paper and re-secure it snug.
- Fix: If you added a side hole, widen it slightly and test again.
Safety and age tips
- Scissors and pencil holes: Best as a grown-up step for preschoolers.
- Mouth-contact hygiene: These are like toothbrushes. It is simplest to make one per child and avoid sharing. If you do share, wipe the mouth end and let it dry fully.
- Small parts: Rubber bands and bits of tape can be a choking hazard for toddlers, so keep close supervision.
Make it a full sound day
If you want to stretch this into a longer activity (without it feeling like a lesson), try pairing it with another DIY instrument and a few movement songs.
- Build a string instrument next with my shoebox rubber band guitar, then compare: strings vibrate, membranes vibrate, voices vibrate.
- Keep the rhythm going with DIY shakers and rhythm sticks.
- For kids who love to move while they play, bookmark classic action songs for preschool fine motor skills and turn your living room into a tiny marching band practice.

Quick kid questions
Why does humming work better than blowing?
Humming (or any voiced sound) makes steady vibrations. Blowing moves air, but it does not automatically create the strong voice vibrations that make the wax paper buzz.
Can I use plastic wrap instead of wax paper?
Sometimes, yes. Plastic wrap can vibrate too, but wax paper usually gives a louder, crispier buzz because it is a bit stiffer. If you experiment, try both and let your child be the “sound judge.”
Does the length of the tube change the sound?
It can. A longer tube changes how the vibrating air behaves inside. Kids may notice subtle differences, especially if one tube is much longer than another.
One last cozy challenge
Once everyone has a kazoo, pick a familiar tune and turn it into a family “hum-along.” In my house, we like to start with something simple like “Twinkle, Twinkle,” then make it silly with animal voices. Quiet mouse hums. Loud bear hums. Wiggly snake hums.
Storage tip: Wax paper can crinkle or tear, so I try to store kazoos somewhere they will not get squashed. If the sound gets muffled later, a fresh piece of wax paper is the quickest fix.
Every time your child giggles and tries again, they are practicing breath control, listening skills, and the science of vibration without even noticing. That is my favorite kind of learning.