
Every Earth Day, I tell myself we are going to do something big and meaningful. Then real life happens, and I am standing in the kitchen with a stack of delivery boxes thinking, This is the plan. And honestly, it is a lovely plan.
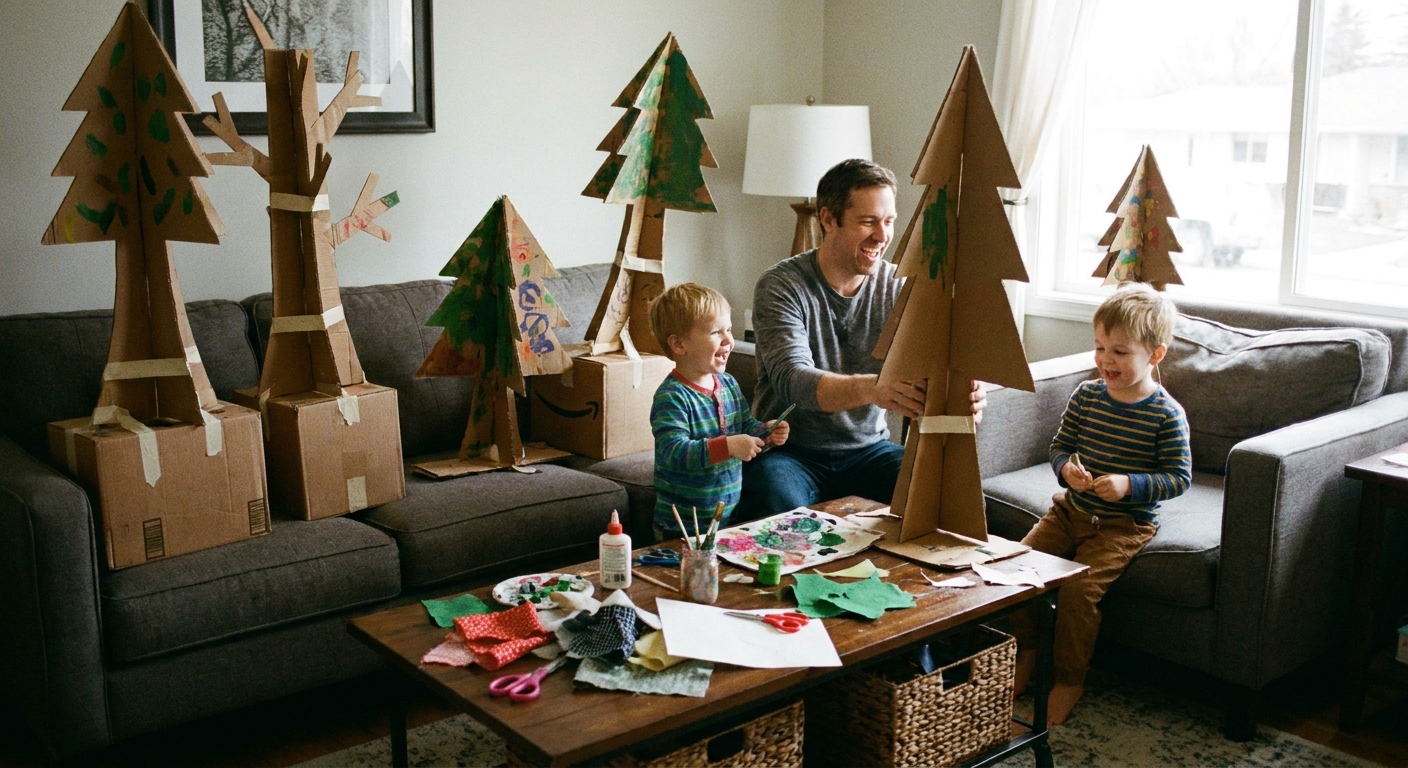
Today we are going to do two things that pair beautifully together: sing a handful of super repetitive, kid-friendly Earth Day chants, and then turn all that cardboard into an indoor forest. Not a perfect forest. A gloriously wobbly, tape-heavy, imagination-powered forest that makes kids feel like caretakers of their own little world.
How to use these songs
The goal is environmental stewardship, yes. But with kids, stewardship starts as affection. We sing about trees, water, animals, and clean air so those things feel personal and worth protecting.
- Keep it short. Pick one chant, sing it three times, then move on.
- Add a job. A lyric like “turn it off” pairs perfectly with a real-life switch flip.
- Let kids lead the sound effects. Wind noises, rain pats on knees, bird chirps, “trash can clunks.”
- Repeat for a week. The magic is in the sameness.
If you want more song ideas for family routines, our Kids Songs guide is a cozy place to wander.
5 Earth Day chants with motions
These are simple, original little chants you can sing to any steady beat. If you can clap, you can do this. I wrote them to be easy on grown-up voices and sticky in kid brains.
1) “Love This Earth”
Grown-up: Love this Earth (clap clap)
Kids: Love this Earth (clap clap)
Grown-up: Land and sea (stomp stomp)
Kids: Land and sea (stomp stomp)
All: Take good care, take good care, of the place we need (hands to heart, then big hug)
Motion idea: After “take good care,” pretend to gently wrap a scarf around a “baby planet” you are holding.
2) “Turn It Off, Click!”
All: Turn it off, click!
When you leave, click!
Save some power, save some power,
Turn it off, click!
Motion idea: Use finger “clicks” for the switch. Let your child be the official “Light Helper” for the day.
3) “Three Little Bins”
All: One for trash, one for recycle,
One for compost too (stirring motion)
Three little bins, three little bins,
They help us know what to do!
Make it real: Recycling rules are different everywhere, so do a quick “what goes where in our house” check before you start. If you do not compost, rename the third bin “reuse” and save it for clean craft scraps only. Everything else follows your local recycling rules.
4) “Water Is a Wonder”
All: Water is a wonder, splish splish splish (wiggle fingers down)
Water is a wonder, swish swish swish (sway side to side)
Close the tap tight, that feels right (twist hands like a faucet)
Water is a wonder, shh shh shh (finger to lips)
Bedtime-friendly: This one also works at night when you want the energy to gently drift down.
5) “Plant a Seed, Watch It Grow”
All: Plant a seed, plant a seed (crouch low)
Pat the ground, pat the ground (pat the floor)
Sunshine warm, raindrops sound (arms up, then finger rain)
Up, up, up, up, watch it grow! (slowly stand tall)
Craft connection: Sing this while you tape your cardboard trees into place. It turns building into a little ceremony.
Build a cardboard forest
This is my favorite kind of holiday craft: big enough to feel magical, forgiving enough to survive toddlers, and made mostly from stuff that was headed to the recycling bin anyway.
Planning note: If you skip paint, you can build a simple forest in about 30 minutes. If you paint, add drying time and call it a “two-part” activity.
What you need
- Cardboard boxes (any size, but at least two large ones helps)
- Painter’s tape or masking tape (easier than clear tape for kids)
- Child-safe scissors
- Markers, crayons, or paint
- Optional: paper grocery bags, paper towel tubes, scrap paper, yarn, fabric scraps
- Optional sturdiness helpers: an extra strip of cardboard, a few books to act as hidden weights
My real-life tip: Put a blanket or old sheet down first. It makes cleanup feel like you are simply “folding up the forest” when you are done.
Quick safety note: If your cardboard needs serious cutting (thick boxes, long slots), that is an adult job. Kids can decorate, tape, and do the safe snips.
Step 1: Make the trees
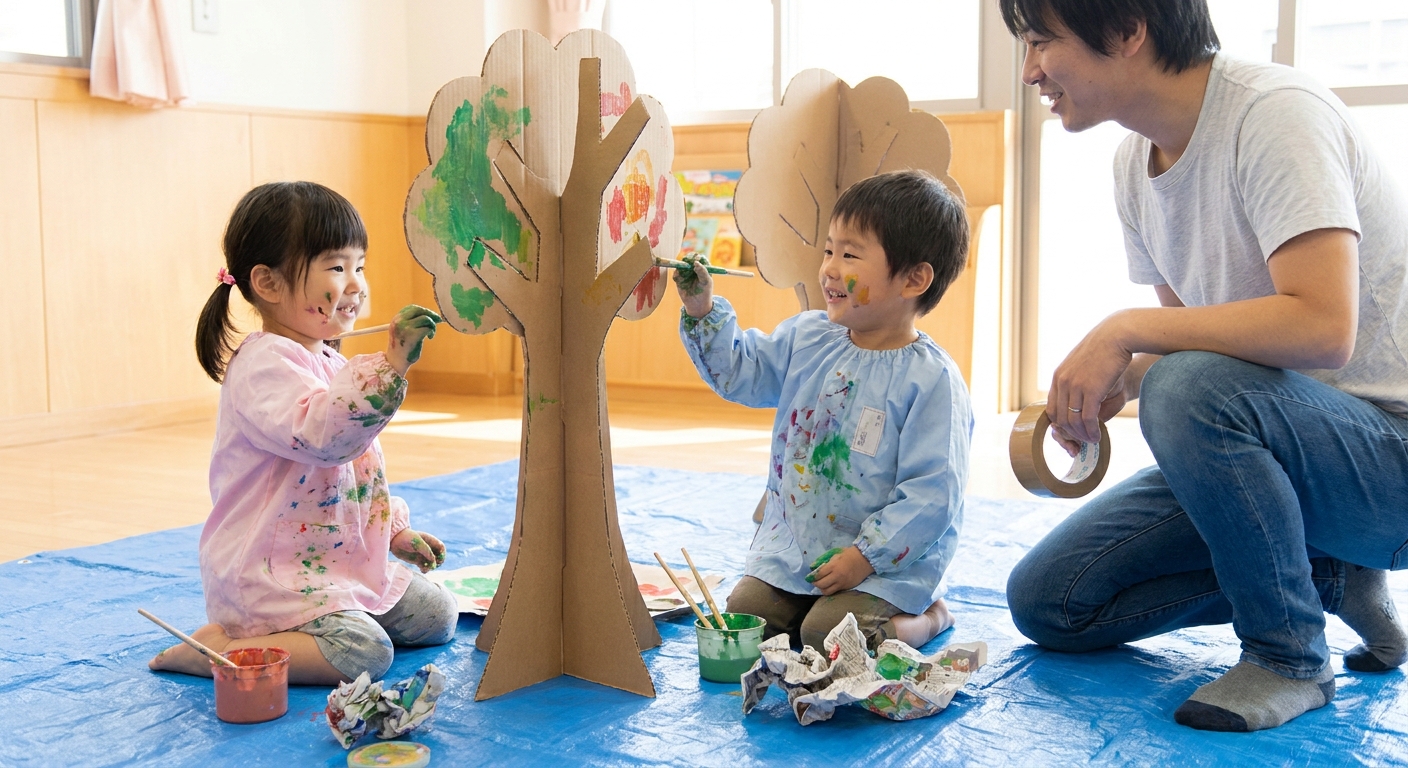
You can build impressive trees with one easy trick: two pieces that slide together.
- Cut two matching tree shapes. Think tall trunk, fluffy top. Perfection is not the assignment.
- Cut a slot down the center of one tree from the top to the middle.
- Cut a slot up the center of the other tree from the bottom to the middle.
- Slide them together to form a standing “X” tree.
If your cardboard is bendy, tape a long strip down the trunk like a “spine” before slotting.
Step 2: Add texture
- Leaf rubbings: Crayon scribbles on paper over a leaf, then tape the paper leaves onto the tree tops.
- Paper-bag bark: Crumple a brown paper bag, flatten it, then tape it on for instant bark texture.
- Yarn vines: Tape yarn from one tree to another.
- Bird nests: Twist scrap paper into a little bowl shape and tuck it into a branch.
When kids ask, “What should I draw?” I like to prompt: “What lives in this part of the forest?” Bugs? Owls? Mushrooms? A shy dragon who only eats compost? All answers welcome.
Step 3: Make the forest floor
This is where the room starts feeling like a place.
- Lay down a sheet or blanket as your “ground.”
- Add “rocks” using crumpled gray paper or a couple couch pillows.
- Make “logs” from paper towel tubes wrapped in brown paper.
- Create a “river” with a blue scarf, a strip of fabric, or even blue construction paper taped end to end.
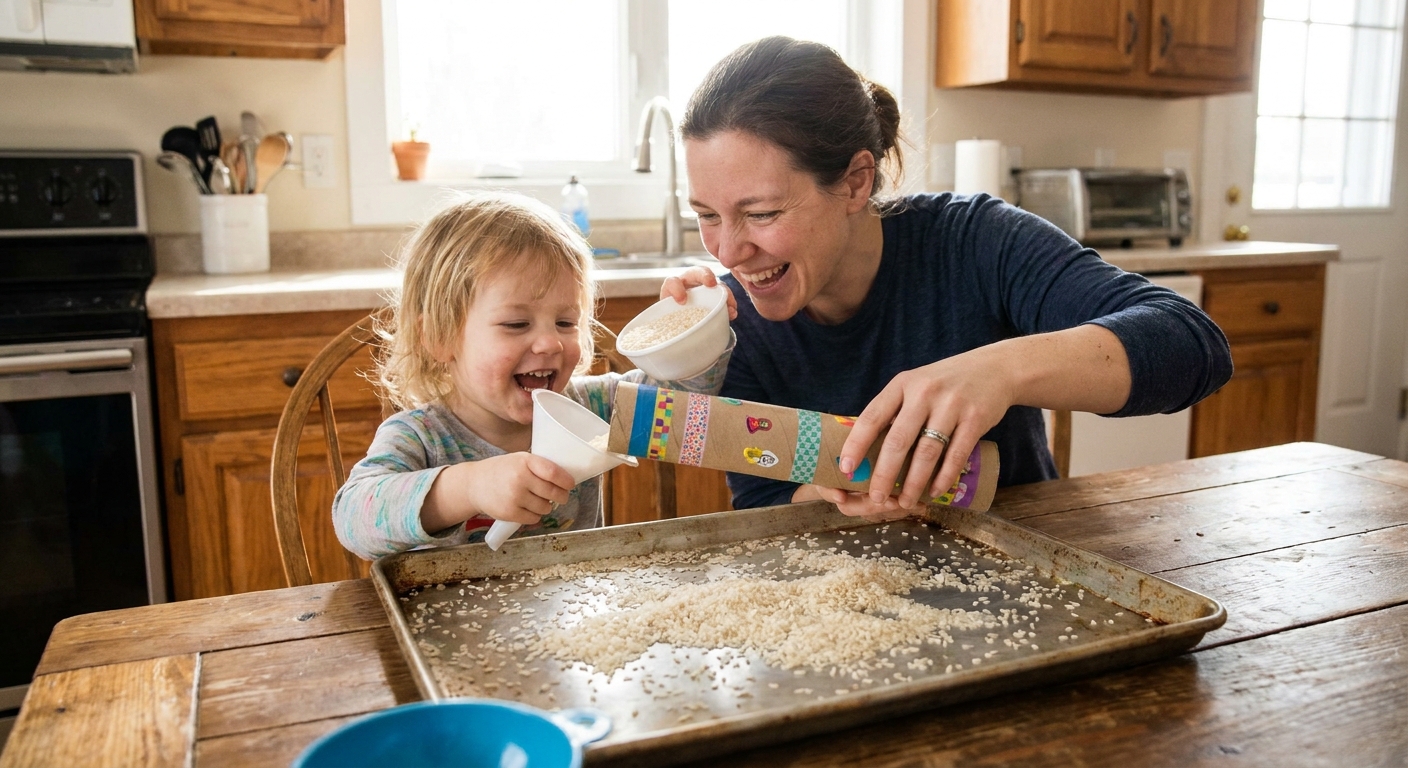
If you want a calm sensory add-on, our paper towel tube rainstick fits this forest theme beautifully.
Step 4: Add animals
- Paper animals: Draw and cut out simple silhouettes and tape them to trees.
- Toilet paper tube critters: Ears, tails, whiskers. Done.
- Puppets for stories: If you have lunch sacks, try these paper bag puppets as forest characters.
Step 5: Make it sturdy
- Base feet: Tape two short cardboard strips into a “T” at the bottom of each tree.
- Hidden book weights: Slide a heavy book behind the trunk and tape the trunk to the book cover.
- Whisper-walk rule: “No running in the forest.” It feels special and saves your setup.
Toddler note: If you use book weights, keep them fully covered and out of reach for kids who still explore with their mouths. When in doubt, skip weights and build smaller trees.
Turn it into a play loop
Once the forest is standing, you have the perfect stage for songs that teach care through play. Here are a few easy loops I use with my kids.
Forest Helper loop (10 minutes)
- Sing “Love This Earth” once.
- Do a two-minute “litter pickup” in the forest (paper scraps only, not real trash).
- Sing “Three Little Bins” while you sort.
- End with “Water Is a Wonder” as a calm-down.
Wind and Rain loop
- Kids make wind sounds through the forest (whooooo!).
- Kids make rain sounds (finger taps, knee pats).
- Sing “Plant a Seed, Watch It Grow.”
- Everyone freezes like a tree in a storm, then slowly relaxes.
If your crew loves movement games, you can borrow the big-body energy from our gross motor nursery rhymes and adapt them to “forest animals.”
Gentle stewardship
I am not aiming for perfection here. I am aiming for tiny, repeatable family habits that kids can actually hold in their hands.
- Name one habit for the day. “Today we turn off lights” or “today we pick up five pieces of litter.”
- Let kids see reuse as creative. Cardboard becomes trees. Scraps become nests. Old paper becomes a river.
- Keep the language warm. “We take care of our home” lands better than scary statistics.
Earth Day FAQs
What age is this for?
The songs work from toddler through early elementary. The cardboard forest is easiest with ages 3 to 8, but toddlers love “decorating” with tape and chunky crayons while a grown-up handles the cutting.
How do I do this in a small space?
Make three trees, not twelve. Build them narrower, and push them against a wall to create a “forest edge.” A blue scarf river and one paper-bag “bush” still feels magical.
What if we do not have big boxes?
Use cereal boxes, shoe boxes, and paper grocery bags. You can also make a “sapling forest” from paper towel tubes with paper tops taped on.
How long will it last?
In my house, anywhere from one afternoon to two weeks. If you want it to last longer, use painter’s tape on floors and walls, and store the trees standing in a corner when not in use.
How do we clean up without tears?
Turn cleanup into a closing ritual: sing “Love This Earth” softly while you “put the forest to sleep.” Flatten trees, stack them neatly, and let kids choose one favorite piece to keep for tomorrow.
A sweet ending
If your kids are anything like mine, the best part will not be Earth Day itself. It will be the random Tuesday afterward when you catch them humming “Turn it off, click!” while they flip a light switch all by themselves.
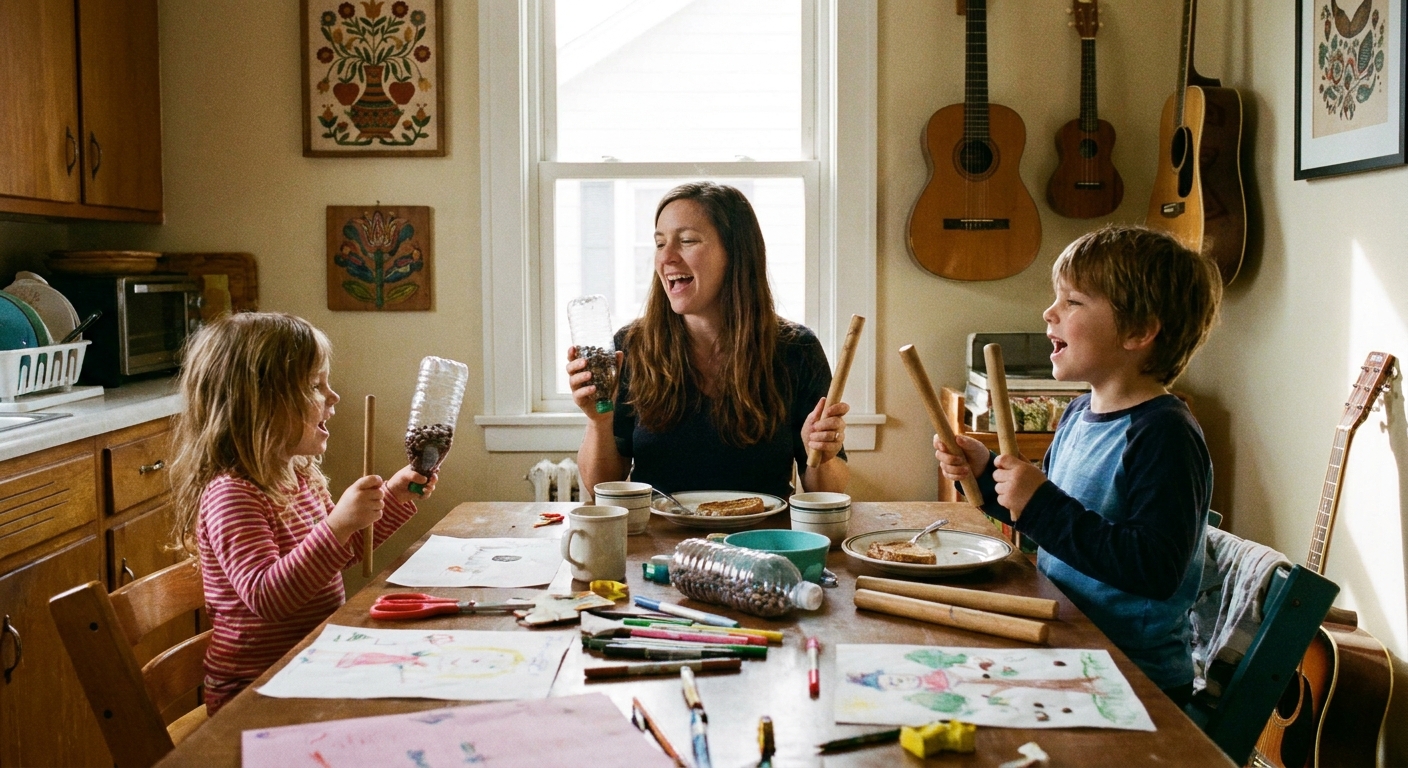
And if you want to keep the recycled-instrument momentum going, our DIY shakers and rhythm sticks are perfect for turning these Earth Day chants into a tiny living-room parade.