
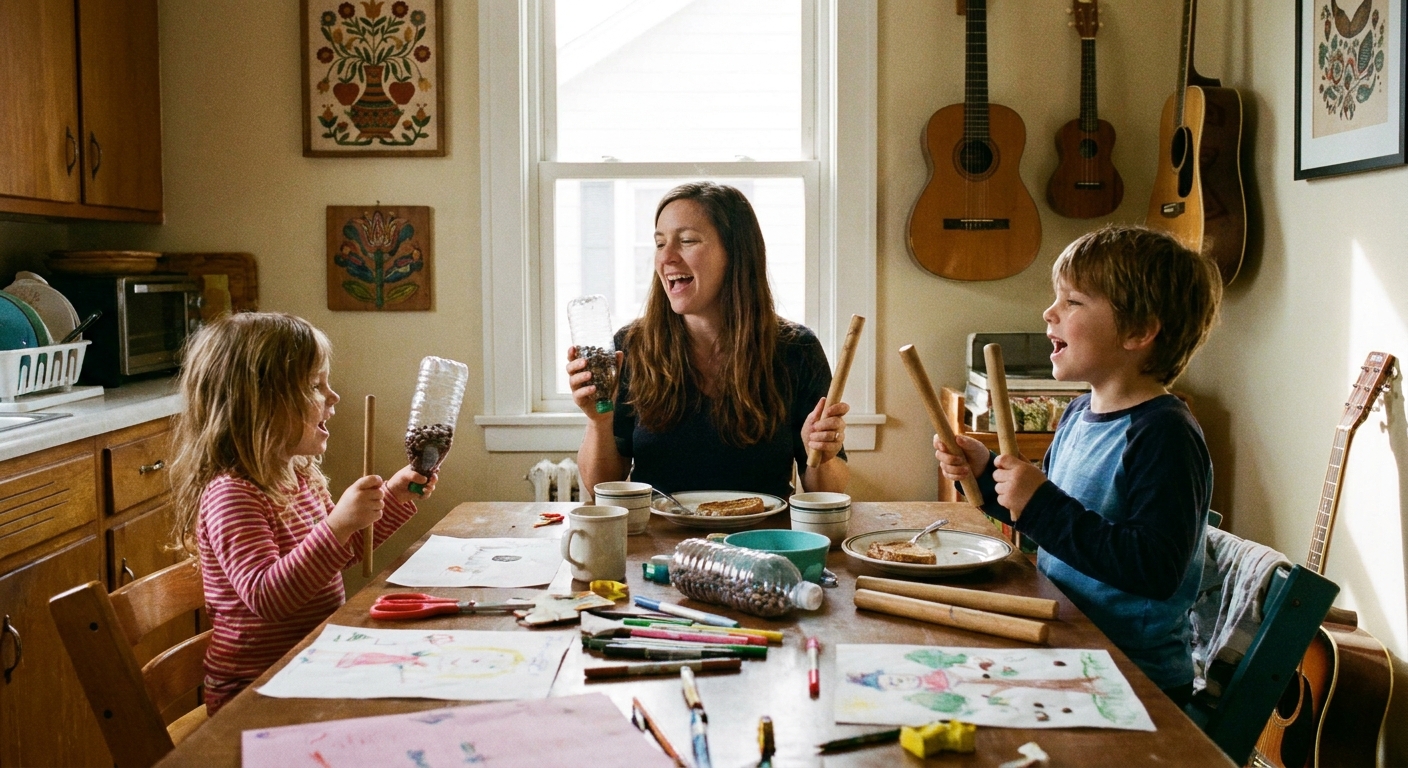
When my kids were little, our “band practice” usually started during chores. One child would be singing, another would be banging something (usually not an instrument), and I would be trying to keep the whole thing cheerful instead of chaotic. Homemade shakers and rhythm sticks were my secret weapon: quick to make, easy to hold, and a gentle way to give busy hands a job while we sang.
Below are two sturdy, family-friendly instruments you can make with what you already have. I will share my tried-and-true filler amounts, the safety tweaks that matter, and a few ways to turn plain old noise into actual rhythm.
Before you start: quick safety notes
- Supervise toddlers. Any instrument with small filler (rice, beans, beads) is a choking hazard if it opens. For children under 3, use larger fillers (like pasta) and seal extra well, or choose the sock-and-cup shaker option below and keep it in adult hands.
- Seal twice. I like a “tape seal” plus a “wrap seal” (tape plus a layer of duct tape or strong packing tape around the seam).
- Skip glass. Use plastic containers, cardboard tubes, or sturdy paper cups.
- Mind sensitive ears. Shakers can get loud fast. A little filler goes a long way.
Simple shakers (4 easy builds)
Pick the version that matches what you have in your recycling bin. All of these work beautifully for steady beats during songs like “If You’re Happy and You Know It,” clean-up songs, or any chanty playground rhyme.
Option 1: Plastic bottle shaker (sturdy and loud)
You will need:
- 1 small plastic bottle with lid (water bottle or smoothie bottle)
- Filler (see ideas below)
- Strong tape (packing tape or duct tape)
- Optional: stickers or washi tape for decorating
Steps:
- Add filler. Start with 1 to 2 tablespoons of rice or 2 to 3 tablespoons of dried beans. For a softer sound, use less.
- Test the sound. Put the lid on and shake it. If it is too quiet, add a pinch more. If it is too loud, pour a little out.
- Seal it. Screw the lid on tightly. Then wrap tape around the lid and neck of the bottle like a collar so the lid cannot twist off.
- Decorate. Stickers are great. If you use washi tape, add a final wrap of clear packing tape over it for durability.
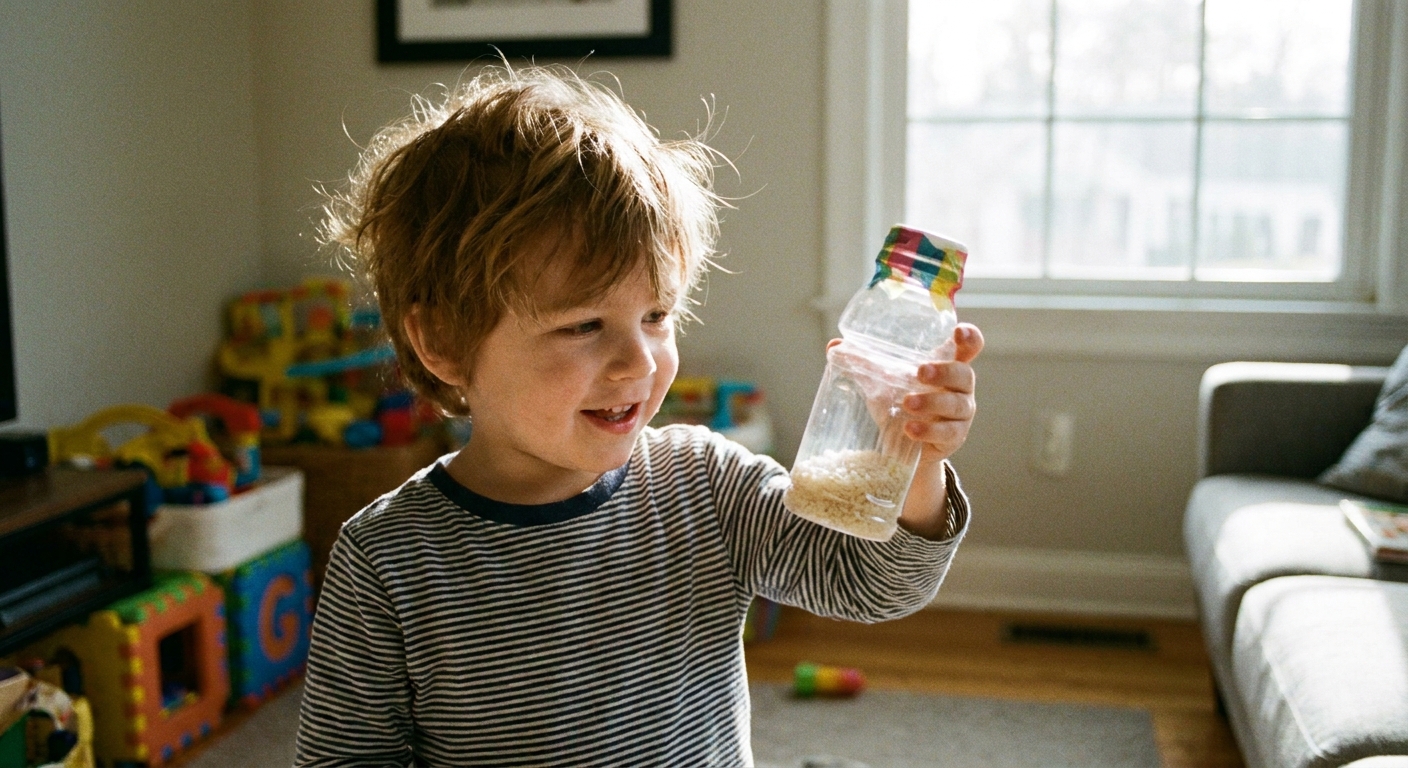
Option 2: Paper cup shaker (gentle and light)
You will need:
- 2 small paper cups (or 1 cup plus 1 circle of cardboard to cap it)
- Filler
- Stapler or strong tape
- Optional: crayons or markers for decorating
Steps:
- Add filler. Put 1 tablespoon of rice, lentils, or pasta into one cup.
- Make the “dome.” Place the second cup upside down over the first cup, rim to rim, like you are closing a little capsule.
- Seal all around. Tape the entire rim seam all the way around. If you use staples, staple in 4 to 6 spots around the rim, then cover the seam with tape so nothing sharp is exposed.
- Decorate. Crayons work better than markers on some cups and they will not smudge as easily.
My mom tip: This version is perfect for younger kids who are still learning “shake and stop.” It is light enough that it does not turn into a tiny wrecking ball.
Option 3: Sock-and-cup shaker (toddler-friendly and hard to open)
This is my go-to when I want the sound to stay contained and I do not want little fingers picking at tape.
You will need:
- 1 sturdy plastic cup (a reusable kids cup works well)
- Filler (larger is better for little ones, like penne or large beans)
- 1 adult sock (or a long kids sock)
- Strong tape (optional but helpful)
Steps:
- Add filler. Put 1 to 2 tablespoons of filler into the cup. Keep it light so the cup is not top-heavy.
- Cover the top. If your cup has a lid, snap it on. If it does not, you can tape across the top in two strips like an X.
- Pull on the sock. Slide the sock over the cup like you are dressing it. Pull the cuff up and over the top so the cup opening is fully covered.
- Secure (optional). Wrap one band of tape around the sock cuff at the base of the cup so it stays snug during play.
How to play: Hold it by the sock-covered cup and shake. If you want it even quieter, use less filler and choose pasta instead of rice.
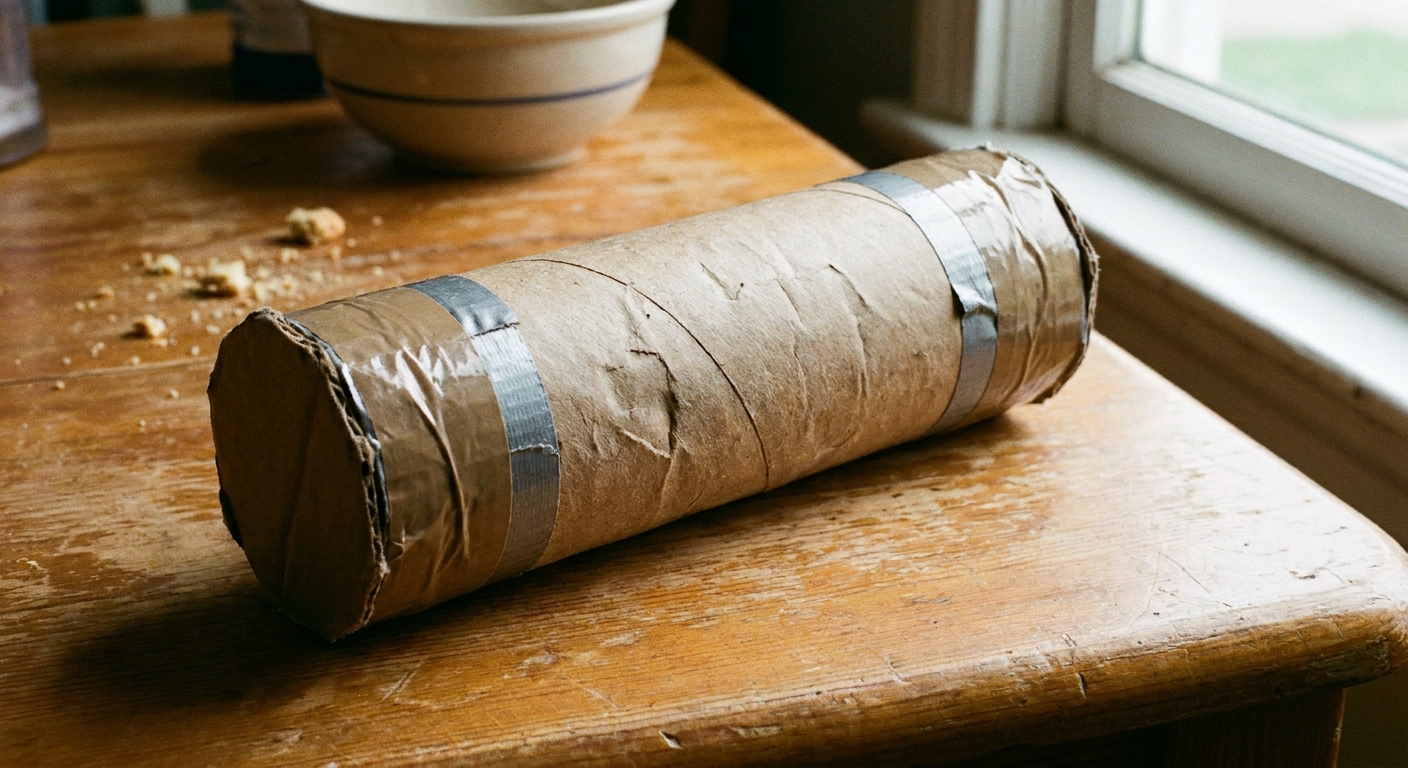
Option 4: Cardboard tube shaker (the “rainstick cousin”)
You will need:
- 1 cardboard tube (paper towel tube is best)
- 2 pieces of cardboard to cap the ends (or sturdy paper circles)
- Tape
- Filler
- Optional: a handful of dry leaves or a pinch of sand for a softer, whooshy sound
Steps:
- Cap one end. Tape a cardboard circle over one end of the tube. Wrap tape around the edge several times.
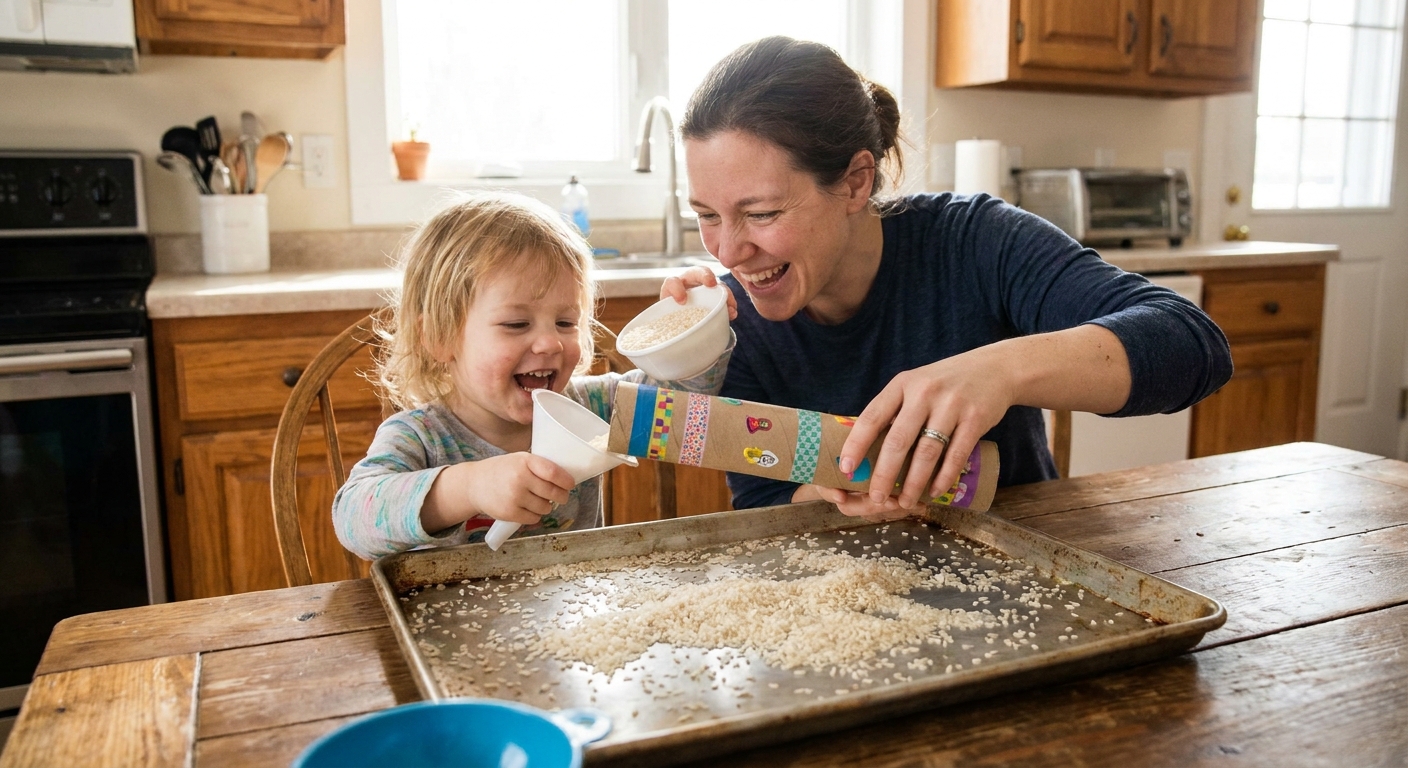
- Add filler. Try 1 to 2 tablespoons of rice plus 1 tablespoon of lentils. Mixed fillers often sound more interesting than just one.
- Cap the other end. Tape it just as securely as the first end.
- Try slow turns. Instead of shaking, slowly flip it end-to-end and listen to the “rain” fall.
Filler ideas and how they sound
If you want kids to stay engaged, changing the sound is half the fun. Here are household fillers that work well:
- Rice: bright and steady, classic shaker sound.
- Lentils: softer than rice, a little “sandy.”
- Dried beans: loud, clacky, very satisfying in sturdy bottles.
- Dry pasta: medium volume, playful rattle (choose larger shapes for younger kids).
- Buttons or pony beads: crisp sound, but only for older kids and very secure sealing.
- Coins: very loud and heavy, not my favorite for little hands or delicate floors.
Quick rule: More filler makes a louder, heavier shaker. Less filler makes a lighter, clearer “shh” sound that is easier to control.
Rhythm sticks (two safe ways)
Rhythm sticks are wonderful because they teach “tap and pause.” They also help kids feel a steady beat without needing to shake constantly. Choose the method that fits your comfort level and what you have at home.
Option 1: DIY rhythm sticks from wooden dowels (best sound)
You will need:
- 2 wooden dowels, each about 10 to 12 inches long and 3/4 inch thick (craft store dowels)
- Sandpaper (medium grit is fine)
- Optional: non-toxic paint
- Optional: clear tape or clear sealant (adult step)
Steps:
- Sand the ends. Smooth both ends and any rough spots so there are no splinters.
- Check the size. For preschoolers, shorter sticks are easier to manage. Ten inches is a sweet spot in my house.
- Decorate (optional). Paint stripes, dots, or each child’s favorite color. Let them dry completely.
- Seal (optional but helpful). A simple wrap of clear tape at the ends can help protect paint and reduce tiny dings.
How to play: Hold one stick still like a “home base” and tap the other stick to it. This makes a cleaner sound and fewer accidental finger bonks.
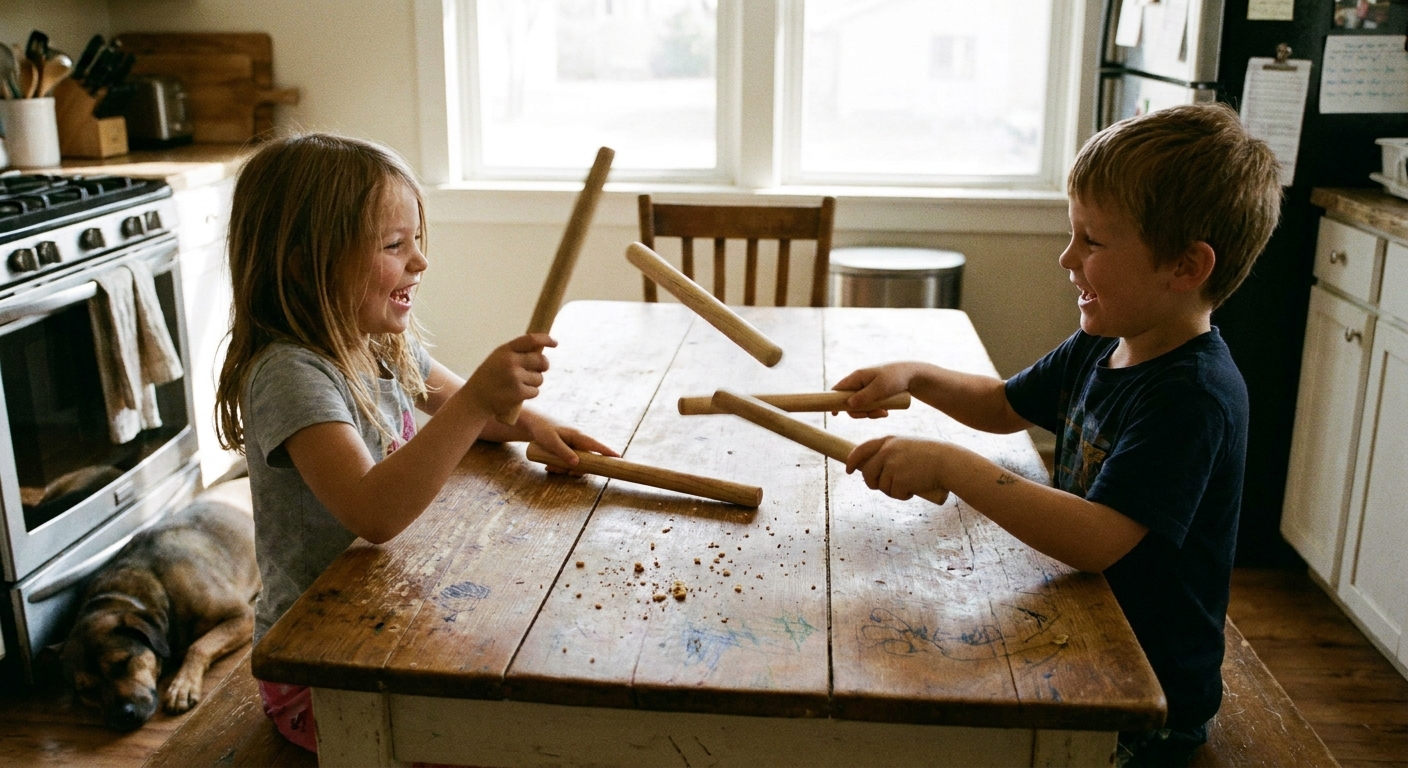
Option 2: No-shop “rhythm sticks” you already own (soft and toddler-friendly)
If you do not have dowels, you can still get the rhythm-stick effect with a softer sound.
- Wooden spoons: Tap spoon-to-spoon or spoon-to-hand. Great for quick sing-alongs.
- Unsharpened pencils with erasers: Better for older kids, use gentle tapping.
- Craft sticks bundled together: Stack 6 to 10 popsicle sticks and wrap the middle tightly with tape to create two “clappers.” This makes a snappy sound without being as hard as dowels.
Turning noise into rhythm (my kitchen-table tricks)
1) Freeze on the last word
Pick a song your family knows well. Everyone plays their shaker or sticks, then freezes on the last word of each line. Little ones love this and it naturally teaches starts and stops.
2) One person keeps the beat
Assign one child (or grown-up) to do the “train track beat” (tap-tap-tap-tap). Everyone else can decorate the rhythm with shakes, claps, or softer taps.
3) Loud verse, quiet verse
Sing one verse with “mouse instruments” (barely any sound), then one verse with “bear instruments” (full volume). This is an easy way to practice volume control without scolding.
Instrument care and storage
- Label if you need to. If siblings argue, a tiny sticker dot on the bottom saves your peace.
- Store in a bin. A shoebox or small basket keeps everything together and makes it easy to pull out for impromptu music.
- Do a quick safety check. Every few weeks, make sure lids are still tight and tape is not peeling.
If you want more ways to build a whole “song corner” at home, I keep lots of sing-along ideas over in our Kids Songs guide, and simple making projects in the Kids Crafts guide. For a sweet little extension, you can also turn your favorite tune into a tabletop scene with Make a Paper Song Scene.
Quick FAQ
What is the best shaker filler for toddlers?
For children under 3, I prefer larger pasta (like penne) inside a container that is sealed very securely, and the instrument stays with an adult during play. If your toddler still mouths toys, wait on loose-fill shakers and use clapping, lap pats, or wooden spoons instead.
How do I make shakers quieter?
Use less filler and choose a softer container (paper cups instead of plastic bottles). Lentils are also a gentler sound than beans.
My rhythm sticks are too loud. Any alternatives?
Try wooden spoons or the bundled craft-stick clappers. You still get the satisfying “tap” without the sharp crack.