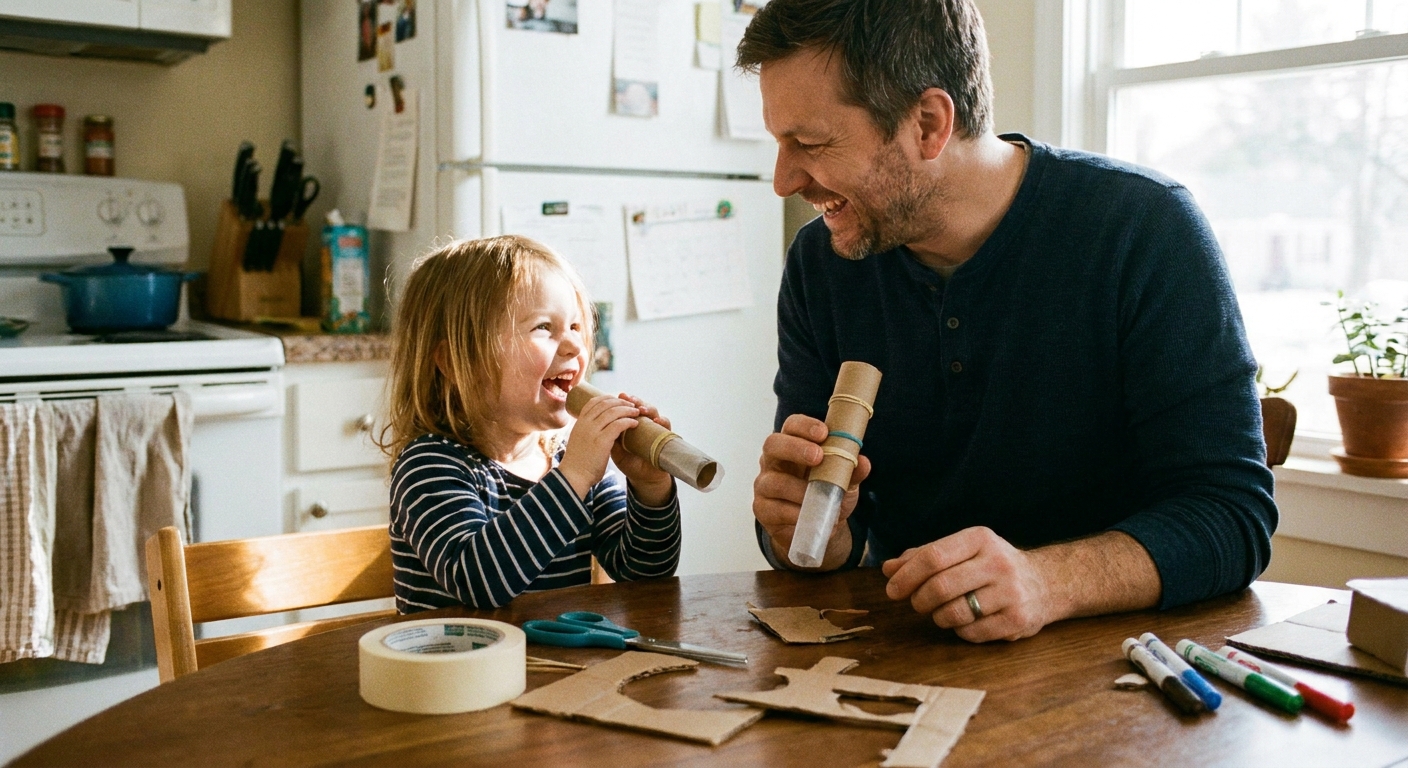

The best kid instruments are the ones you can build at the kitchen table, test immediately, and then proudly “perform” for anyone who walks by. A shoebox rubber band guitar checks every box: it is quick, surprisingly musical, and just scrappy enough to feel like real inventing.
I started making these for playgroup years ago when we needed something sturdier than a paper plate tambourine, but still simple enough for little hands. Once you get the strings humming, you can use it for everything from bath-time ditties to road-trip call-and-response (at home, at least).
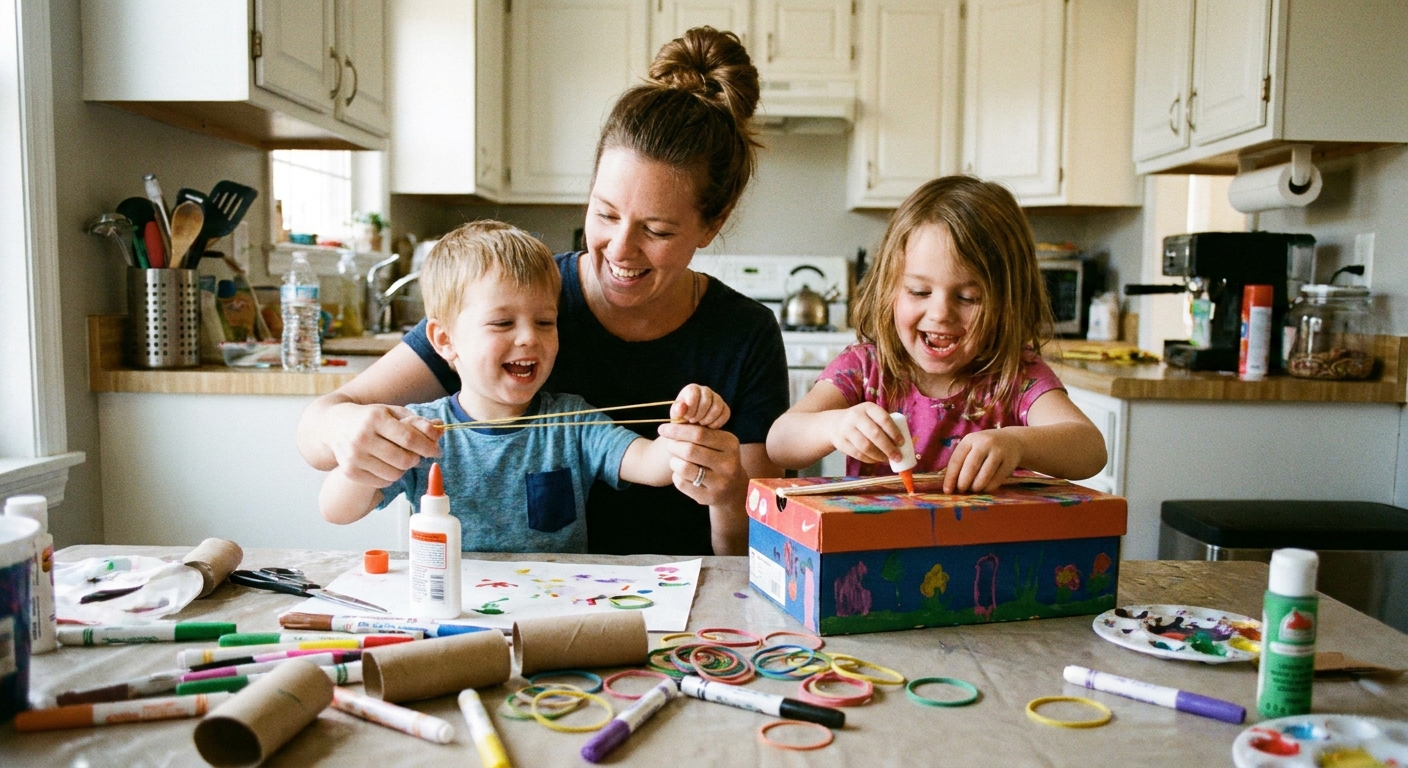
What you will make
A basic plucked string instrument with multiple “strings” (rubber bands) stretched over a sound hole. You can change pitch mostly by:
- Changing the vibrating length (shorter usually sounds higher).
- Switching rubber band thickness (thicker often sounds lower).
- Adjusting tension (sometimes) by how snugly the band is stretched around the box.
In this build, the most reliable, kid-noticeable changes come from vibrating length and band thickness.
Supplies
Core materials
- Shoebox with lid (sturdy cardboard works best)
- Rubber bands in several sizes and thicknesses (aim for 4 to 8)
- Two pencils (unsharpened is fine) or two sturdy craft sticks
- Scissors (adult use) and tape (masking tape or packing tape)
Nice add-ons (optional)
- Paper towel tube (for a neck) or a rolled piece of cardboard
- Binder clips (easy pitch experiment anchors)
- Markers, stickers, washi tape for decorating
- A scrap of felt (to soften buzzing and quiet the sound)
Choosing rubber bands that actually sound good
If you only have one kind of rubber band, your guitar will still work, but the sound will be more uniform. For a more musical spread, pick a mix: a couple thin, a couple medium, a couple thick. The variety gives you different notes even before you try any tuning tricks.
Step-by-step: shoebox rubber band guitar
1) Prep the box
Put the lid on the shoebox and make sure it sits snug. If it is loose, wrap one strip of tape around each short end of the box to keep the lid from popping off while you play.
2) Cut a sound hole
On the lid, draw a circle or oval in the center, about 2.5 to 3 inches across (roughly the size of a small orange). Adults should cut it out with scissors.
Kid-friendly shortcut: If cutting feels fussy, you can skip the hole. The guitar will still “twang,” just a bit quieter.
3) Add two bridges (the secret to better sound)
Lay one pencil across the lid a couple inches from the edge where your child will strum. Lay the second pencil a couple inches on the other side of the sound hole. Tape the ends of each pencil down so they stay put.
These pencils act like bridges, lifting the rubber bands so they can vibrate cleanly instead of sticking to the cardboard. They also help define the string’s vibrating length (the part between the two pencils).
4) String it up
Stretch rubber bands lengthwise around the shoebox so they run parallel across the lid, passing over both pencils. Space them out like real guitar strings.
- If bands keep sliding, add a tiny piece of tape at each side where the band touches the box.
- Try to keep the bands centered over the hole for the loudest sound.
5) Test your sound
Pluck each rubber band with your finger like you would pluck a guitar string. Listen for:
- Good twang: clear, bouncy sound
- Buzzing: band touching the cardboard (raise it with the pencil bridge or stack/tape an extra pencil on top to make a taller bridge)
- Thud: band is too loose (use a smaller band) or the lid is flexing and soaking up the vibration (add tape to firm it up)
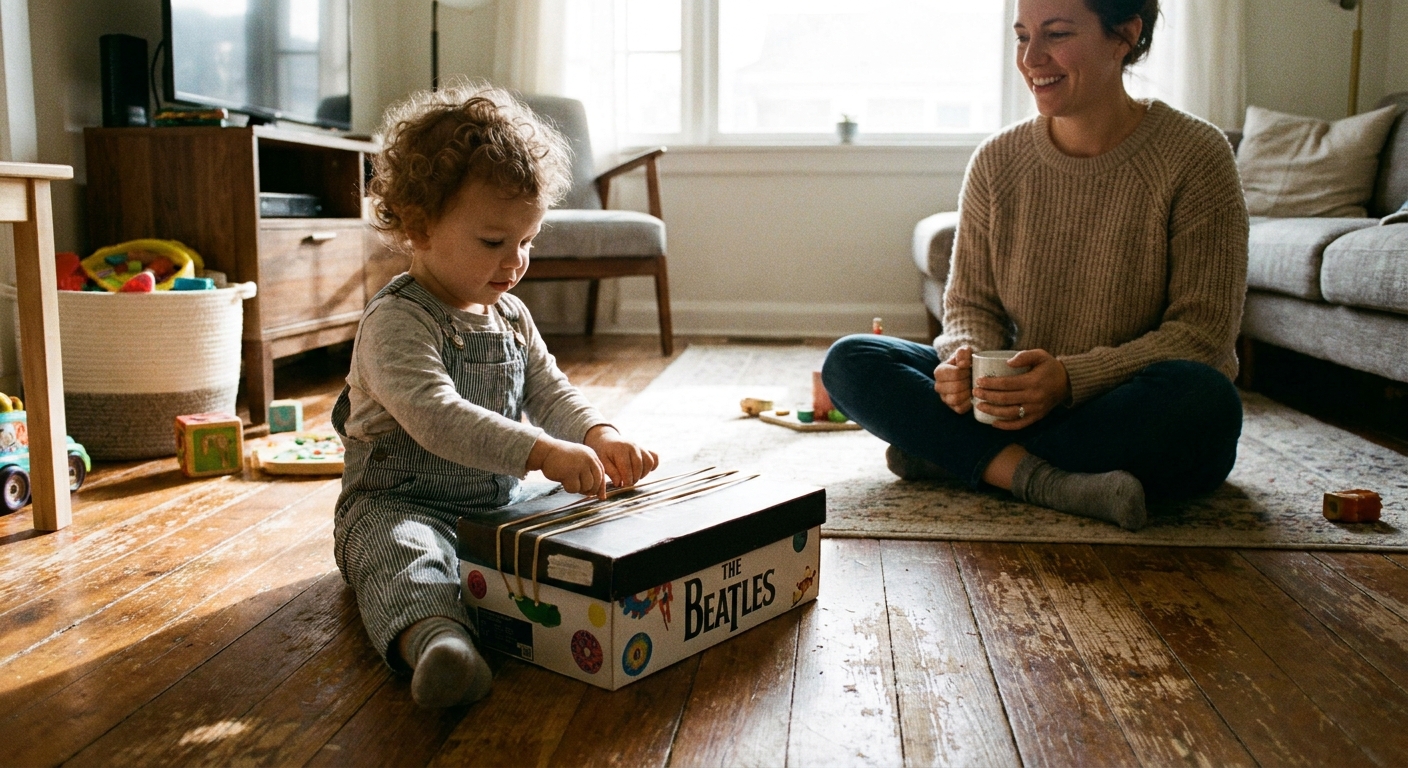
Make it tuneable
This is where the instrument turns from “craft” into “music experiment.” You are not chasing perfect concert tuning, you are helping kids hear how sound changes.
Option A: Binder clip tuners
Clip a binder clip onto one short end of the shoebox, right where a rubber band wraps around the edge. This creates a new stopping point, changing the band’s vibrating length (and sometimes the tension), which changes pitch.
- Move the clip a little left or right and pluck again.
- Add a second clip for another rubber band if you want multiple “notes.”
Option B: Slide a bridge
Peel up and reposition one pencil bridge slightly closer to the other bridge, then pluck again. When the distance between the two bridges gets shorter, the pitch usually goes up. When the distance gets longer, the pitch usually goes down.
Tip: Mark the pencil’s spot with a small dot so you can always return to “home base.”
Option C: Mix and match rubber bands
Swap one band at a time and build a set you like:
- Thicker band: often lower pitch
- Thinner band: often higher pitch
- Shorter band (more stretched around the box): often higher pitch
Option D: Add one “fret” for a quick note change
Tape a craft stick across the lid between the bridge closest to the strumming edge and the sound hole. When kids press a rubber band down between that stick and the nearest bridge and pluck, it creates a higher note, just like fretting a guitar.
Make it sturdier
- Reinforce the sound hole: Wrap tape around the cut edge so it does not tear.
- Lock the lid: A strip of tape on each side keeps the lid from flexing.
- Quiet the rattle: If pencils roll, tape a little more firmly or wedge a small folded paper shim under each end.
Decorating ideas
I like to decorate after the strings work, so nobody feels heartbroken if we need to re-tape a bridge.
- Turn the sound hole into a “sun” or “planet” with marker rays.
- Add sticker “frets” down the lid like a real guitar neck.
- Wrap washi tape stripes around the sides for that stage-ready look.
How to play it in a family sing-along
This little guitar is best as a rhythm instrument. Think: steady strums and dramatic “ta-da” plucks, not complicated chords.
Three easy ways to use it
- Steady strum: Lightly brush your fingers across all the rubber bands on every beat.
- Call-and-response pluck: You sing a line, your child plucks one big twang at the end.
- Loud and soft game: Sing the verse softly, then strum louder for the chorus.
Songs that pair especially well
If you want songs built for big group energy, try adding your shoebox guitar to any of these:
- Call-and-response songs (perfect for taking turns “strumming the answer”)
- Classic action songs (strum during the motions, then freeze)
- Upbeat morning songs (wake-up concerts are very real in my house)
If your kids are ready to build a whole homemade band, my other go-to is simple shakers and rhythm sticks. I keep that how-to here: DIY shakers and rhythm sticks for family sing-alongs.

Safety notes
Best for ages 4+ with close supervision (and ages 6+ can usually do more of the building). Toddlers can join in for decorating and supervised plucking.
- Adult cutting only: Sound holes and any cardboard neck cuts are for grown-ups.
- Watch snapped bands: Rubber bands can sting if they break. Replace worn bands and keep faces back while stretching.
- Small parts: Binder clips and broken rubber band pieces are not for toddlers who still mouth everything.
For sound-sensitive kids: Start with fewer rubber bands, pluck gently, and add a small felt scrap under the lid near a buzzy spot to soften the volume.
Troubleshooting
My rubber bands keep sliding off
- Use bands that fit more snugly around the box.
- Add a small piece of tape on each side to park the band in place.
- Try wrapping a thin strip of paper around the box end under the bands to add grip.
It sounds dull, not twangy
- Make sure the rubber bands are lifted by the pencil bridges.
- Tighten by switching to smaller bands or adding a binder clip to shorten the vibrating length.
- Check that the lid is firmly on. A floppy lid absorbs sound.
One string is way louder than the others
- That band may be tighter or thicker. Swap it with another band to even things out.
- Space your bands more evenly so they are not touching each other.
Buzzing is taking over
- Raise the strings: add a second pencil on top of the first (taped together) to make a taller bridge.
- Reduce wobble: tape the pencil ends more securely.
- Add a tiny felt scrap under a rattly spot on the lid if the box itself is vibrating.
First concert plan
If you want this to feel like a moment, not just a craft, here is my favorite low-effort concert routine:
- Sound check: Each kid plucks their favorite string once.
- Warm-up: Do a simple loud-soft strum game for 30 seconds.
- Main song: Pick one familiar tune and strum every beat.
- Finale: Everybody does one big dramatic strum at the end and bows.
And if your child decides the guitar is actually a spaceship control panel afterward, please know you have built it correctly. That is exactly the kind of beautifully messy magic I am always hoping for.