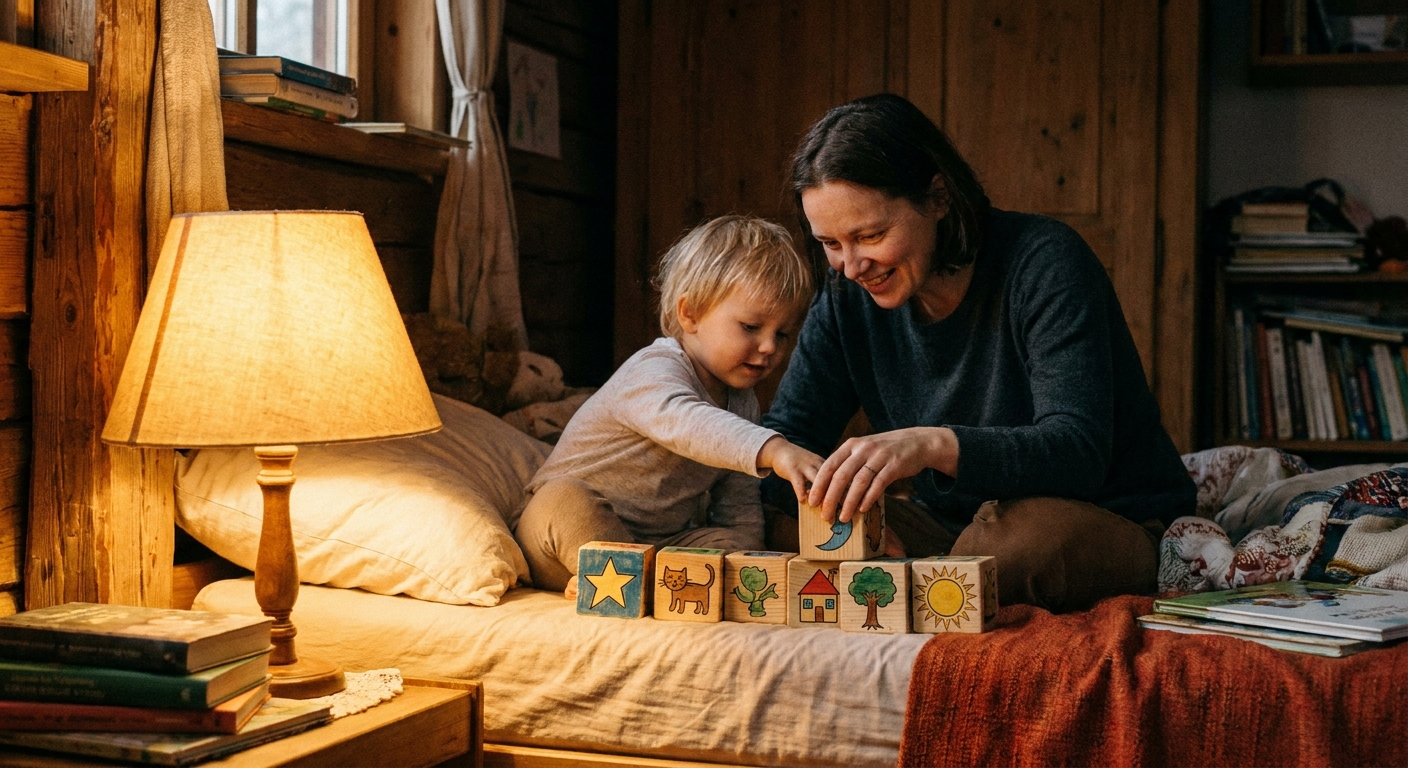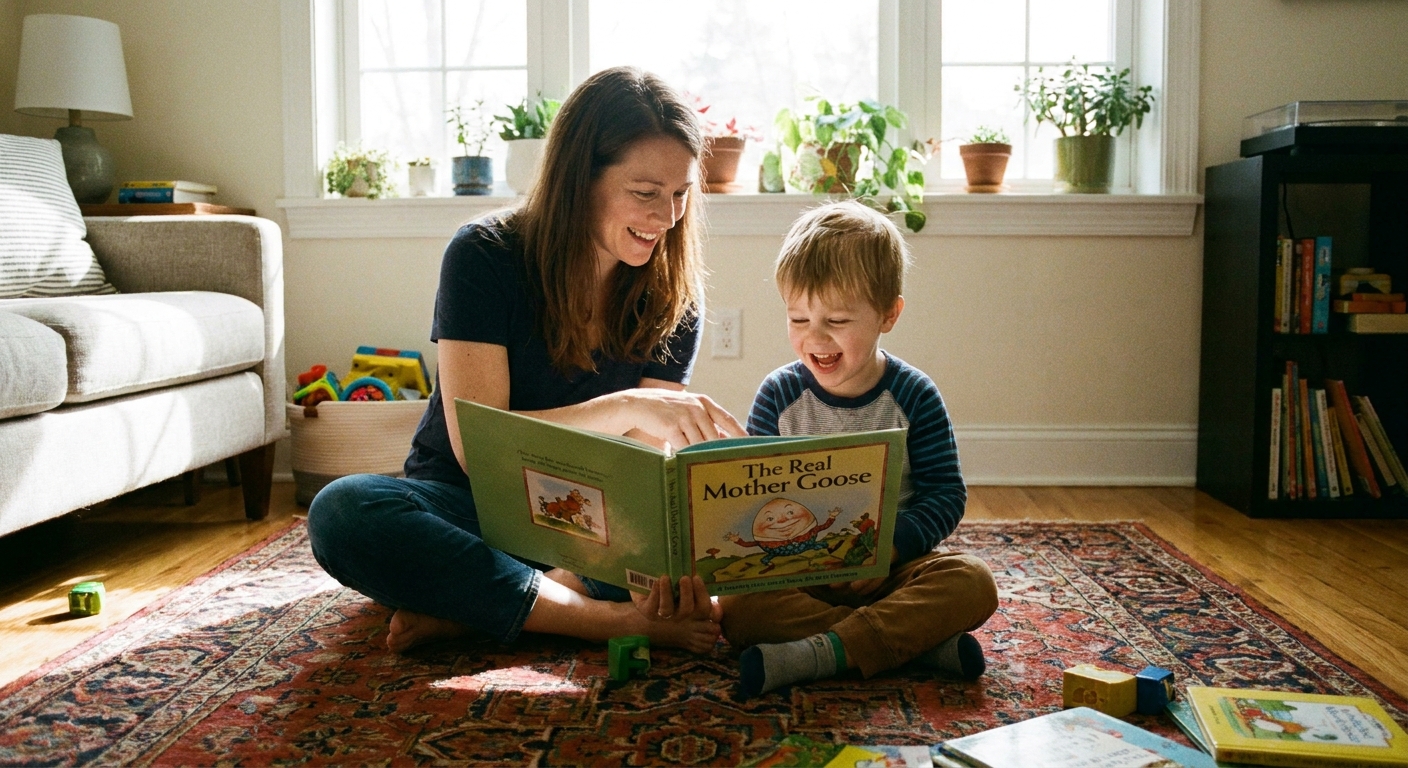

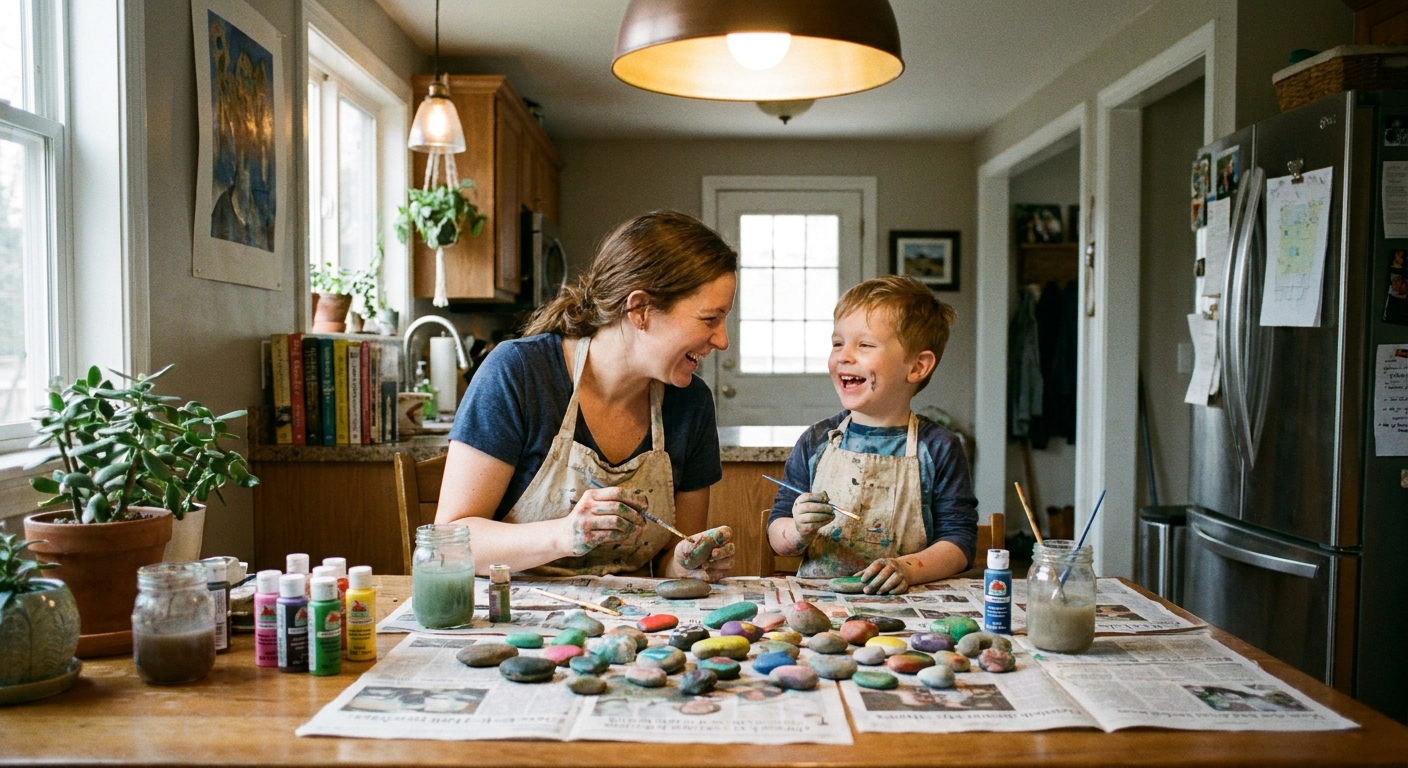
The first time I made story stones, it was because I was tired of stepping on plastic toys while my kids asked for “just one more rhyme.” I grabbed a handful of smooth rocks from the garden border, put a cup of rinse water on the kitchen table, and we turned our favorite nursery rhymes into a little pocket-sized storytelling game. The best part was not the painting. It was watching my preschooler line up the stones and suddenly tell the whole rhyme with their own words.
These nursery rhyme story stones are small painted rocks with simple pictures that represent the key parts of a rhyme. Kids can mix them up, put them back in order, retell the rhyme from memory, or invent a brand new version.
Why story stones work for preschoolers
Preschool brains love anything they can touch, move, and “make real.” Story stones take a rhyme that can feel like a stream of words and turn it into a set of objects kids can manipulate.
- Sequencing: Lining up stones can support beginning, middle, end thinking.
- Memory support: Pictures act like tiny prompts, so kids can practice recall without pressure.
- Vocabulary: You end up naming objects, actions, and feelings while you play.
- Narration: Retelling is early storytelling, and it is an important early literacy skill.
- Fine motor practice: Painting and handling stones can be sneaky hand strength work.
If your child already loves singing rhymes, you can pair stones with rhythm play too. Our baby sign language with nursery rhymes guide is a sweet add-on when you want to add gestures for key words.
Supplies (simple and forgiving)
You can absolutely make this fancy, but you do not have to. I like supplies that survive a spilled cup of water and a child who insists on mixing every color into “brown soup.”
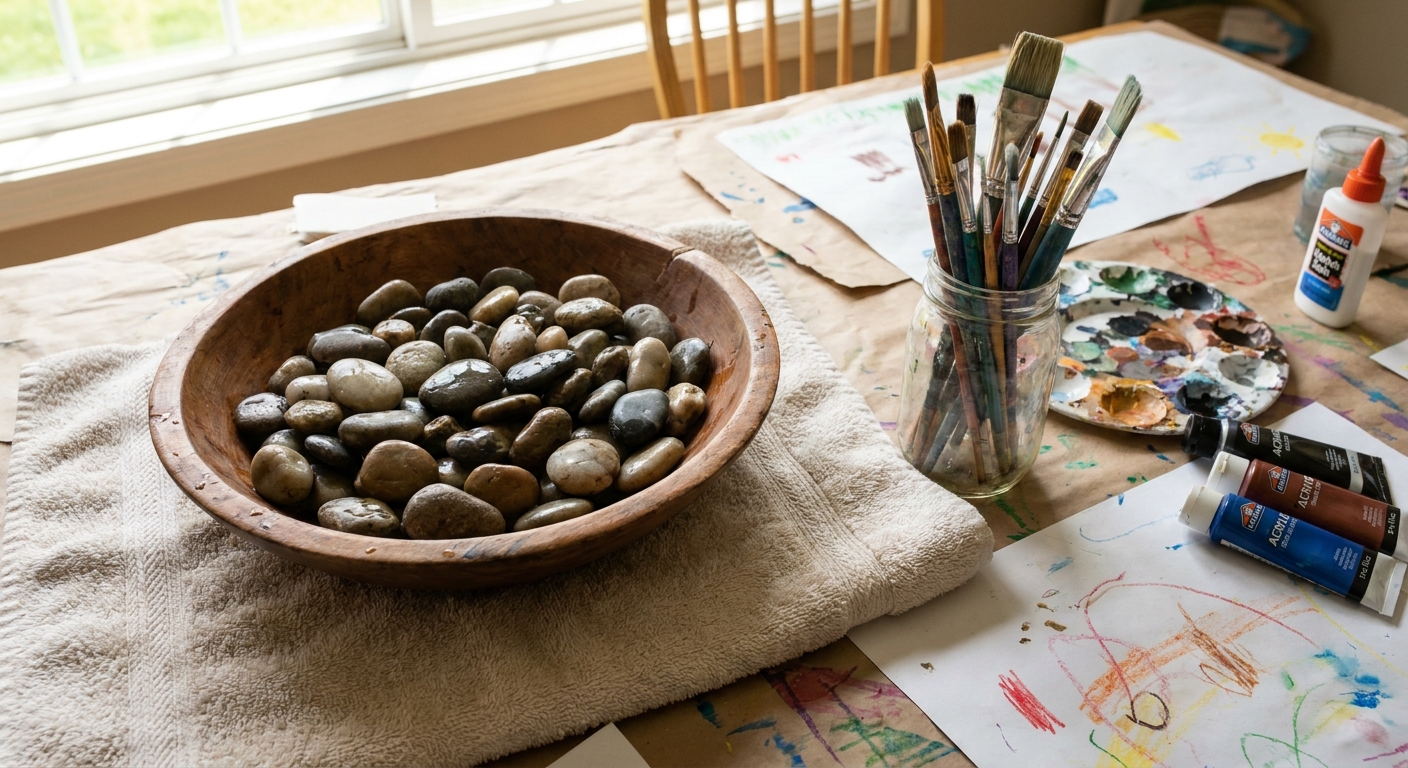
- Smooth stones, 2 to 3 inches wide (river stones or craft store stones)
- Soap and water (for washing rocks)
- Acrylic paint or paint pens
- Small paintbrushes
- White paint or gesso (optional, for a bright base coat)
- Permanent marker (fine tip) for outlines
- Clear sealer: Mod Podge, acrylic spray sealer, or brush-on varnish
- Old newspaper or a washable table cover
- Optional: old shirts or aprons for kids (highly recommended if you like your sleeves)
- Small tray, shoebox, or bowl for “story stone storage”
My safety note: These are not for kids who still mouth objects. For toddlers, keep the stones as a grown-up-led activity and store them out of reach when you are done.
One more safety note: If you use a spray sealer, that is an adult-only job. Do it outdoors or in a very well-ventilated area, and let the stones fully cure before kids handle them.
Prep: make paint stick
Even rocks that look “craft ready” can have dust on them, and some store-bought stones can feel a little slick. A quick wash helps paint and sealer grab on better.
1) Wash and dry
Rocks can look clean and still be dusty. Wash with a little dish soap, rinse well, and let them dry completely.
2) Base coat (optional)
If your stones are dark or speckled, a quick coat of white paint makes your pictures pop. Let it dry, then flip and coat the other side if you want two-sided stones.
Paint the story stones
Think “bold and simple.” Your stones should be readable from a kid’s arm’s length away, not museum detailed.
- Pick one rhyme. Start with a rhyme your child already knows well. Action rhymes and simple story rhymes both work. The best choice is the one they already sing in the car without being asked.
- Choose 4 to 8 key moments. Fewer stones keeps the project manageable and makes sequencing feel like play, not homework.
- Sketch with a pencil or light marker. Big shapes only.
- Paint the main shapes first. Backgrounds are optional.
- Outline with a permanent marker. This is my favorite trick for instant clarity.
- Add one tiny detail kids can name. A button on a coat, a dot eye, a little star.
- Seal when fully dry. Two thin coats beat one thick coat.
Quick tip for group crafting: If you have multiple kids, assign each child 1 or 2 stones from the same rhyme. When you put them together at the end, it feels like a team book.
Durability note: Mod Podge is great for everyday handling, but it is not truly waterproof. Even sealed stones do best with damp-wipe cleaning, not sink baths.
Easy stone sets for rhymes
Here are a few ready-to-paint sets that work well for preschool sequencing. You can adjust based on what your child remembers and loves.
Humpty Dumpty (5 stones)
- An egg with a smile
- A wall
- A crack (or Humpty tipping)
- A horse (or several horses)
- A crown (for “all the king’s men”)
Itsy-Bitsy Spider (6 stones)
- Spider
- Waterspout (a simple pipe shape)
- Rain cloud
- Water rushing down
- Sun
- Spider climbing up again
Jack and Jill (6 stones)
- Two stick kids holding hands
- A hill
- A well (circle of stones)
- A bucket
- Jack with a bump
- Jill tumbling (a swirl line works)
Twinkle, Twinkle, Little Star (6 stones)
- Star
- Night sky (dark blue with dots)
- Diamond shape
- World (simple circle)
- Cloud
- Moon
If you enjoy adding little “where did this rhyme come from?” moments, you might like the surprising origins behind 5 popular nursery rhymes. It is a fun read for grown-ups, and sometimes it gives you a new idea for what to paint.
How to play with them
Once the stones are sealed and dry, the real magic begins. Here are my favorite ways to use them with preschoolers.
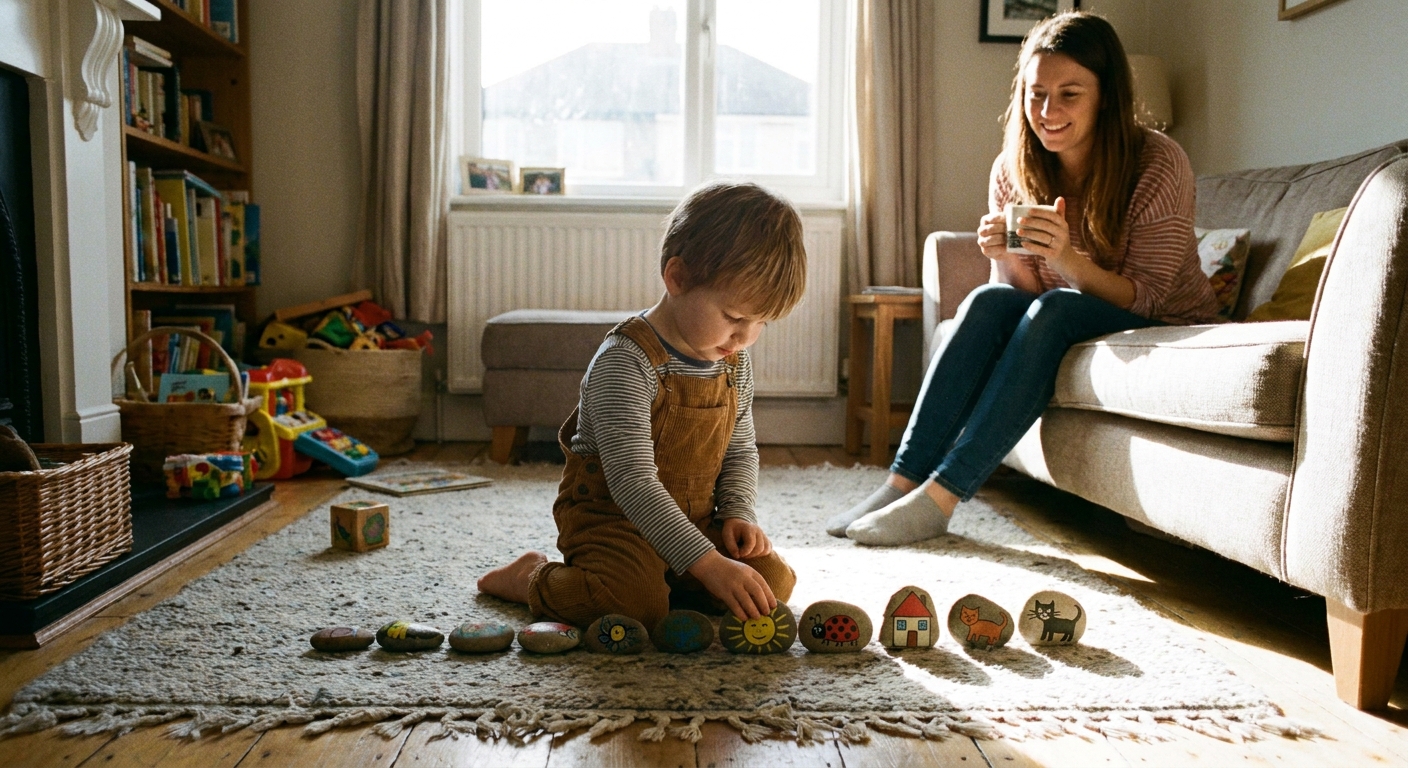
1) Sequence the rhyme
Mix the stones in a small pile. Ask your child to put them in order while you say the rhyme slowly. The first few times, help a lot. Later, sit back and let them try.
2) Retell in their own words
Point to each stone and ask, “What is happening here?” You are aiming for meaning, not perfect memorization.
3) Find the missing stone
Lay out the whole sequence, then have your child close their eyes while you remove one stone. They guess what is missing and tell that part of the rhyme.
4) Silly remix
Combine stones from two rhymes and let your child invent a brand new story. This is where preschoolers get delightfully weird in the best way. For example: “What if the Itsy-Bitsy Spider climbed up Jack and Jill’s hill?”
5) Whisper, shout, and sing
Do a voice menu. Retell the rhyme whisper-quiet, then superhero loud, then singing. If your child loves music games, our Nursery Rhymes guide has more ideas for turning familiar verses into playful routines.
Keep it kid-friendly
If painting feels like it might tip into frustration, these tweaks keep kids in the driver’s seat while still producing stones you will actually use.
- Use paint pens for details: Grown-up draws outlines, child fills big shapes.
- Limit the palette: Pick 4 colors plus white and black.
- One image per stone: A single object beats a complicated scene.
- Embrace symbol pictures: A crown can stand for “the king.” A boot can stand for “Jack.”
- Keep sessions short: Paint 2 to 3 stones, then finish another day.
- Easy cleanup habit: Wash hands after painting and again after sealing day, especially if little fingers tend to wander toward snack bowls.
Storage and durability
Once sealed, story stones are sturdier than paper cards and much harder to crumple. Still, a few small habits keep them looking nice.
- Store in a small lidded container or cloth bag inside a basket.
- Let stones cure for 24 to 48 hours after sealing before rough play.
- Skip soaking: Wipe clean with a damp cloth instead of washing in the sink.
- Touch-ups are normal: A little paint refresh once a year is part of the charm.
Rhymes and transitions
Story stones are also wonderful for those daily moments when kids need a gentle nudge: waiting for dinner, winding down before bed, or transitioning from play to cleanup.
If transitions are a struggle at your house, you might like pairing stones with a short cleanup song. This one is a favorite at our table: 8 transition songs for tidy up time.
FAQ
What kind of rocks are best?
Smooth, flat-ish stones with at least one “nice face” for painting. If they wobble, they are harder for little hands to line up and sequence.
Can I use washable paint?
You can, but it often rubs off more easily, even with sealer. Acrylic paint (or paint pens designed for rocks) usually lasts longer.
How many stones should I make per rhyme?
For preschoolers, 4 to 8 stones is the sweet spot. More than that can feel like homework instead of play.
What if I am not artistic?
Perfect. These are kid tools, not gallery pieces. Aim for clear symbols: a star, a crown, a spider, a bucket. If your child can name it, it works.
A cozy next step
Once you have one rhyme set finished, you will start noticing how naturally your child reaches for it. My favorite moment is when they bring me three stones, line them up with great seriousness, and say, “Okay Mom. This time I tell it.”
If you want another hands-on storytelling craft for the kitchen table, you might also enjoy making a paper song scene, which turns familiar verses into a little stage your kids can play with.