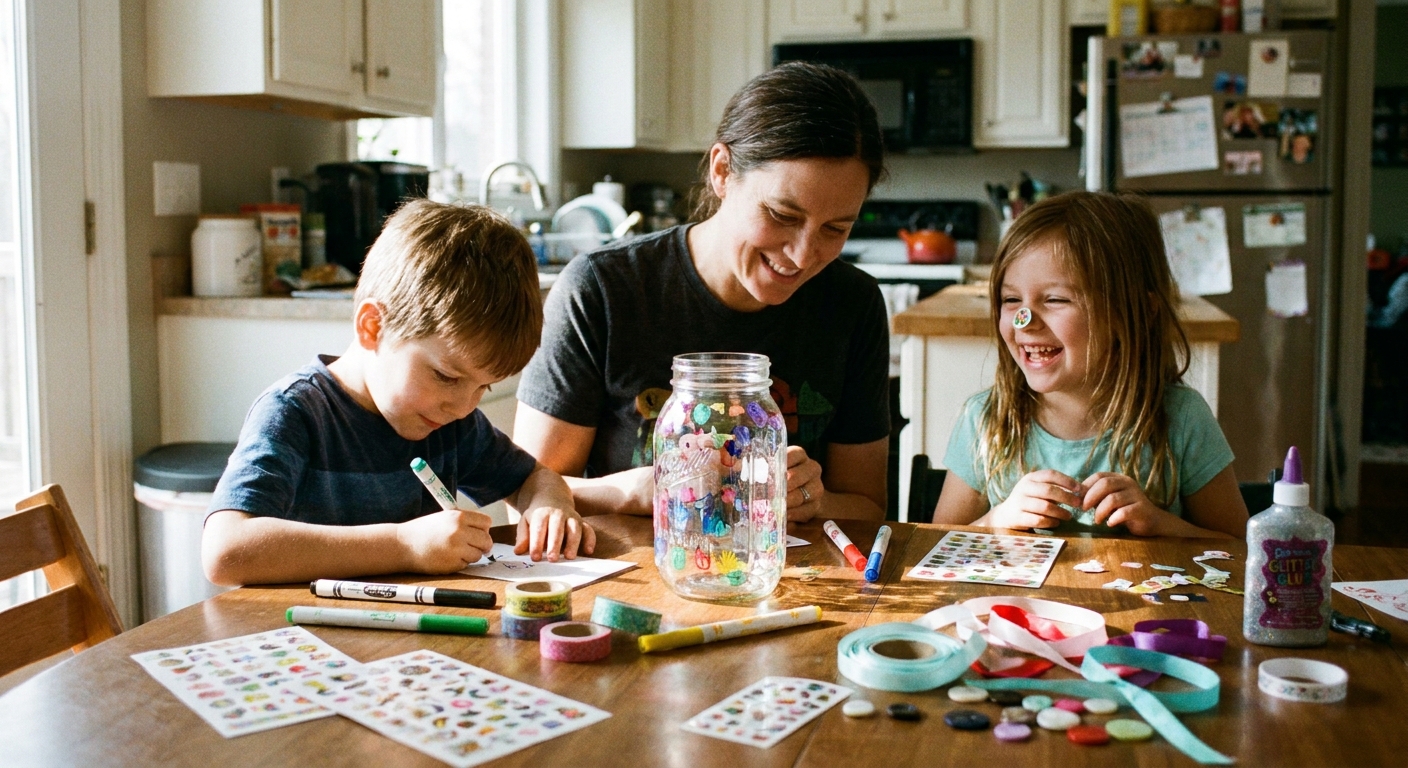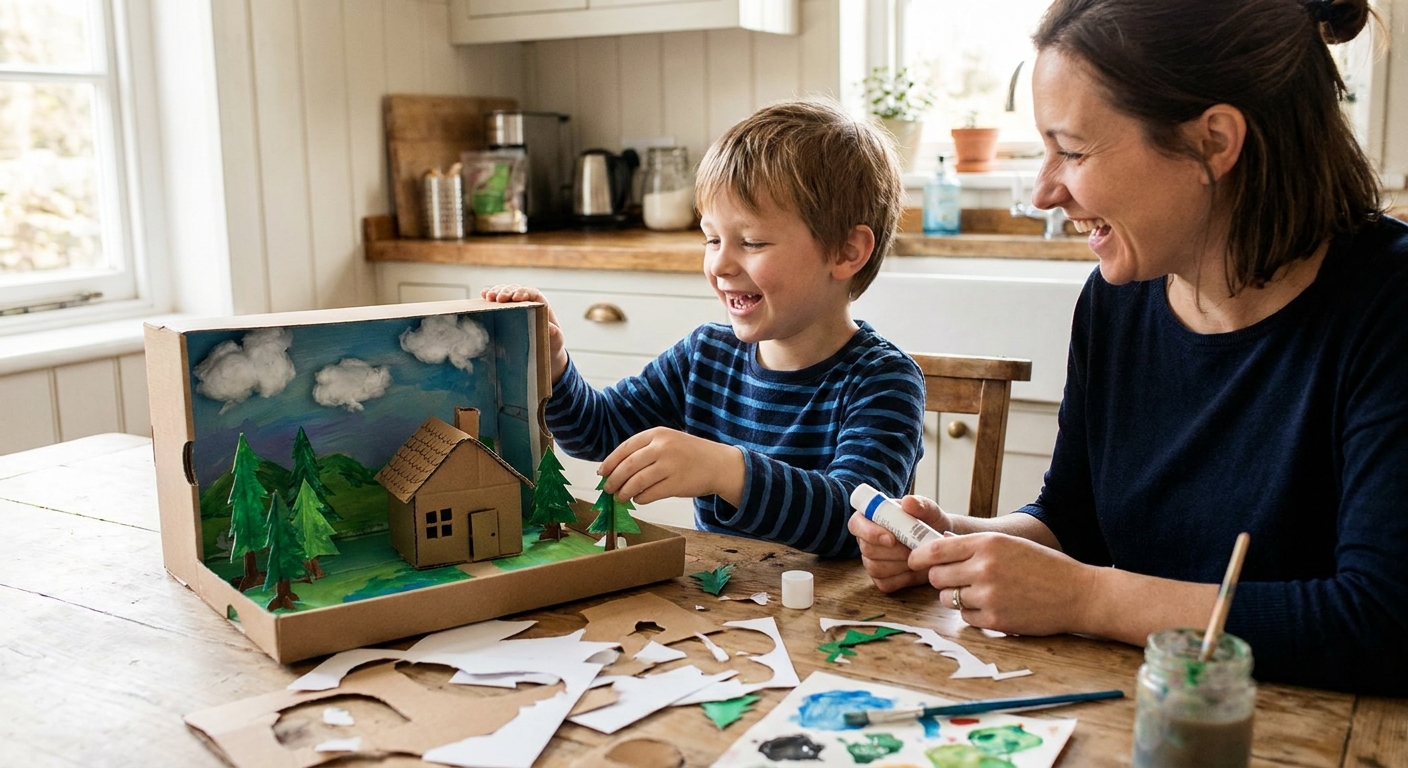

The quickest way I know to rescue bedtime from the "I can’t think of a story" slump is to put the story in your hands. Not in a book. Not on a screen. Right there on the blanket, clacking together like tiny treasure.
DIY storytelling wooden blocks are exactly what they sound like: plain wooden cubes decorated with simple pictures and symbols your child can recognize at a glance. Roll a few, line them up, and suddenly you have a brave bunny, a rainy night, a mysterious key, and a surprise ending waiting to happen. These blocks are wonderfully low pressure, especially for grown-ups who feel like they are not "creative." The blocks do the heavy lifting. You just follow along.
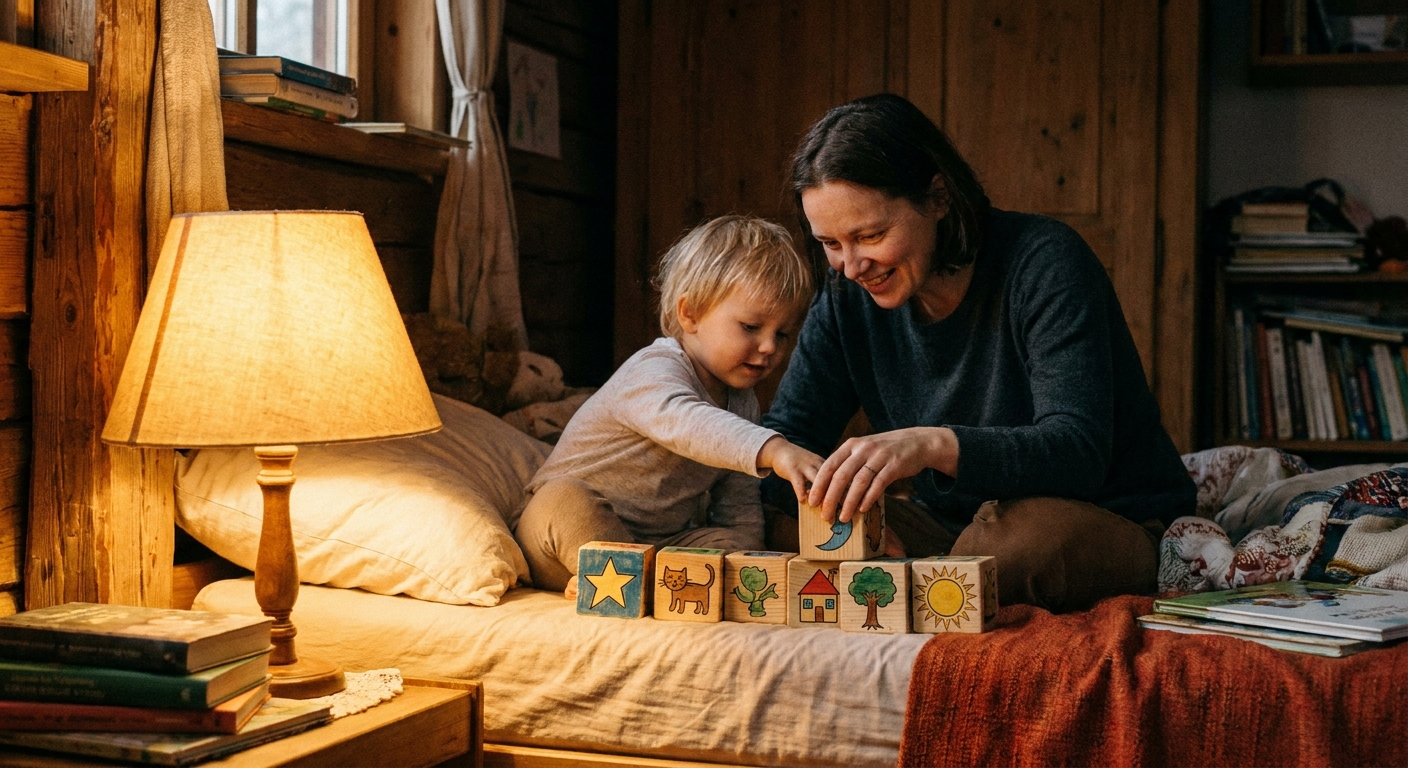
Why blocks work so well at bedtime
I love story cards and prompts, but blocks have a special kind of magic. They feel like toys, not homework. Kids can roll them, stack them, trade them, and tuck them into a little basket when the lights go out.
- They spark instant ideas. Pictures bypass the blank-page problem.
- They invite participation. Even a shy storyteller will point, name, and add a detail.
- They are screen-free and portable. Great for sleepovers and trips.
- They build early story skills. Beginning, middle, end, plus sequencing and cause-and-effect, without a lecture.
If your family already loves hands-on storytelling, you might also enjoy our nursery rhyme story stones. The idea is similar, but the feel is different. Stones are soothing and earthy; blocks are rolly, stacky, and full of motion.
Supplies (simple is best)
You can make a beautiful set with craft-store basics. I’m going to give you options because every kitchen table has a different personality.
What you need
- Blank wooden cubes (unfinished is easiest to decorate). For older kids, 1.5 to 2 inches is a comfy hand size.
- Sandpaper (fine grit) or a sanding block.
- Drawing tools: acrylic paint pens, permanent markers, or acrylic paint with a small brush.
- Optional sealer: a water-based sealer that is labeled child-safe for toys, used exactly as directed.
- Paper and pencil for planning icons.
- A small box or cloth bag for storage.
Nice extras
- Masking tape (for crisp shapes)
- Stickers (as a starting point, especially for toddlers)
- Wood-burning tool (adult-only, for older kid projects or gifts)
Quick safety note: If there is any chance a child will mouth the blocks, skip small cubes entirely. For toddlers and younger kids who still put things in their mouths, choose larger blocks that cannot fit fully in the mouth, skip tiny add-ons like glued gems, and use materials and finishes that are specifically labeled as child-safe for toys. Always supervise, and if you’re ever unsure, keep these as a “big kid only” bedtime tool.
Step-by-step: make your storytelling blocks
1) Sand first (future-you will be grateful)
Give each cube a quick once-over, especially the edges. You are not trying to change the shape. You are just smoothing splinters and rough spots so bedtime does not turn into a bandage situation.
2) Decide your icon plan
Each block has six sides. That can feel like a lot, so I like to choose a plan before I start drawing:
- Option A: One category per block (one block is all characters, one is all places, one is all objects).
- Option B: One category per side (each block includes a character, a place, an object, a feeling, an action, and a twist).
- Option C: Theme sets (forest set, space set, ocean set) that you can mix together.
If you want a theme that pairs well with music and movement, our Kids Crafts guide has more hands-on ideas for building story play around simple supplies.
3) Sketch icons on paper first
I keep icons bold and simple. Think: "bathroom door sign," not museum mural. If you can recognize it from across the room, it is perfect.
Kid tip: have your child “audition” the drawings. Hold up your sketch and ask, “What do you see?” If they guess it right, it is ready for the block.
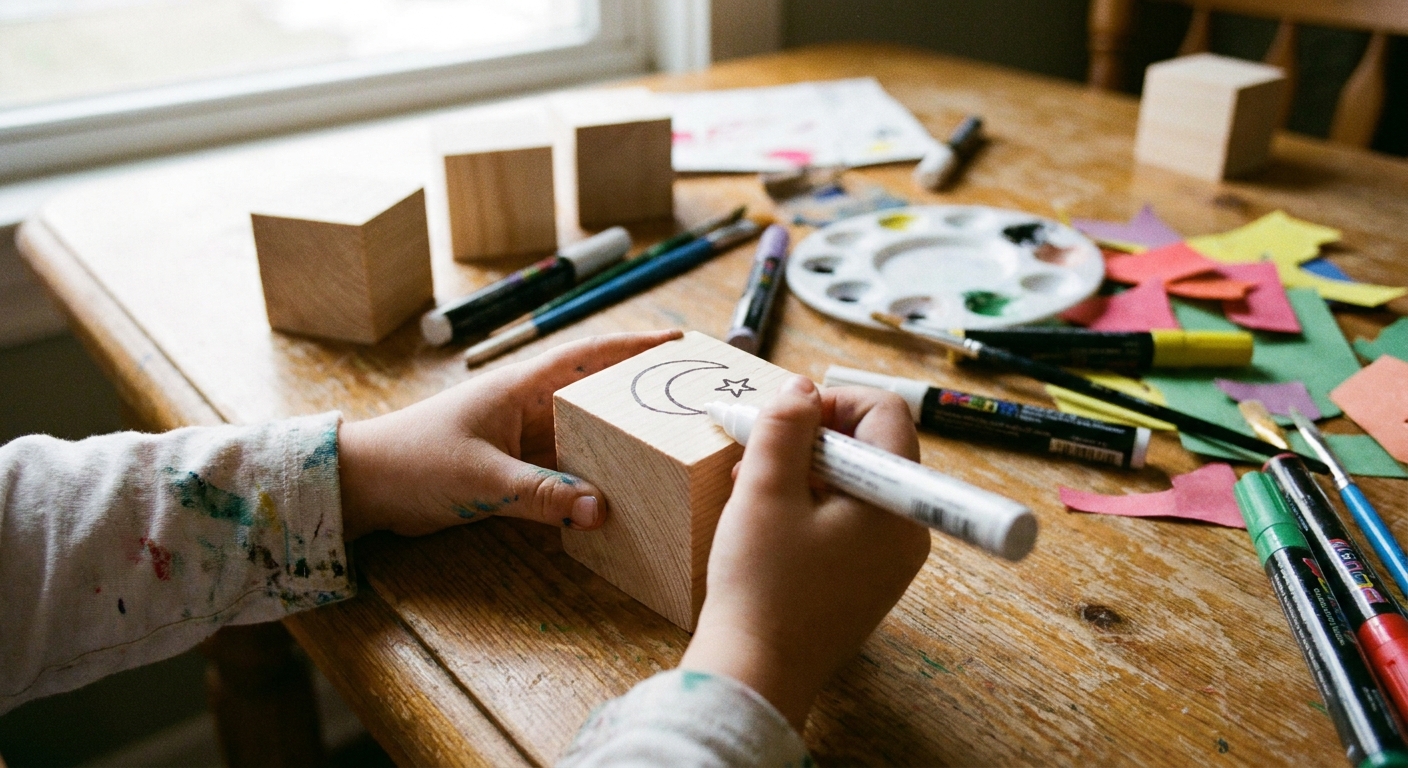
4) Draw or paint your icons on the cubes
Start with a pencil if that makes you feel calmer, then go over it with paint pen or marker. Let each side dry before rotating, especially with paint.
My favorite shortcut: paint pens. I find they behave like markers but look like paint, and they tend to sit on top of the wood grain instead of soaking in.
5) Seal (optional, but helpful)
If your blocks will be handled daily, a sealer helps prevent smudging and keeps the colors bright. Apply a thin coat, let it dry fully, and do a second coat if needed.
If blocks might be mouthed: only use a finish that is explicitly labeled child-safe for toys and follow the label’s dry time and full cure time. “Dry to the touch” is not the same as cured, and cure time is what matters for durability and safety.
6) Make a cozy storage spot
A small box, basket, or cloth bag turns this into a bedtime ritual. In our house, the blocks “sleep” in their container, and the kids love being the one who tucks them in.
Easy icon ideas (the mix that makes stories fly)
If you only add one thing from this whole guide, let it be this: include a mix of characters, places, objects, feelings, actions, and twists. That is the recipe for a story that actually moves.
My bedtime-friendly balance: load up on characters, places, and objects, but keep twists and big feelings to a smaller number (1 to 2 per roll is usually plenty). It helps the story stay cozy instead of chaotic.
Characters
- Bear
- Bunny
- Robot
- Kid superhero cape
- Grandparent glasses
- Dragon (friendly, please)
Places
- House
- Forest tree
- Castle
- Space planet
- Beach wave
- School bus
Objects
- Key
- Backpack
- Umbrella
- Flashlight
- Blanket
- Cookie
Feelings
- Happy face
- Worried face
- Brave face
- Sleepy face
- Surprised face
Actions
- Run
- Hide
- Build
- Share
- Dance
- Climb
Twists
- Star (magic)
- Question mark (mystery)
- Storm cloud (problem arrives)
- Gift box (unexpected help)
- Footprints (someone was here)
How to play: bedtime storytelling games with blocks
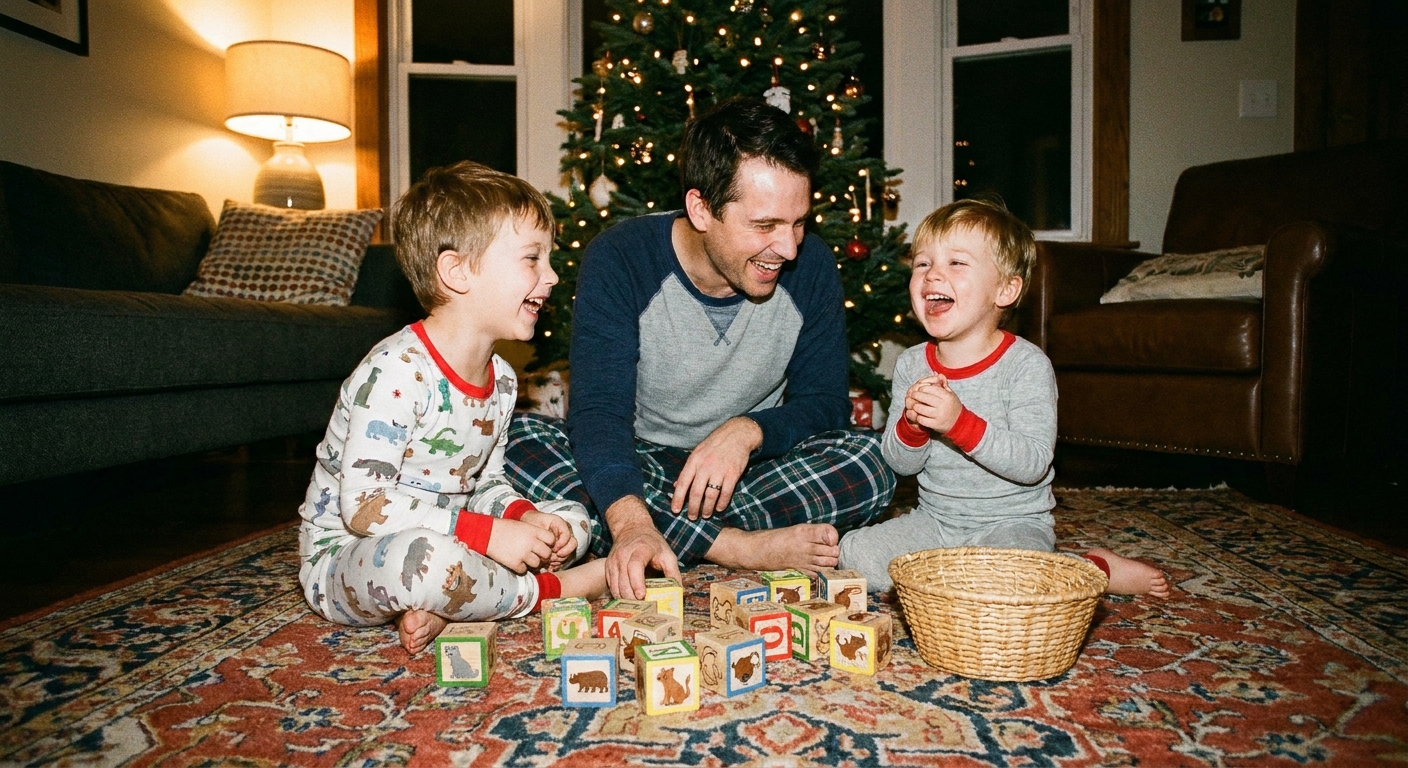
Once you have your set, you can use it in lots of ways. Here are my go-to games, from calm to giggly.
The 3-block story (perfect for tired grown-ups)
- Roll 3 blocks.
- Name them: Who, Where, What happened.
- Tell a super short story in 60 seconds.
Kid version: your child supplies sound effects for each block.
The 5-sentence round robin
- Roll 5 icons in a row.
- Each person adds one sentence per icon.
- End when you reach the last icon, even if the ending is silly. Especially if the ending is silly.
The calm-down story (great for wiggly bodies)
Choose icons that naturally slow the story: blanket, moon, house, sleepy face, gentle rain. Speak softly and repeat cozy phrases: “and then they snuggled in,” “and everything felt safe.”
If bedtime winds up needing a little extra soothing, our lullaby piece, The Science of Lullabies, has songs you can hum right into the story.
The fix-the-problem story
- Roll 1 twist (storm cloud, question mark).
- Roll 2 helpers (flashlight, friend, umbrella).
- Tell a story where the helpers solve the twist.
This one is sneaky-good for kids working through worries.
Make it age-friendly
Toddlers (2 to 3)
- Use fewer blocks (2 to 3 is plenty).
- Choose real-world icons they know: cup, dog, bed, ball.
- Let them stack while you narrate. Their hands stay busy and their brains stay with you.
Important: If your toddler still mouths toys, save these for later or make an oversized set and use it only with supervision.
Preschoolers (4 to 5)
- Add feelings and actions.
- Invite them to name the character and pick the voice.
- Try the 5-sentence game. Short turns keep it moving.
Early elementary (6 to 8)
- Let them design whole blocks themselves.
- Add “story rules,” like: include a problem and a solution, or include dialogue.
- Challenge them to connect two random icons logically.
When a kid gets overwhelmed
Some kids love variety. Some kids freeze when there are too many choices. If that sounds familiar, try this:
- Offer two blocks, not ten.
- Use a simple “first, then” story: “First we got the who. Then we found the where.”
- Repeat one cozy line throughout (“and they felt safe at home”) so the story has a steady beat.
Tips for making blocks that last
- Work in thin layers. Thick paint stays tacky longer and smudges.
- Let drying time be part of the fun. While one side dries, roll your “practice story” with the finished blocks.
- Seal if you used marker. Especially if your child’s hands run warm or a little sticky at bedtime.
- Store away from humidity. Bathrooms and windowsills can warp unfinished wood over time.
Cleaning and care
- Wipe with a slightly damp cloth, then dry right away.
- Avoid soaking. Unfinished wood can swell or warp, and even sealed blocks will last longer if they are not left wet.
- If a block gets truly grubby, a tiny bit of mild soap on a cloth is usually enough. Dry it well and let it air out before putting it back in the bag.
If your family loves building story props, you might enjoy making a paper song scene too. It is a sweet way to give your stories a “stage” without needing much space.
Story prompts when everyone is too sleepy
On nights when even the blocks feel like a lot, I use one of these starter lines and let the pictures fill in the rest:
- “Once upon a time, there was a very small…”
- “Tonight, something surprising happened when the lights went out…”
- “In a cozy place, a brave friend found…”
- “This is the story of how we learned to…”
Then I point to each block and ask, “What do you think happens next?” You will be amazed how often a child will whisper an idea that turns into the whole plot.
FAQ
How many blocks should I make?
For a first set, 6 to 9 blocks is the sweet spot. It feels like a “real set,” but it will not take all afternoon. You can always add more later, especially themed add-ons for holidays or new interests.
Do I have to be good at drawing?
Nope. Think symbols. A triangle roof and a square make a house. A circle with whiskers is a cat. If your child recognizes it, you nailed it.
What if the story gets too silly at bedtime?
That happens here too. My trick is to keep one or two “calm icons” in the set (moon, blanket, home, sleepy face). When the giggles peak, I roll a calm icon and say, “Uh-oh, the story is getting sleepy,” and we steer toward a soft ending.
Can I use stickers instead of drawing?
Yes, especially for little kids. Just know stickers may peel with heavy handling, so sealing over them can help. Choose flat stickers (no puffy ones) if you want the sealer to sit nicely.
A tiny bedtime ritual to try tonight
If you already have the blocks made, here is my favorite no-fuss routine:
- Pick three blocks and line them up on the blanket.
- Take one slow breath together.
- Tell a one-minute story.
- Let your child put the blocks “to sleep” in their box.
That is it. Small, cozy, repeatable. And somehow, those little cubes keep turning into brand new worlds.
If you build a set, I hope it becomes one of those simple family objects that ends up a little worn around the edges in the best way, because it was loved.