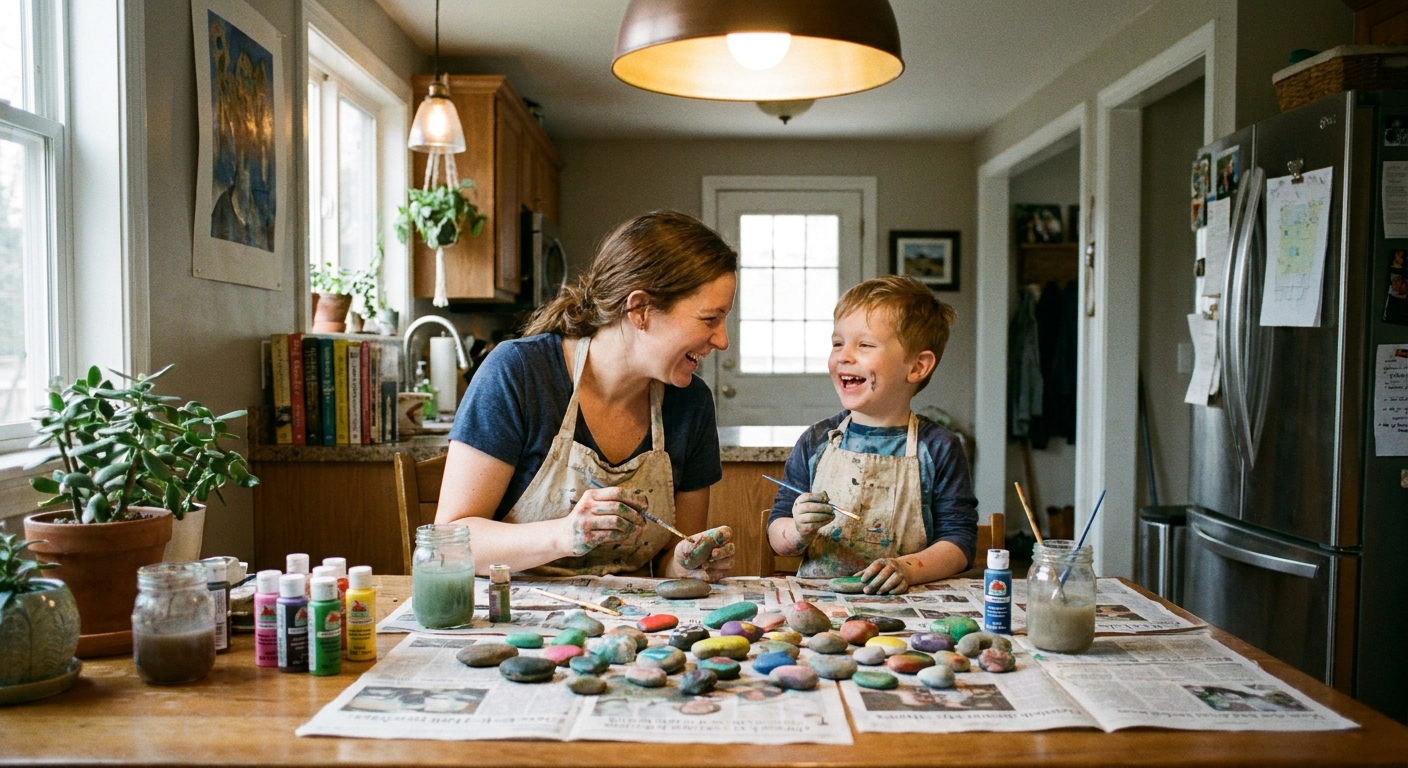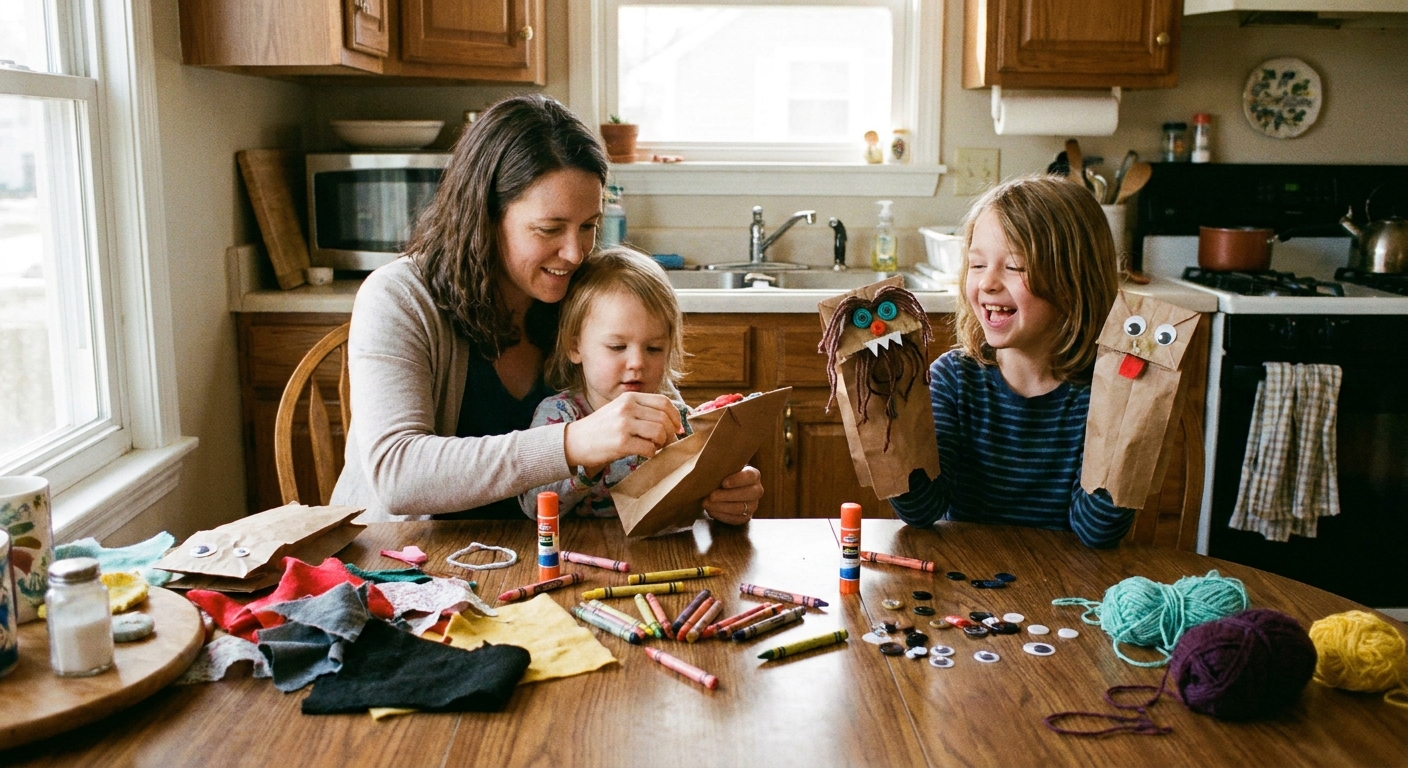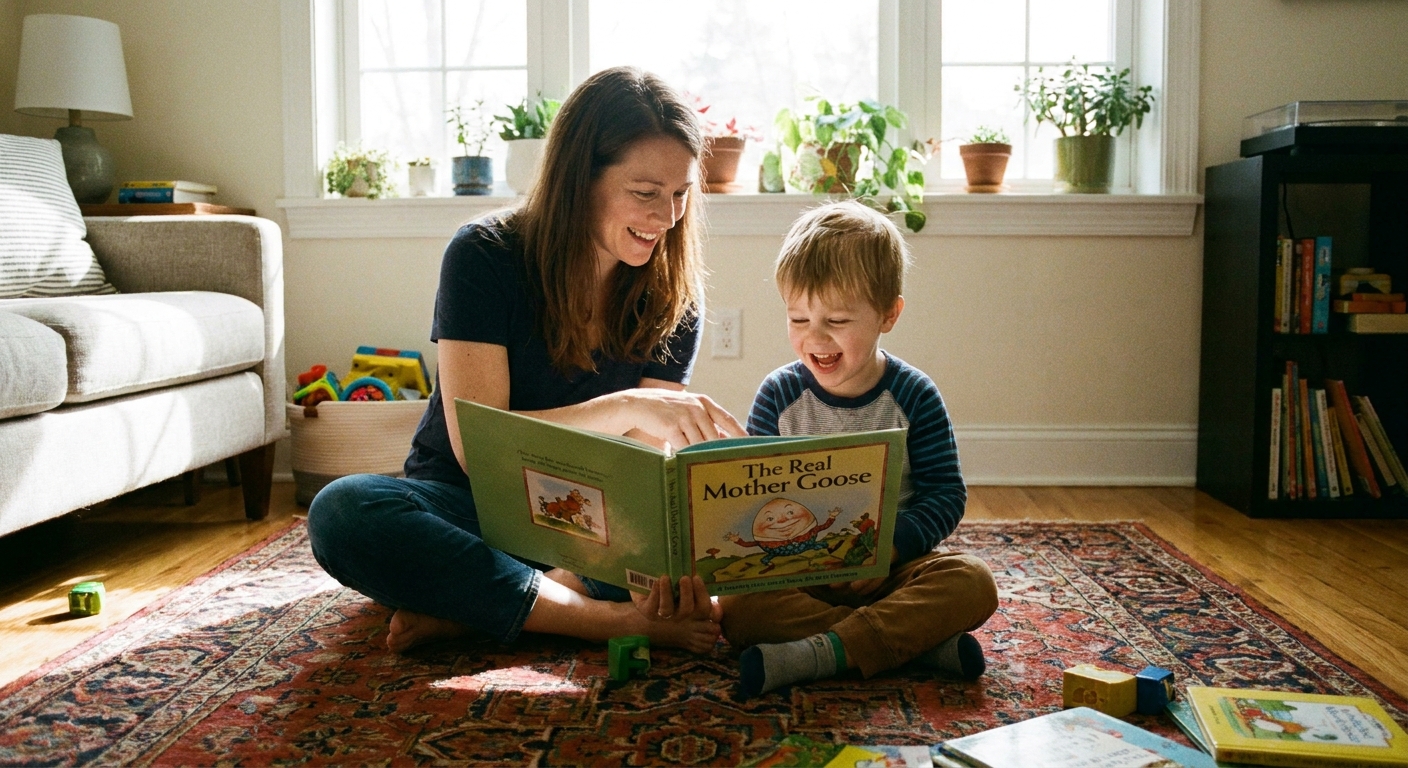

When my kids were little, our nursery rhymes rarely stayed on the page. Someone always wanted to be the cow, the sheep, or the poor wobbling egg on the wall. Felt finger puppets became my secret weapon because they are quick, soft, and forgiving. If you can cut a lopsided oval and stick on two googly eyes, you can absolutely make these.
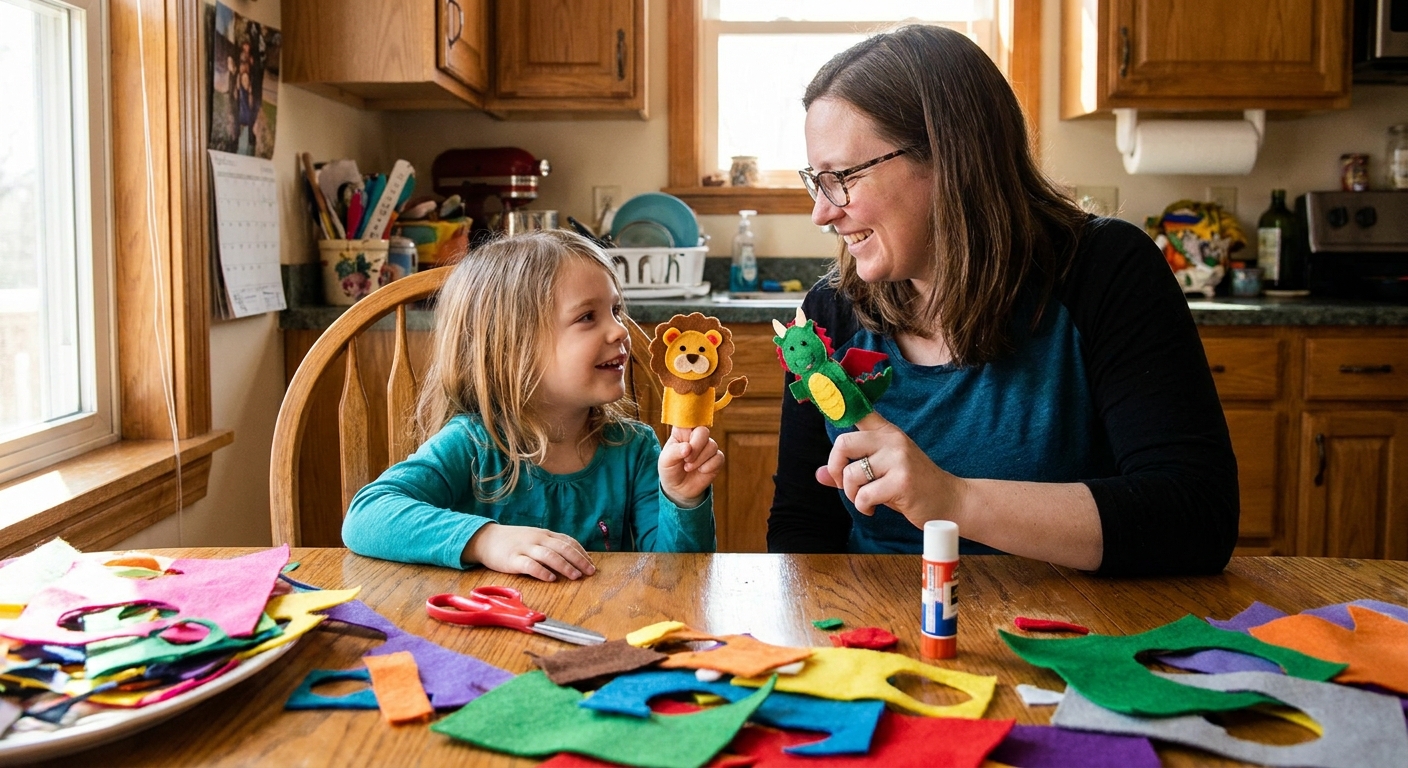
Below you will find a simple no-sew method, plus character recipes for Humpty Dumpty and Baa Baa Black Sheep, and easy ways to make a whole rhyme basket without buying fancy supplies.
Why felt finger puppets work well
- They invite participation. Even shy kids will “say” a line when a puppet is on their finger.
- They are gentle. Soft felt is kinder than hard toys for toddlers who like to mouth, squeeze, and bonk things together.
- They are fast. Many characters come together in about 10 to 20 minutes once you get rolling, depending on glue dry time and how many tiny details you add.
- They are travel-friendly. A sandwich bag of puppets turns waiting rooms and car rides into story time.
If you want more rhyme ideas to pair with puppet play, our Nursery Rhymes guide is a cozy place to start.
Supplies (no sewing required)
You can make these with true “use what you have” energy. Here is what I reach for most often.
Basic supplies
- Craft felt sheets (a few colors is plenty)
- Child-safe scissors
- Fabric glue or tacky craft glue (see my glue notes below)
- Marker or pencil for tracing
- Optional: pinking shears (makes cute zigzag edges, not required)
Fun add-ons (pick one or two)
- Googly eyes or small felt circles for eyes
- Yarn (hair, wool, tails)
- Small pom-poms (noses, sheep fluff)
- Scrap ribbon (bows, collars)
- Buttons (cute for older kids’ crafts, but skip for toddlers because they are a choking hazard)
- Thin cardstock (to stiffen a wall or crown)
My glue rule of thumb
- Fabric glue tends to stay flexible and holds up better to wiggly fingers.
- Tacky glue works in a pinch, but give it extra dry time and use a thin layer.
- Hot glue is strong, but I do not use it with little helpers at the table. If you do, keep it adult-only and let pieces cool fully.
One more quick note: If you are drawing faces, I like a washable, non-toxic marker. Some markers can bleed on felt, so test a tiny dot on a scrap first.
The basic no-sew puppet shape
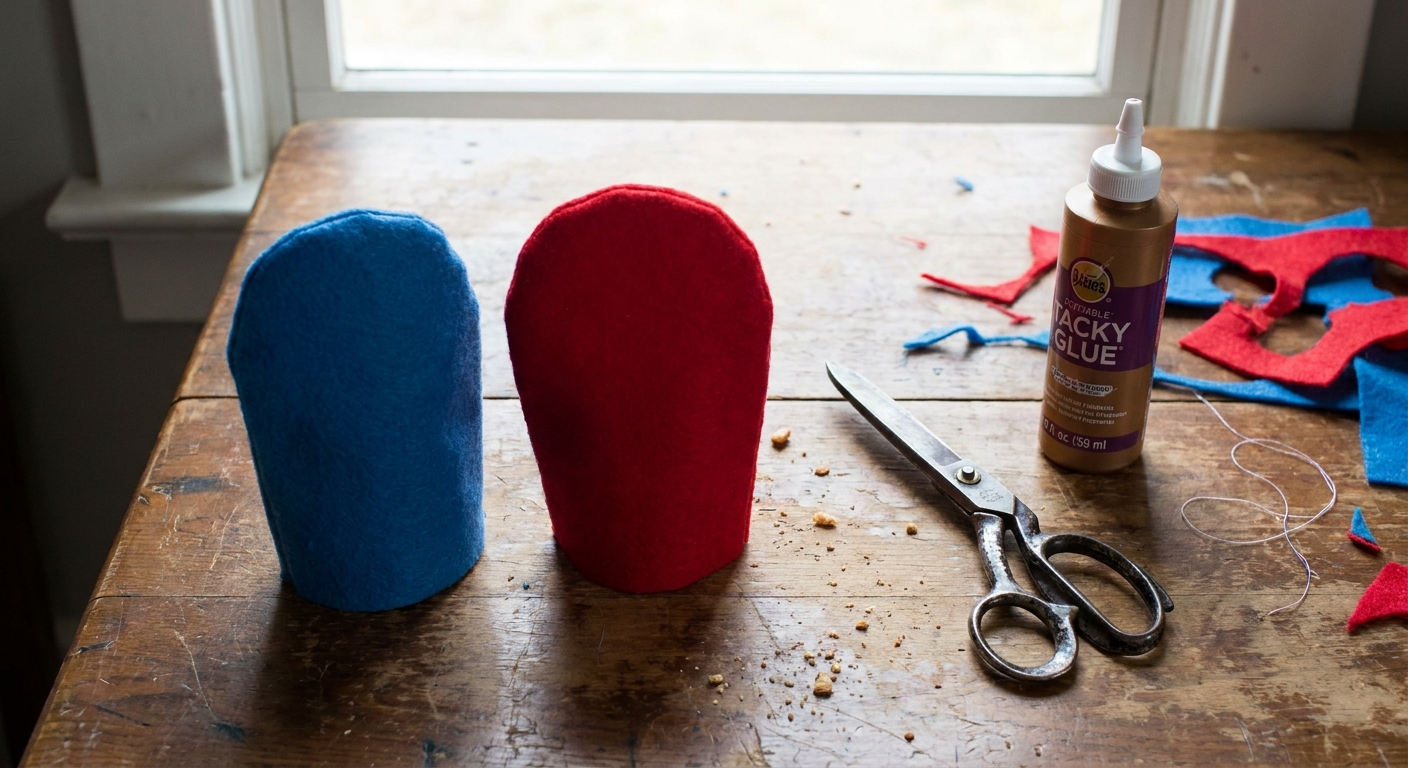
Most finger puppets are just two felt pieces glued together with a little pocket left open at the bottom.
Step-by-step
- Trace a finger. If you can, trace your child’s index finger on paper with a little wiggle room. If you are tracing your own, plan to trim it narrower for kid fingers.
- Round the top. Add a rounded “head” so your shape looks a bit like a popsicle.
- Size it to fit. For many preschoolers, about 2 to 2.5 inches wide and 3 to 3.5 inches tall is a good starting point, but adjust the width to your child’s finger. You want it snug, not tight.
- Cut two pieces of felt. Stack felt sheets to cut both at once if your scissors can handle it.
- Glue the sides and top only. Run a thin line of glue around the edges, leaving the bottom open as the finger pocket. I try to keep glue about 1/8 inch in from the edge to reduce seepage.
- Press and set. Pinch along the glued edges until they grab, then lay flat to dry. Always follow your glue label for dry and cure times.
Quick durability trick: After you glue, place the puppet flat under a book for a few minutes (with scrap paper underneath in case of seepage). It helps the seams bond evenly.
Character recipe: Humpty Dumpty
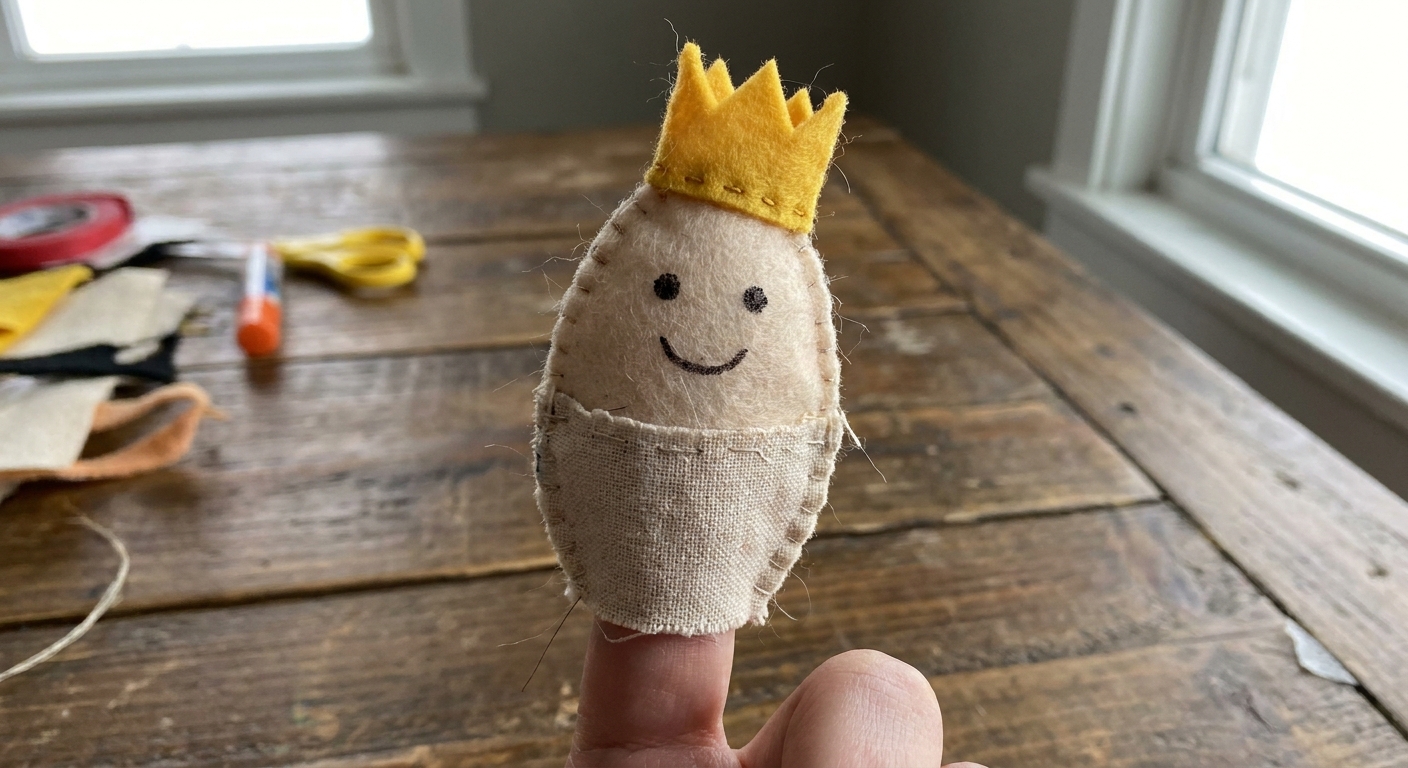
Humpty is the puppet that gets the biggest laugh at my table because he looks adorable even when he is a little crooked. Maybe especially then.
What you need
- White or cream felt (body)
- Yellow felt (crown)
- Black felt or marker (eyes)
- Red or pink felt (mouth or cheeks, optional)
- A scrap of gray or brown felt (optional “wall” prop)
Steps
- Cut the body. Use the basic puppet shape, but round the top extra so it feels egg-like.
- Add a face first. Glue on tiny felt eyes or draw them with marker. Add a small smile. Cheeks can be two pink dots of felt.
- Make the crown. Cut a small zigzag strip for a crown. Glue it near the top edge of the puppet.
- Optional: add a “crack.” Draw a wavy line down the front with marker for that classic Humpty drama.
- Optional wall prop. Cut a small rectangle of gray felt. Snip little notches along the top like bricks. This can be held in your other hand during the rhyme.
How we act it out
- Put Humpty on your finger and sit him on the “wall” (your other index finger works too).
- On the word fall, let him slowly tip, then drop him into your palm.
- Let your child be “all the king’s horses” by marching fingers across the table.
Character recipe: Baa Baa Black Sheep
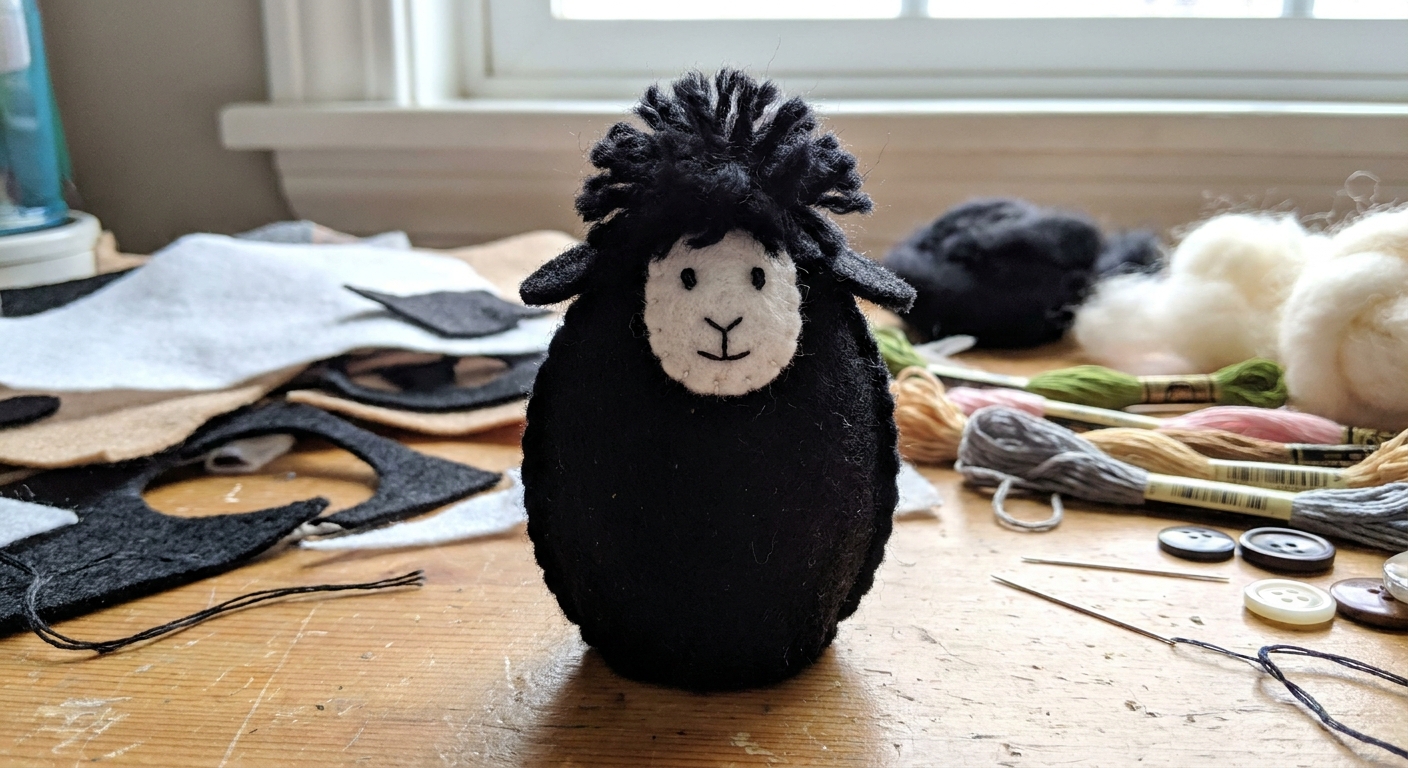
This one is wonderful for little hands because it is basically soft shapes layered on soft shapes. No tiny fiddly parts required.
What you need
- Black felt (body)
- White or cream felt (face)
- Small scrap of pink felt (ears or cheeks, optional)
- Yarn snippets or tiny pom-poms (optional wool texture)
Steps
- Cut the body. Use the basic puppet shape in black felt.
- Add the face. Cut a small oval or circle in white felt and glue it onto the front, a little lower than you think. Sheep look sweet with “low” faces.
- Ears. Cut two tiny leaf shapes from black or pink felt and glue them peeking out from the sides of the face.
- Eyes and nose. Two little dots of felt or marker for eyes. A small triangle nose is cute but optional.
- Add wool texture. Glue on a few short yarn pieces on top or around the sides. Less is more, especially if toddlers are going to pick at it.
Make it interactive
When you sing “Yes sir, yes sir, three bags full,” hold up three fingers on your free hand and let your child “count the bags” by tapping each finger.
Make a small puppet cast
Once you have the base shape down, you can build a whole rhyme basket with a few colors of felt. Here are easy add-ons that reuse the same puppet body.
Quick character swaps
- Little Bo-Peep: Pink puppet body + yarn hair + a tiny felt bonnet.
- Itsy Bitsy Spider: Black puppet body + two extra felt legs on each side (short strips). Sing it with finger motions anyway for double the fun.
- Jack and Jill: Two simple people puppets with different hair colors. Add a blue “pail” felt circle with a handle.
- Old MacDonald animals: Make a pig snout, duck beak, cow spots, and swap them onto the same base shapes.
If your family loves pairing songs with movement, you might also like our list of classic action songs for preschool fine motor skills.
Make them last longer
- Use bigger pieces than you think you need. Tiny details are the first to peel.
- Glue in layers. Face first, then ears, then hair or extras. Let each layer grab before adding the next.
- Reinforce the opening. Cut a thin felt strip and glue it around the inside edge of the bottom opening like a little waistband. It helps the pocket keep its shape.
- Skip hard add-ons for toddlers. If you are making these for under-3 kids, consider felt eyes instead of plastic googly eyes.
- Dry time matters. As a general guide, I try for at least an hour before play and overnight before tossing them in a bag, but your glue label is the real boss here.
Cleaning tip: Felt puppets do best with gentle spot-cleaning (a damp cloth and a little mild soap). Glued pieces usually do not love a full soak, so I avoid the washing machine.
Use puppets during rhyme time
Here is the little routine that keeps everyone engaged at my kitchen table.
My 5-minute puppet rhythm
- Pick one rhyme. Keep it short and familiar.
- Give your child a job. “You hold the wall.” “You are the sheep.” “You say the ‘baa baa’ part.”
- Do the rhyme once normally. Let them watch the first time.
- Do it again with pauses. Stop before the last word of each line and let your child fill it in.
- Finish with free play. The puppets will probably wander into their own story, and that is the good stuff.
For more ways to make sing-alongs interactive with homemade tools, take a peek at DIY shakers and rhythm sticks for family sing-alongs.
Safety notes
- Supervise if you use small pieces like googly eyes, pom-poms, or buttons. Felt-only faces are safest for the youngest kids.
- Check glue labels and craft in a well-ventilated spot.
- Mind the scissors. I like to let kids cut big body shapes and have adults cut tiny details.
Quick troubleshooting
My puppet will not fit on a finger.
Cut a small slit up the back at the bottom opening (about 1/2 inch). It gives extra wiggle room without redoing the whole puppet.
The seams keep popping open.
Use less glue but press longer, and let it dry flat. If the felt is very stiff, rough up the seam area lightly with your fingernail before gluing so the glue grabs better. Also double-check your glue label for recommended dry and cure time.
My kid keeps pulling off the details.
Make a “toddler version” with only big shapes: face, eyes, and one simple accessory. Save the fancy crowns and yarn hair for older siblings.
Store them simply
We keep ours in a little shoebox “rhyme theater” with a slot cut in one side. The puppets pop up through the slot like a tiny stage. If you want a similar make-and-play activity, you may enjoy making a paper song scene with kids.
And if you make a wonky Humpty with a crown that leans a bit to the left, please know you are in excellent company. That is exactly how the best nursery rhyme props are born.