
The shoebox diorama is one of my favorite kitchen table crafts because it does two jobs at once. It keeps busy hands happily snipping and gluing, and it gives you a ready-made little stage for bedtime storytelling later. If you have an older preschooler or early elementary kid who loves “just one more story,” a fairy tale diorama is a sweet way to help them retell, remix, and really live inside a classic tale for a while.
Time + age note: Plan for about 30 to 60 minutes of building (plus drying time). Preschoolers can do most of the decorating with adult help for cutting and any hole-poking.
Below you will find a simple, step-by-step build that works for almost any fairy tale, plus story prompts that make the finished box feel like a tiny theater.
Pick the fairy tale and the moment
The easiest way to keep this project fun (and not a sprawling week-long construction site) is to choose one scene, not the whole plot.
Great “single moment” choices
- Goldilocks: the bears’ cottage with three chairs and three bowls
- Little Red Riding Hood: the forest path to Grandma’s house
- The Three Little Pigs: the brick house with the wolf outside
- Jack and the Beanstalk: the beanstalk climbing up into clouds
- Cinderella: the pumpkin carriage outside the ball
- Hansel and Gretel: the candy cottage in the woods
My rule of thumb: if your child can describe the scene in one sentence, it is the right size. “It’s the bear house kitchen” is perfect. “It’s the whole story” is where glue sticks go to retire early.
Materials (use what you have)
You do not need fancy supplies. I love a project that welcomes cereal boxes and junk mail with open arms.
- Shoebox or similarly sized box with a lid (lid is optional but useful)
- White glue and/or a glue stick
- Tape (masking tape is great for quick holds)
- Child-safe scissors
- Markers, crayons, or paint
- Construction paper or scrap paper
- Cardboard from a cereal box for sturdy shapes
- Optional texture bits: fabric scraps, aluminum foil, yarn, cotton balls, tissue paper
- Optional “stand-up” helpers: craft sticks, drinking straws, clothespins
- Optional figures: small toy people or animals, paper dolls, finger puppets, or drawn characters
Quick safety note: if your child is still in the “taste test everything” stage, skip tiny beads, sequins, and buttons. And if you are using anything pokey (like scissors for holes or paper fasteners), that is an adult job.
Prep your shoebox like a tiny stage
Step 1: Choose your orientation
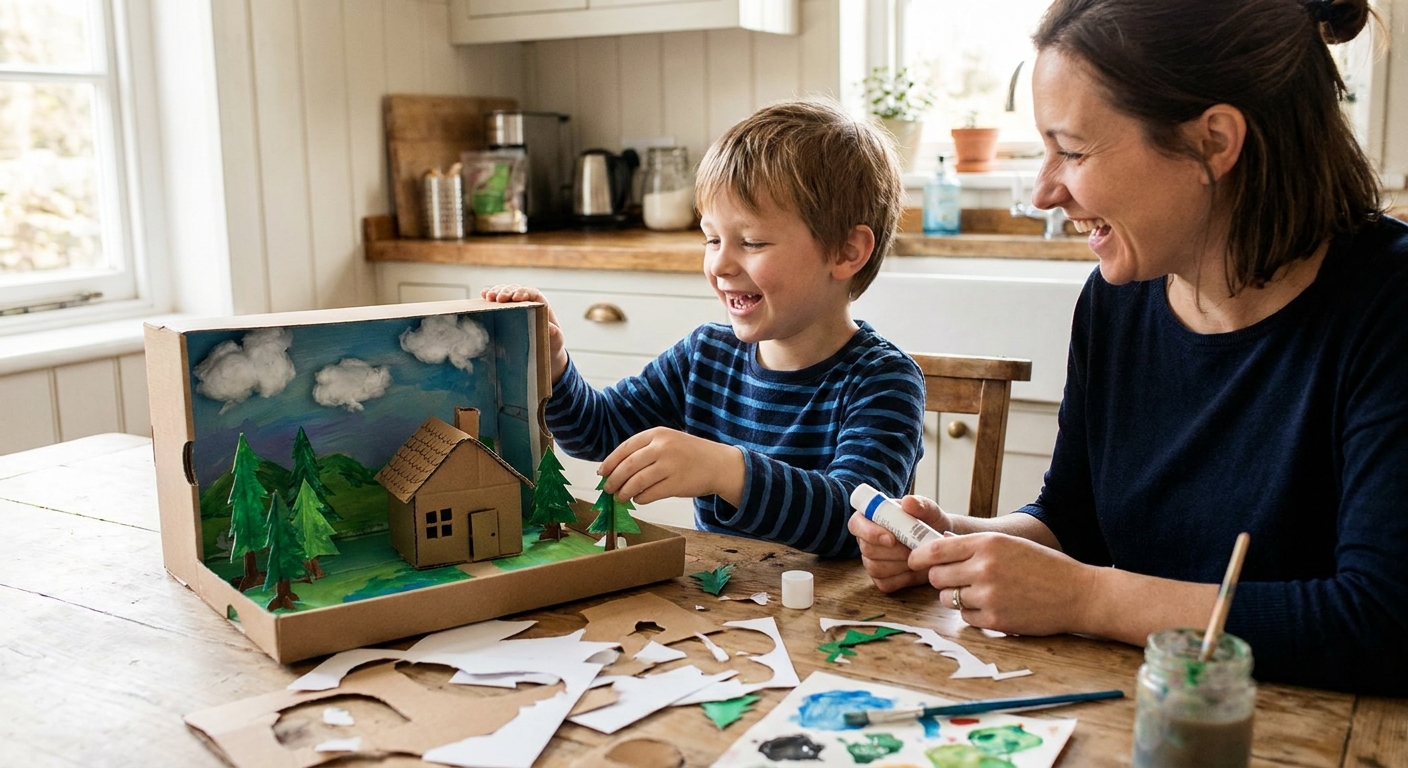
Set the shoebox on its side so the open end faces you like a little theater. The bottom becomes the “floor,” the back is your “sky wall,” and the lid can become extra scenery.
Step 2: Decide on the background
Older preschoolers can help plan a simple background in three parts:
- Sky: daytime blue, nighttime black, sunset stripes, stormy gray
- Horizon: a line of trees, a village, distant mountains
- Ground: grass, a forest floor, a cobblestone path, a kitchen floor
Easy trick: glue a single sheet of paper to the back and sides first. It hides shoebox logos and gives you a clean canvas.
Mess tip: I like to slide a piece of newspaper or an old towel under the box, plus keep a small bowl of wipes (or a damp washcloth) nearby for sticky fingers.
Build the scene, step by step
Step 3: Cover the floor
Cut a rectangle of paper to fit the inside bottom of the box and glue it down.
- Forest scene: green paper plus torn brown “dirt” and leaf scribbles
- Castle scene: gray paper with marker “stone” lines
- Cottage interior: wood plank lines with a brown marker
Press it with a book for a minute if your paper wants to curl. If you used white glue, it may need a few extra minutes to really settle.
Step 4: Add one big anchor object
This is the main thing your eye lands on. Pick one:
- A cottage
- A castle door
- A beanstalk
- A giant tree
- A table with bowls
How to make it sturdy: cut the anchor object from cereal box cardboard, then cover it with colored paper. Fold a 1-inch flap at the bottom, add glue to the flap, and stick it to the floor so it stands up.
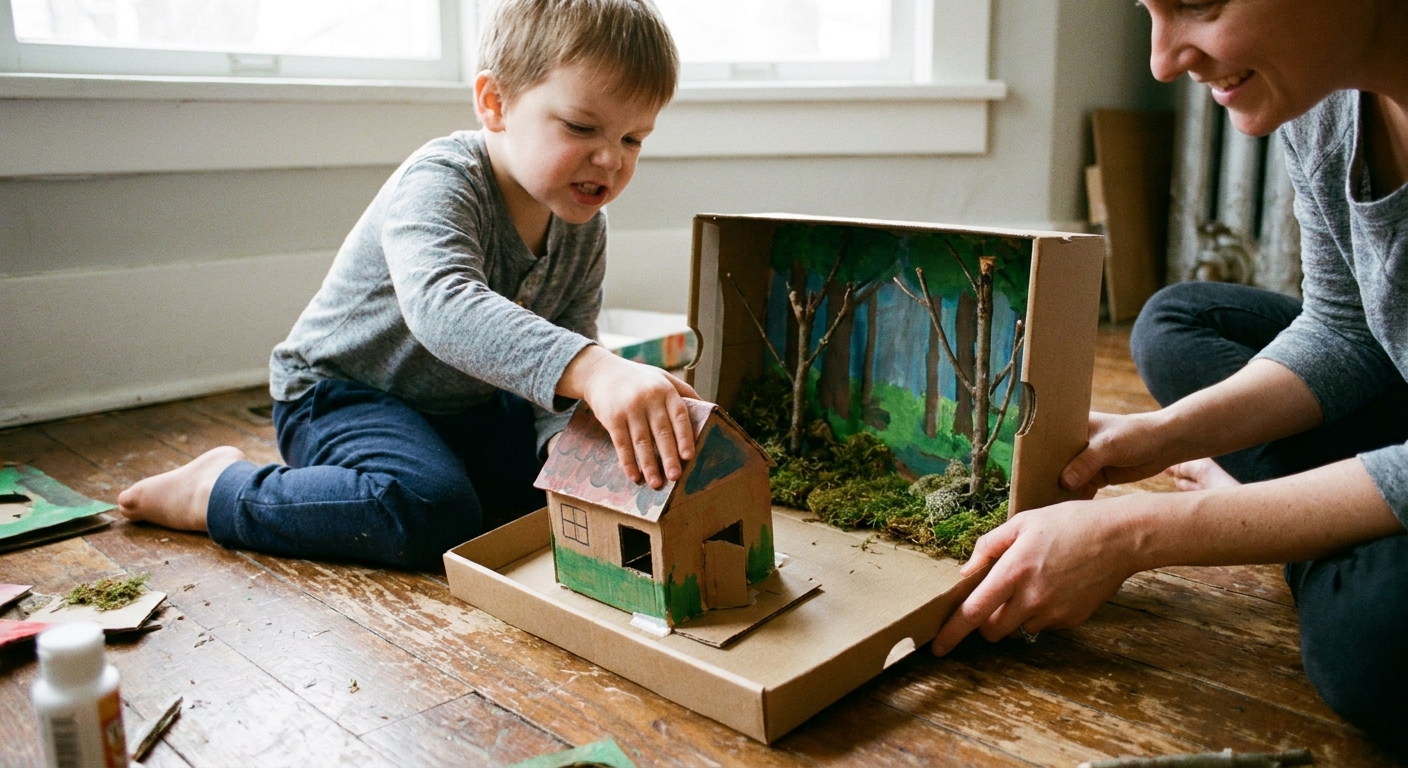
Step 5: Create depth with layers
Depth is what makes a diorama feel magical. You can make layers in two easy ways:
- Foreground, middle, background: place larger items near the opening and smaller items near the back wall.
- Hanging pieces: tape a cloud, moon, or chandelier to the inside “ceiling” with a short paper strip.
Kid-friendly tip: if cutting tiny shapes is frustrating, tear paper instead. Torn edges make wonderful bushes, clouds, and “magic fog.”
Step 6: Add details that tell the story
Now you add the clues that make someone say, “Oh, it’s that fairy tale!” Choose 4 to 6 details, not 40.
Detail ideas by story
- Goldilocks: three bowls, three chairs, three beds (simple rectangles are fine)
- Red Riding Hood: a basket, a winding path, Grandma’s door
- Three Little Pigs: brick pattern, chimney, puff of “blowing” cotton
- Cinderella: a clock, a shoe, sparkly “ball” lights (yellow paper dots)
- Jack and the Beanstalk: a golden egg, big footprints, fluffy clouds
My favorite shortcut: draw small props on paper, color them, then glue them on like stickers. Not everything has to be 3D for the whole scene to feel 3D.
Step 7: Add characters (simple is best)
You have three easy options:
- Paper stand-ups: draw characters, cut them out, and tape them to a craft stick.
- Toy characters: small figurines instantly make the scene playable.
- Clothespin people: draw faces on clothespins and add paper clothes.
Little theater upgrade: you can poke two small holes in the sides of the shoebox and slide a straw through as a “puppet bar.” This is an adult step. If you make holes with scissors or an awl, keep fingers well away and tape over any rough edges. Then you can tape a character to the straw and gently move them left and right.
Make it interactive
The secret to a diorama that gets used after the glue dries is a tiny interactive element.
Pick one moving feature
- Flap door: cut three sides of a rectangle in the cottage or castle wall and fold outward.
- Pull tab: tape a character to a strip of paper that slides behind a bush.
- Spinner sun or moon: poke a paper fastener through a sun shape so it can turn. (Adult help is best here, too.)
- Lift the bed blanket: a small tissue paper flap for “Who is in the bed?” moments.
If paper fasteners are not in your house, tape can do almost everything. It is not fancy, but it works.
Storytime prompts
This is my favorite part. When your child can point to the scene, storytelling becomes much less intimidating.
Easy retelling questions
- Who is in our story today?
- Where are they going?
- What is the problem in this scene?
- What happens next?
- How does the character feel right now?
Gentle remix prompts
- What if the wolf was actually lost and needed directions?
- What if Goldilocks left a sorry note?
- What if the beanstalk led to a cloud library instead of a giant?
- What if Cinderella went home because she was tired, not because of midnight?
If you want more ideas for turning stories into hands-on play, our Kids Crafts guide is full of projects that work the same way, simple builds that lead straight into imagination.
Cleanup and durability
Let it dry like a lasagna
Glue needs a little time. If you can, let the diorama rest overnight where pets and curious siblings will not “help.”
Reinforce the wobbly parts
- Add tape to the back of tall pieces like trees and beanstalks.
- Use folded cardboard “L braces” behind a standing wall.
- If something keeps falling, it probably needs a wider base flap.
Storage idea
If you still have the lid, slide it on to keep dust out and props in. I also like to store the characters in a small envelope tucked under the box.
Variations kids love
Shadow puppet night
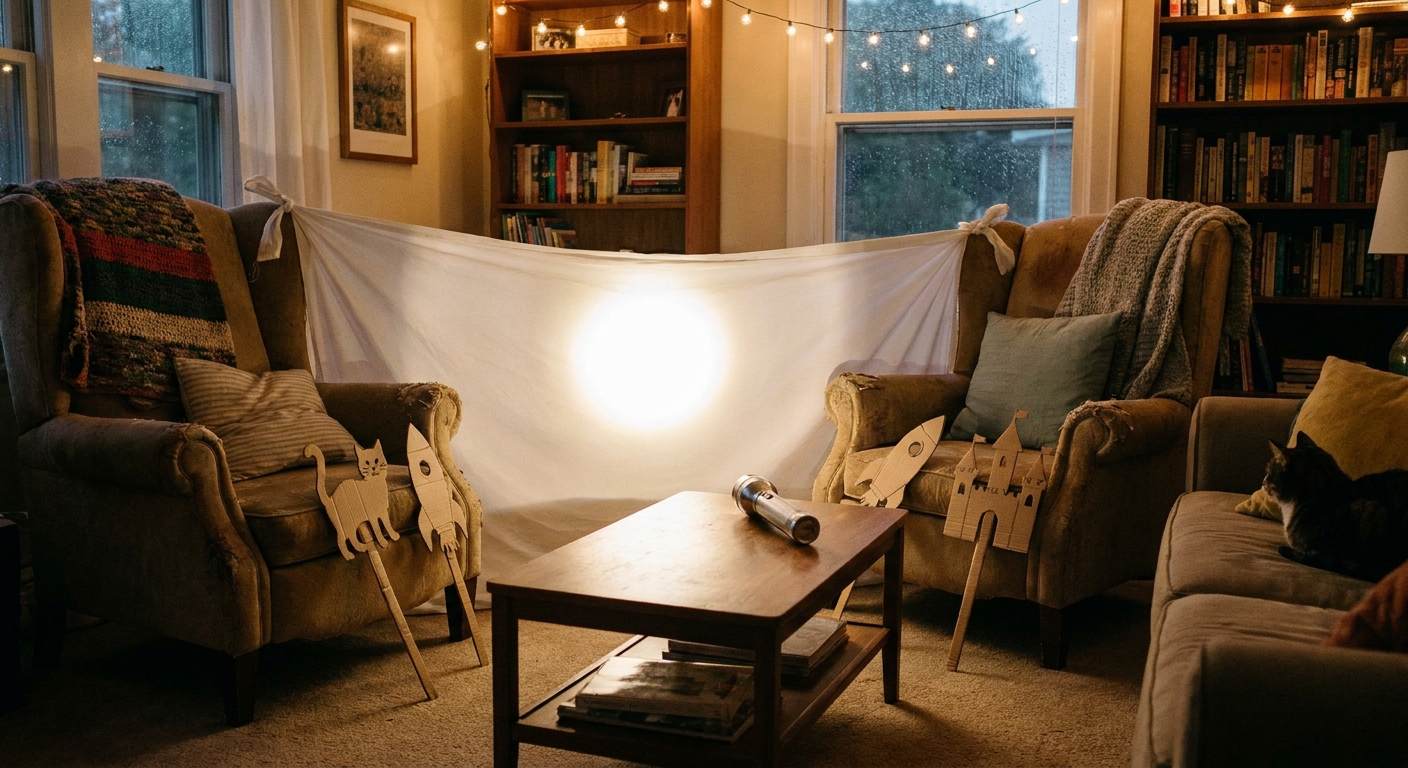
Turn off the lights, shine a flashlight into the shoebox from above or behind, and tell the story with big dramatic voices. If your family enjoys that kind of play, you might also like our nursery rhyme shadow puppet show idea. It uses the same “tiny theater” magic.
Build a song scene
If your child is more of a singer than a storyteller, you can turn the same shoebox technique into a scene from a favorite song. Our paper song scene craft is a fun cousin to this project.
Add sensory textures
Try cotton ball clouds, foil water, sandpaper rocks, or soft fabric rugs. If your kids enjoy sensory crafts, our paper towel tube rainstick is another cozy, low-pressure project.
Troubleshooting
“My kid wants it to look perfect.”
I gently aim for “recognizable” instead of “perfect.” Ask, “What is the one detail that will make it feel like the story?” Then do that detail together and let the rest be playful.
“The pieces keep popping off.”
Glue sticks are great for paper on paper, but cardboard needs stronger help. Use white glue, press longer, and add a bit of tape behind the seam if needed.
“We do not have a shoebox.”
Any small box works: a tissue box, a small shipping box, even the bottom of a cereal box with the front cut open. The magic is the stage shape, not the brand of box.
A simple closing ritual
When the diorama is done, I love a tiny ceremony: turn off distractions, sit together, and let your child “give you the tour.” You can say, “Welcome to my fairy tale museum. What should I notice first?”
That little invitation often unlocks the sweetest storytelling. And if you end up with a crooked cottage or a lopsided moon, congratulations. You made something real together, the kind of beautifully messy memory that sticks.