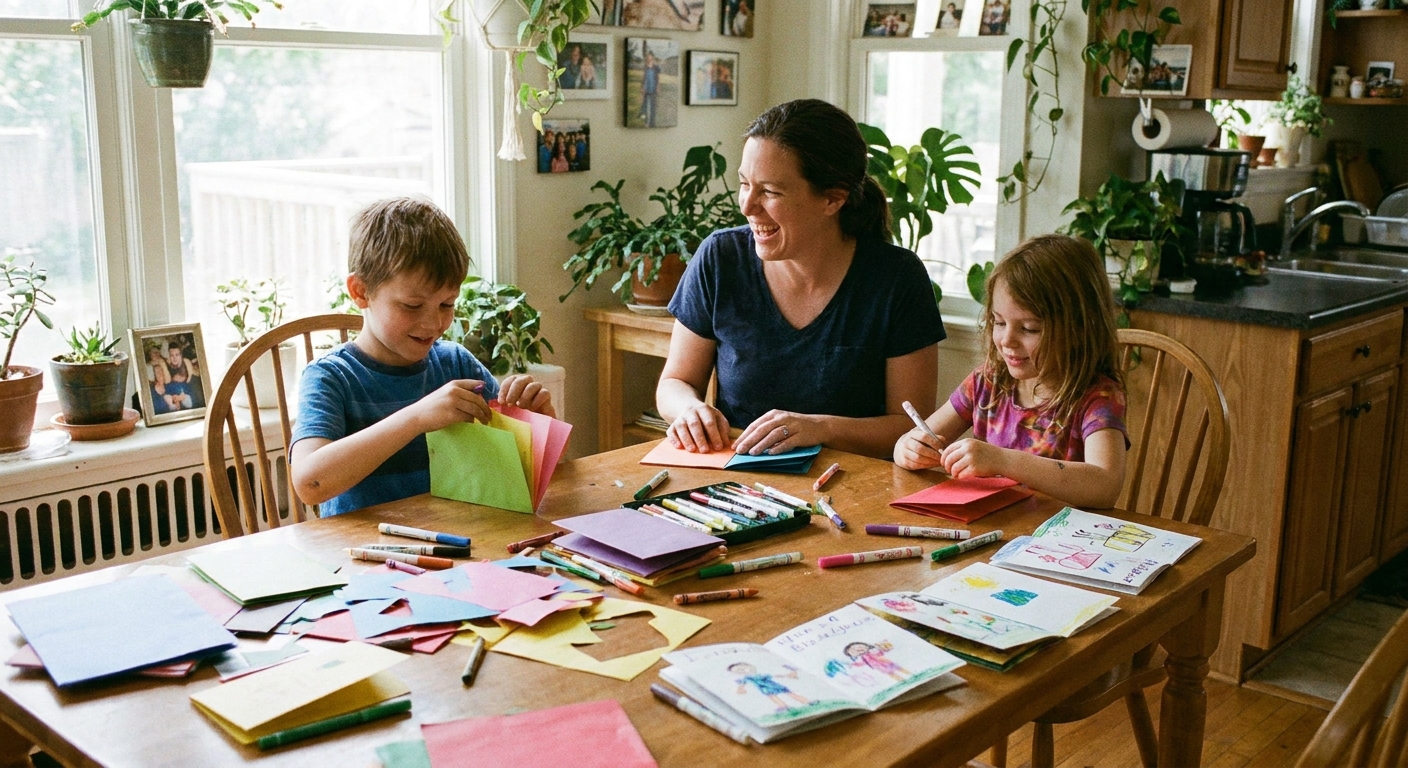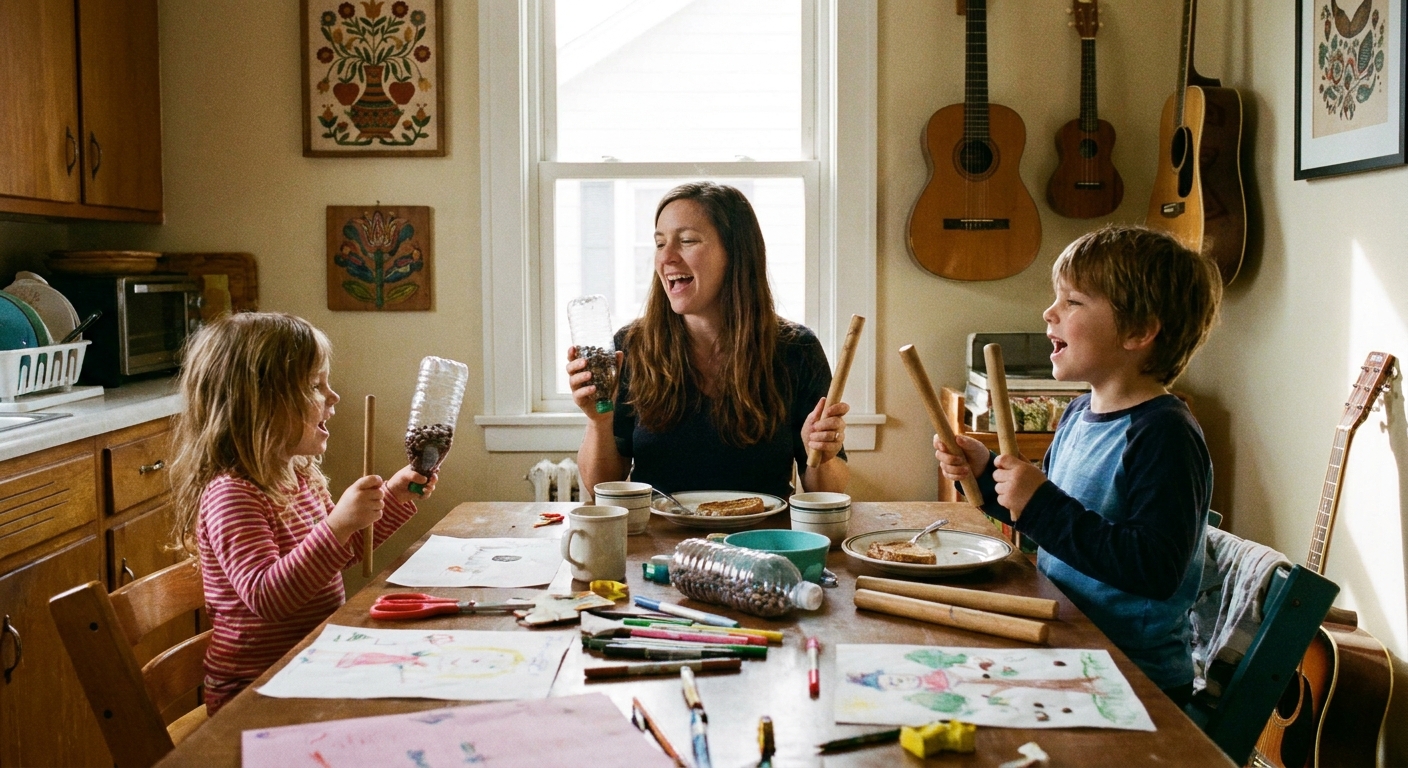

My favorite Mother’s Day gifts are the ones that clearly came from a small, determined human with a marker cap in their mouth and a big secret grin. A child-written song is exactly that kind of treasure. It does not need perfect rhymes or fancy chords. It needs your child’s real words, their little drawings, and a grown-up who can quietly handle the stapler.
Below is my kitchen-table method for helping a child write and illustrate a simple Mother’s Day song, then turning it into a keepsake songbook you will absolutely want to keep in the “do not recycle” pile forever.
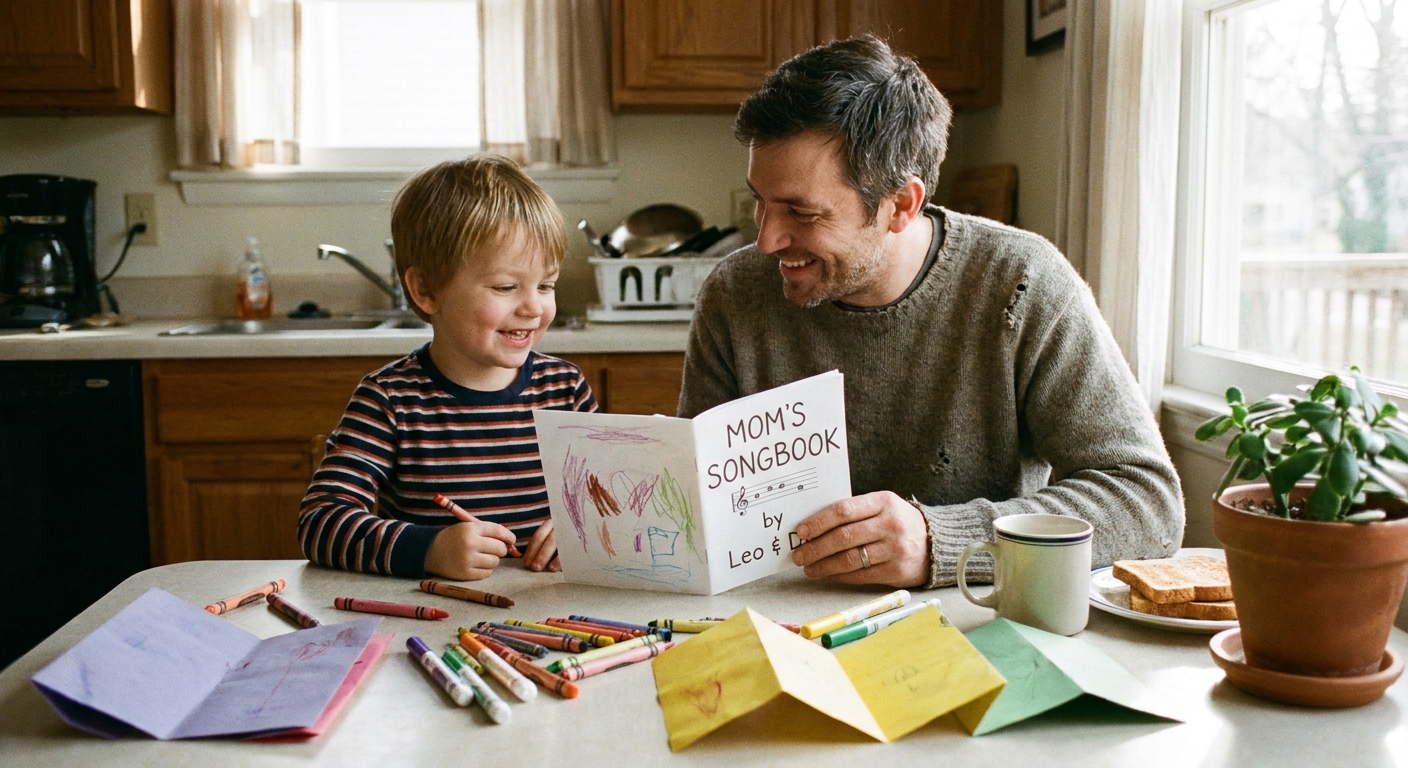
What you’ll need (keep it delightfully simple)
- 6 to 10 sheets of plain paper (or colored paper if your child insists)
- Crayons, markers, or colored pencils
- A pencil for the first draft (optional but helpful)
- Stapler, hole punch with yarn, or a binder clip
- Tape or glue stick
- One “cover” sheet (cardstock is nice, but not required)
- A quiet hiding spot for the finished book
If your kid loves instruments, you can add a homemade one for the performance. Our family has a soft spot for shakers and rhythm sticks, and we keep a few easy options in rotation from DIY shakers and rhythm sticks for family sing-alongs.
Step 1: Choose the song “shape” (so your child isn’t staring at a blank page)
I give kids a container for their creativity. Not a cage, just a cozy little shape to fill.
Pick one of these easy structures
- Repeat-after-me song: You sing a line, your child repeats it. Great for preschoolers.
- Verse and chorus: 2 to 3 short verses, plus one chorus that repeats each time.
- List song: Each line starts the same way: “I love when you…” or “My mom is…”
My go-to: Verse and chorus, because repetition feels musical even when the words are simple.
Step 2: Collect your child’s “real” words first
Before we talk about rhymes, we gather true statements. This keeps the song from turning into a generic greeting card.
Try these gentle prompts
- “What does Mom do that makes you feel safe?”
- “What is something Mom says a lot?”
- “What is your favorite thing to do together?”
- “If Mom were an animal, what would she be and why?”
- “What does Mom make that you love?”
Write down exactly what they say, even if it is goofy or slightly confusing. That is the magic. If your child is very young, you can offer two choices: “Is Mom more like sunshine or a cozy blanket?” and let them pick.

Step 3: Turn those words into a singable chorus
A chorus is just the part you want to hear again. Keep it short, warm, and repeatable.
Easy chorus formulas (choose one)
- Thank-you chorus: “Thank you, Mom, for [thing], for [thing], for [thing].”
- You-are chorus: “You are my [nickname], my [nickname], my [nickname].”
- I-love chorus: “I love you in the morning, I love you night and day.”
Then add a simple ending line like: “Happy Mother’s Day!” or “You are my favorite.”
A sample chorus (you can copy the pattern)
Chorus:
Thank you, Mom, for hugs so tight,
for snack-time cheers, for bedtime light,
for loving me with all your might,
Happy Mother’s Day!
Notice it is not perfect poetry. It is singable. That is the goal.
Step 4: Write 2 to 3 tiny verses (think: four lines each)
Now you sprinkle in specific memories from the notes you took.
Verse recipe that works for most ages
- Line 1: A moment ("When we…")
- Line 2: A detail ("You always…")
- Line 3: A feeling ("It makes me feel…")
- Line 4: A simple rhyme or near-rhyme (optional)
My rule: If rhyming causes frustration, skip it. Near-rhymes and silly rhymes are welcome at my table. “You” and “too” count. “Day” and “yay” definitely count.
Step 5: Add a melody without making it complicated
Kids often freeze when you say, “Make up a tune.” So I offer three easy options.
Option A: Use a familiar melody
Choose a melody your child already knows and loves, then sing your new words to that tune. This is especially helpful for younger kids. Keep it family-only if you prefer, and focus on the gift, not perfection.
Option B: Speak-sing (my secret weapon)
Have your child chant the chorus like they are telling a secret to a stuffed animal, then gently lift the last word of each line like it is a mini musical “ta-da.” It becomes a melody naturally.
Option C: Two-note tune
Pick two comfortable notes and bounce between them. Most kid songs live happily in that simple little space.
If you want to build confidence for singing at home, I also love this reminder: Sing to your baby even if you hate your voice. The message applies to big kids too.
Step 6: Plan the pages like a tiny picture book
Now comes the part kids usually adore: turning lyrics into pictures.
Quick layout plan
- Cover: Title and a big drawing of Mom, your child, or a heart made of scribbles
- Page 1: Chorus (one simple picture)
- Page 2: Verse 1 (one memory picture)
- Page 3: Chorus again (same words, different picture if they want)
- Page 4: Verse 2
- Back cover: “Love,” plus their name and the date
Tip from many messy tables: Put only a little text on each page. White space is not wasted space. It is “room for the drawing to breathe.”
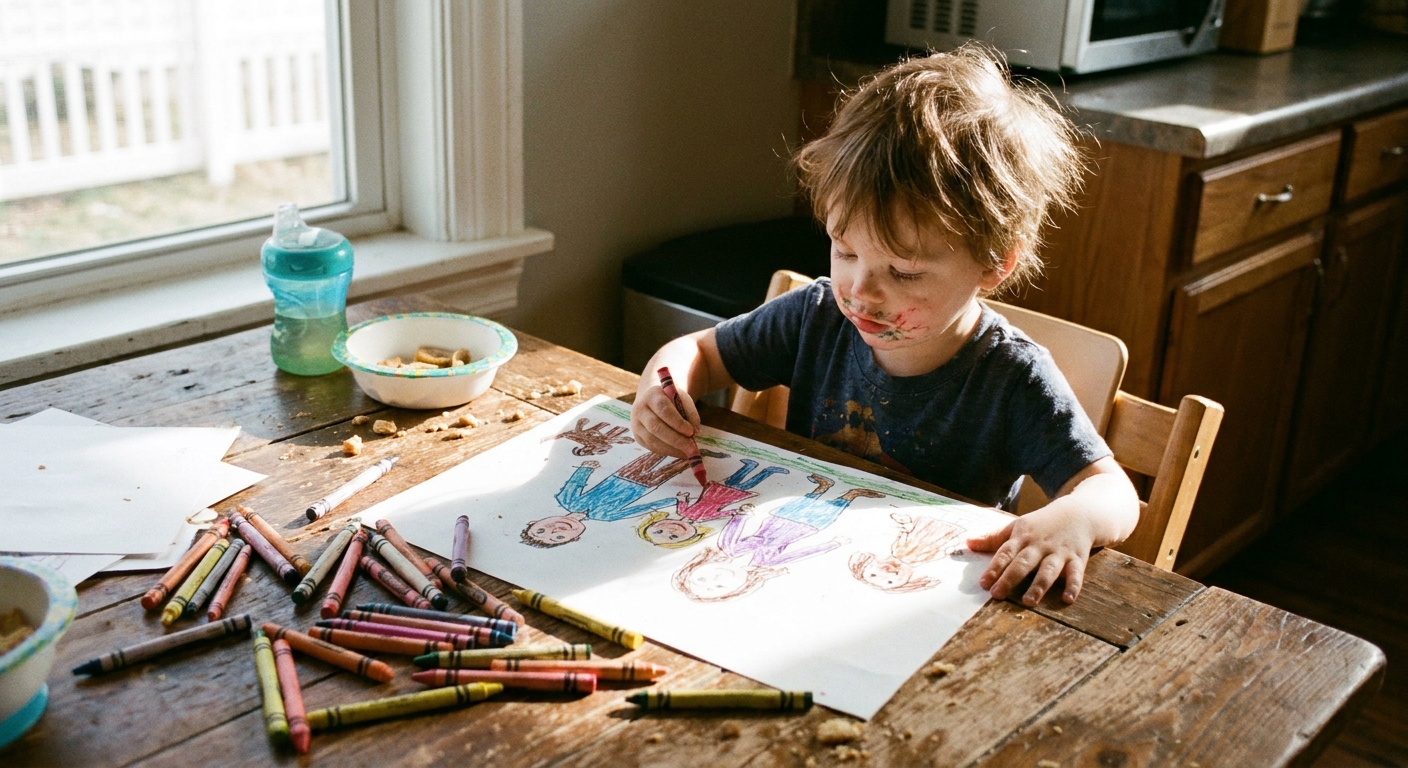
Step 7: Help with spelling without stealing their voice
This is the tricky balancing act. We want the book readable, but we also want it to sound like your child.
My gentle approach
- Keep their phrasing. If they say “the bestest,” it stays.
- Offer a “grown-up pencil pass.” Write the words lightly in pencil for them to trace, if they want.
- Use kid spelling as design. You can write the “standard spelling” small and neat at the very bottom of the page if it helps someone read it aloud later.
If your child enjoys matching words to sounds, you can turn this into a tiny phonics moment without making it a lesson. I like the ideas in From nursery rhymes to early phonics for keeping it playful.
Step 8: Bind it like a real book (three easy choices)
Choice 1: Staple binding
- Fold pages in half like a booklet.
- Nest them together.
- Staple along the fold (two staples is usually enough).
Choice 2: Hole punch and yarn
- Stack pages (no folding needed).
- Punch 2 holes along the left side.
- Thread yarn or ribbon through and tie a bow.
Choice 3: Binder clip “stage edition”
- Clip the pages together at the top.
- This is great if the book is thick or you want to add pages later.
Safety note: Adults handle staplers and hole punches if you have a “press-hard” model. Little fingers are precious.
Step 9: Rehearse for 2 minutes, then stop
I have learned this the hard way: rehearsal can quickly turn into pressure.
- Do one “practice performance” in a silly voice.
- Do one “real performance” at normal volume.
- Then put the songbook away where it cannot be “improved” into oblivion.
If your child wants a little extra sparkle, add gentle motions for the chorus. Action songs are a confidence boost, and you can borrow motion ideas from classic action songs for preschool fine motor skills.
Make it extra meaningful (without extra work)
Add a dedication page
One sentence is enough: “This song is for Mom because…” Let your child finish it.
Include a “Mom favorites” page
- Mom’s favorite snack
- Mom’s favorite color
- Mom’s favorite thing to do with me
Record one take on your phone
Not for social media. Just for your family. Someday you will be very happy you captured that wiggly, brave little voice.
Age-by-age help (so it stays fun)
Ages 2 to 4
- You act as “song secretary.” They provide the words.
- Use a repeat-after-me structure.
- Let scribbles count as illustrations, because they do.
Ages 5 to 7
- They can choose the chorus pattern and help with rhymes.
- Keep verses short.
- Offer a pencil outline for letters if writing feels tiring.
Ages 8 to 11
- They can write full verses and experiment with melody.
- Encourage specific details and humor.
- Let them design a cover and a “track list” page.
Tweens and teens
- Give privacy and creative control.
- Suggest a short song with strong imagery, not “babyish” lines.
- Offer help only if they ask, like you are their low-key assistant.
If you’re short on time: the 20-minute version
- 5 minutes: Ask 3 prompts and write down answers.
- 5 minutes: Turn answers into a 4-line chorus.
- 5 minutes: Add one short verse.
- 5 minutes: Fold, staple, and draw a cover.
One verse is still a real song. A tiny songbook is still a real book.
Common bumps (and easy fixes)
“My child says they can’t think of anything.”
Start with your own memory: “I noticed Mom smiled when you…” Kids often respond better to a concrete example than an open-ended question.
“My child wants it to be perfect.”
Give them a job title: “You are the songwriter.” Songwriters make drafts. Let them make a messy draft first, then copy a “final” version onto the book pages.
“My child keeps making it silly.”
Let one silly line live in the song. Humor is affection in kid-language. Then ask for one “sweet line” to balance it.
A simple Mother’s Day song example (fill in your child’s details)
Here is a full, short example you can use as a model. Swap in your child’s own words and memories.
Title: My Mom Is My Cozy Place
Chorus:
Thank you, Mom, for loving me,
for helping me grow big and free,
for being kind as kind can be,
Happy Mother’s Day!
Verse 1:
When I spill and make a mess,
you take a breath and you say, “It’s yes,”
we clean it up, you pass the dress,
and I feel safe all day.
Verse 2:
When it’s bedtime, lights are low,
you tell a story soft and slow,
you kiss my head, you whisper, “Go,”
and dreams come right away.
Chorus:
Thank you, Mom, for loving me…
One last cozy suggestion
If you want to make the songwriting session feel like an event, build a tiny “studio” vibe first. A blanket fort turns even a regular Tuesday into a creative holiday. We love this simple setup: Cozy DIY reading fort for family story time. Bring the crayons inside, whisper the chorus, and let the giggles bounce off the sheets.
However your child’s song turns out, remember this: the goal is not a polished performance. The goal is a moment where your child gets to say, in their own way, “You matter to me.” That is the kind of gift that lasts.